The Floor Project
2020-09-12
Some things I keep lying to myself about; things I promise to myself I will never do again. Mostly things like moving furniture or large home projects.
However, I must be a glutton for punishment (or I like saving thousands of dollars) because here I am again installing pergo flooring.
Since this is my third home, and it was built new, you would think I/we would have learned our lesson by now. You would have thought wise Mike would have evaluated the carpet and said “You know, we never seem to like this long term, lets have them just do the same flooring in the entire house.”
We I don’t think that way. I’m pretty sure I said “This costs enough as it is, carpet is fine, lets just get this over with.”
I don’t have any pictures of my first home’s install process. This was before I had a decent cell phone and camera. I do have the other houses and projects, and we can stumble through my discoveries and mistakes.
Before getting any further, let me discuss tools. Previously, I was armed with only my own hammer and whatever tools my Step Dad and/or Father in Law owned. This time I was all on my own and I was forced to deal with the lack of tools I have.
Tools I bought:
- Table saw. Not a cheap one, but not an expensive one either. I paid ~$270 for a 15 Amp 10 in. Expanded Capacity Table Saw With Rolling Stand. I refuse to link to Home Depot because they are horrible.
- Under-cut electric saw. If you value your own time, then don’t get the hand powered one. I spent 20 minutes doing one door frame and dropped everything to pick one up at my local hardware store. They had one model, $50, and it was worth it.
- Pergo saw blade, 10". About $80. This may have been a scam, but, my miter saw had a really old blade and Pergo boards are tough from my past experience
- Pergo tapping block, spacers and a “robert bar”. The hardware store had these, $10 - $15 and worth every penny. Also kind of required in many instances
Tools I had:
- Miter Saw, aka, chop saw. I already had one, my Father in Law gave it to me like all my tools. Also like all my tools, I think he disliked these enough to give them to me. This is fine, it was functional. I hate replacing the blade though.
- Hammer
Tools I wish I had:
- contour gauge. I always saw this in my step-dads tool box when I was a kid, and I played with it a lot. I never understood its application until I tried to cut a pergo board to fit a doorway
- Angle finder - I had kind of improvised one, but when you have a doorway that is set at a 45 degree angle and you have to cut a few boards to match that an angle finder is a quick way to make the right cuts.
Boulder Creek House
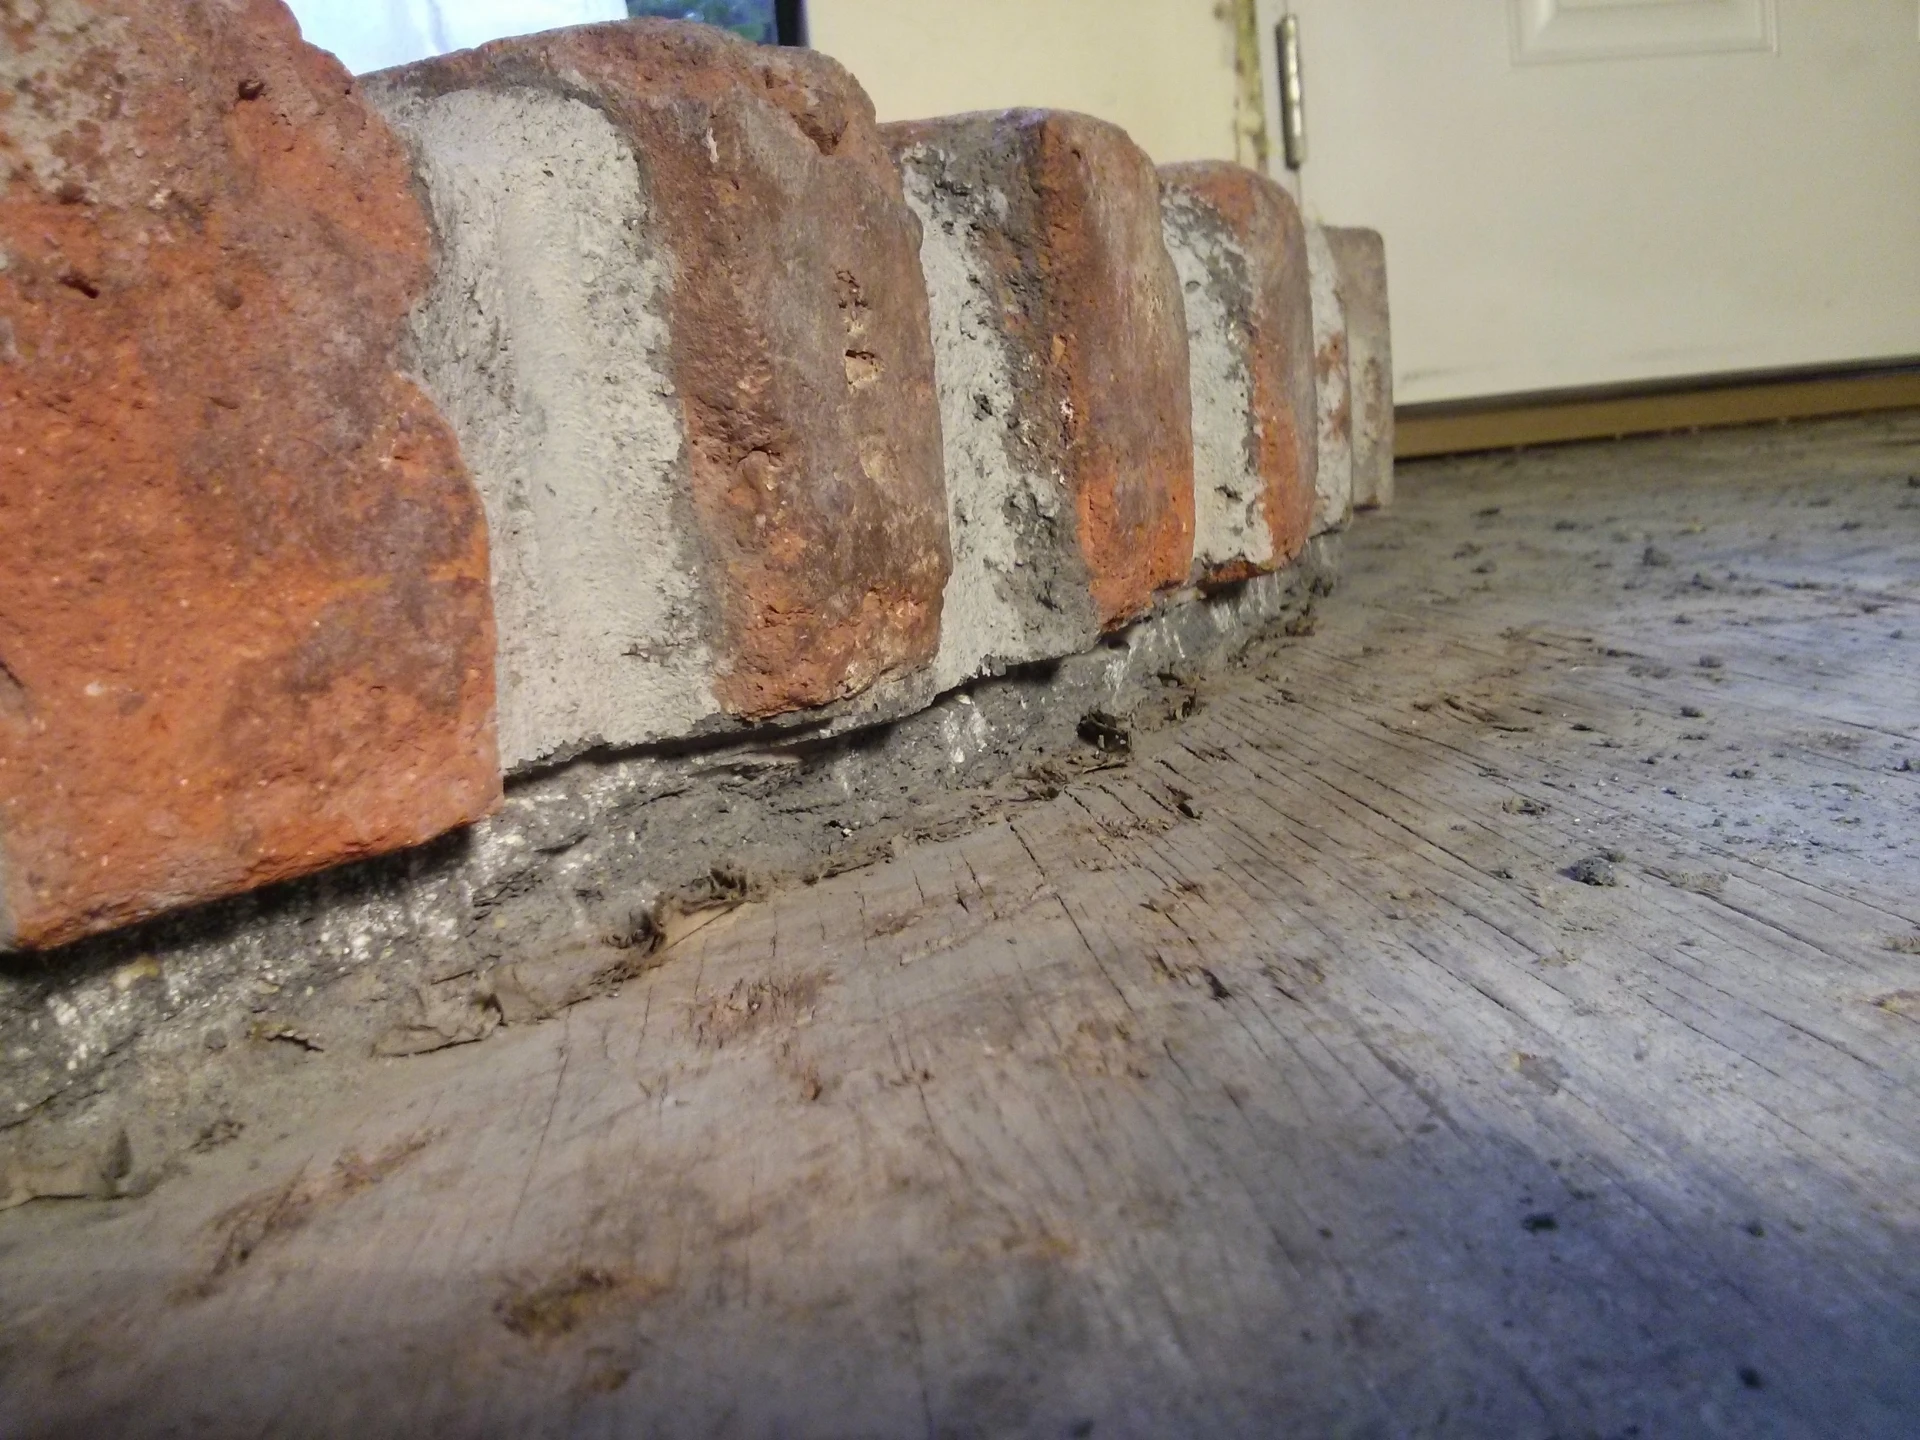
Mmm... fireplace
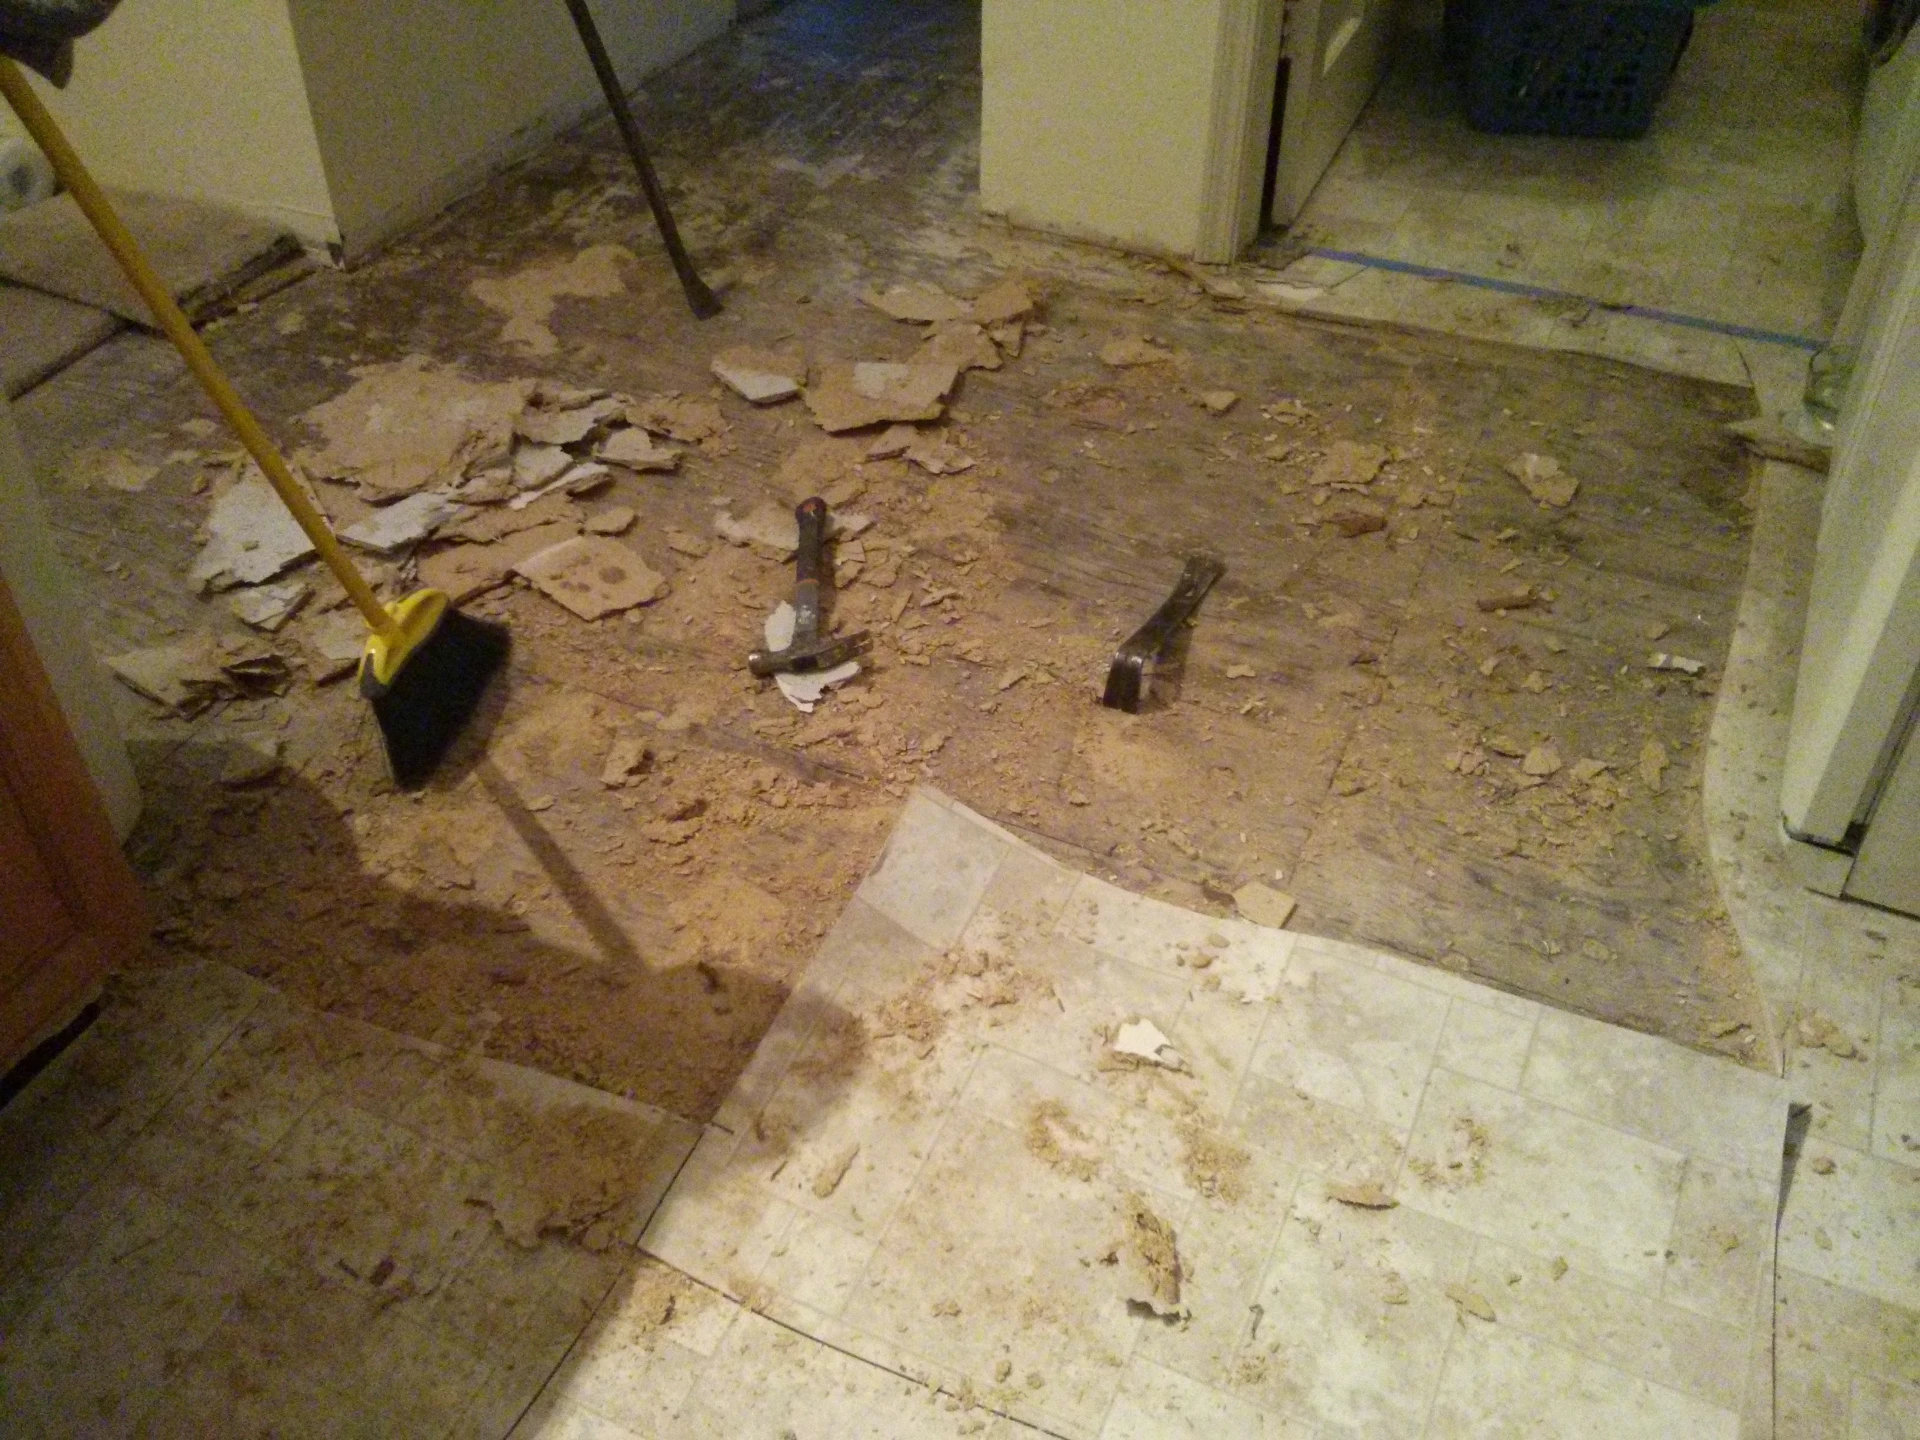
Vinyl floor is the worst
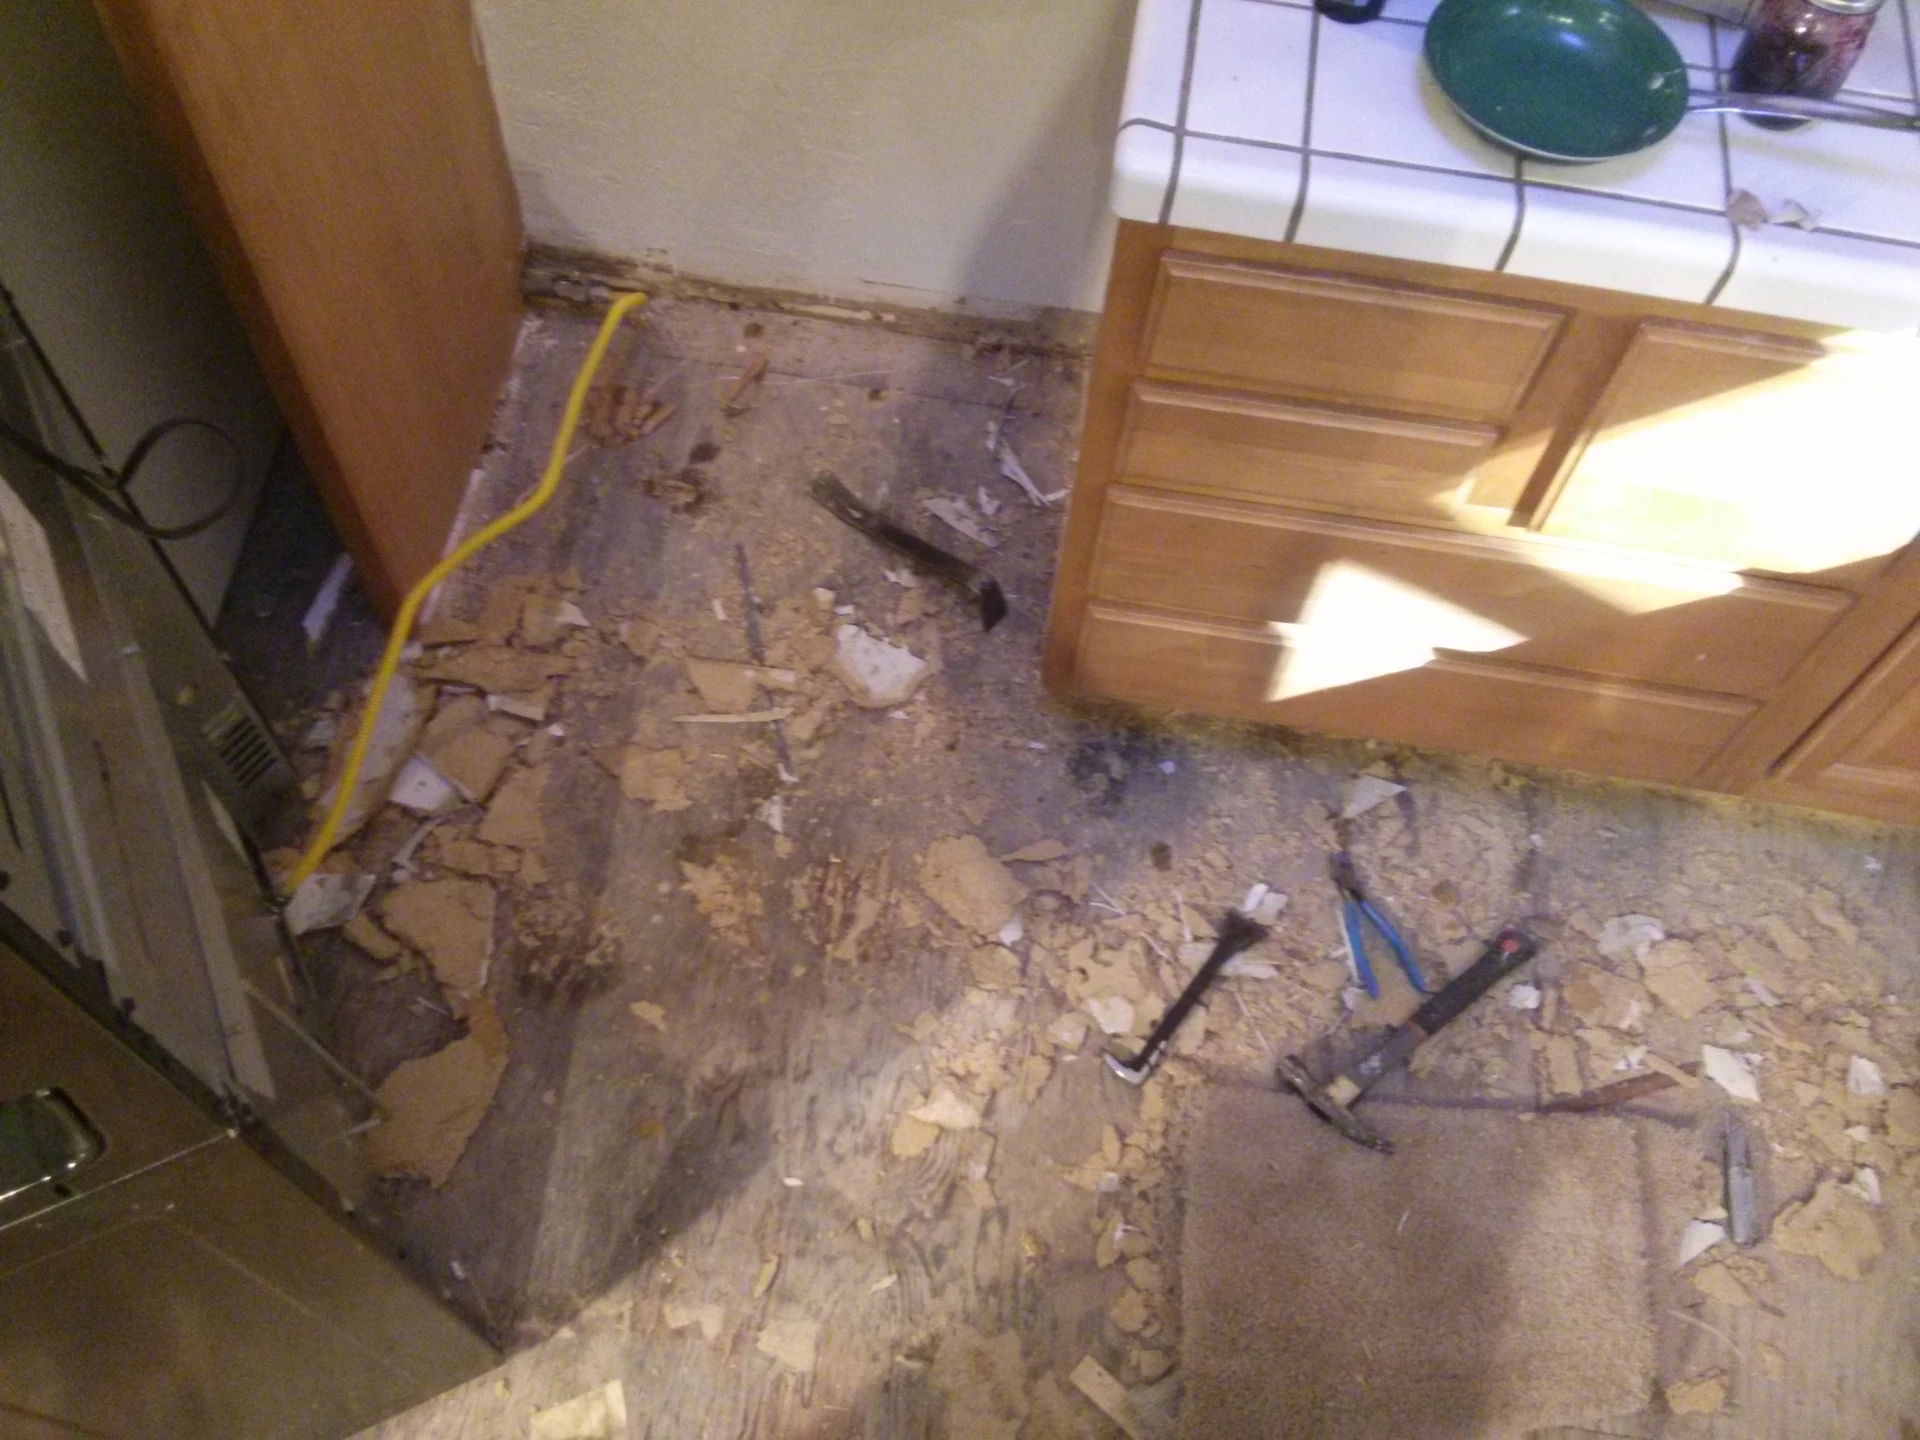
Every one of those tools was used to get this stuff up
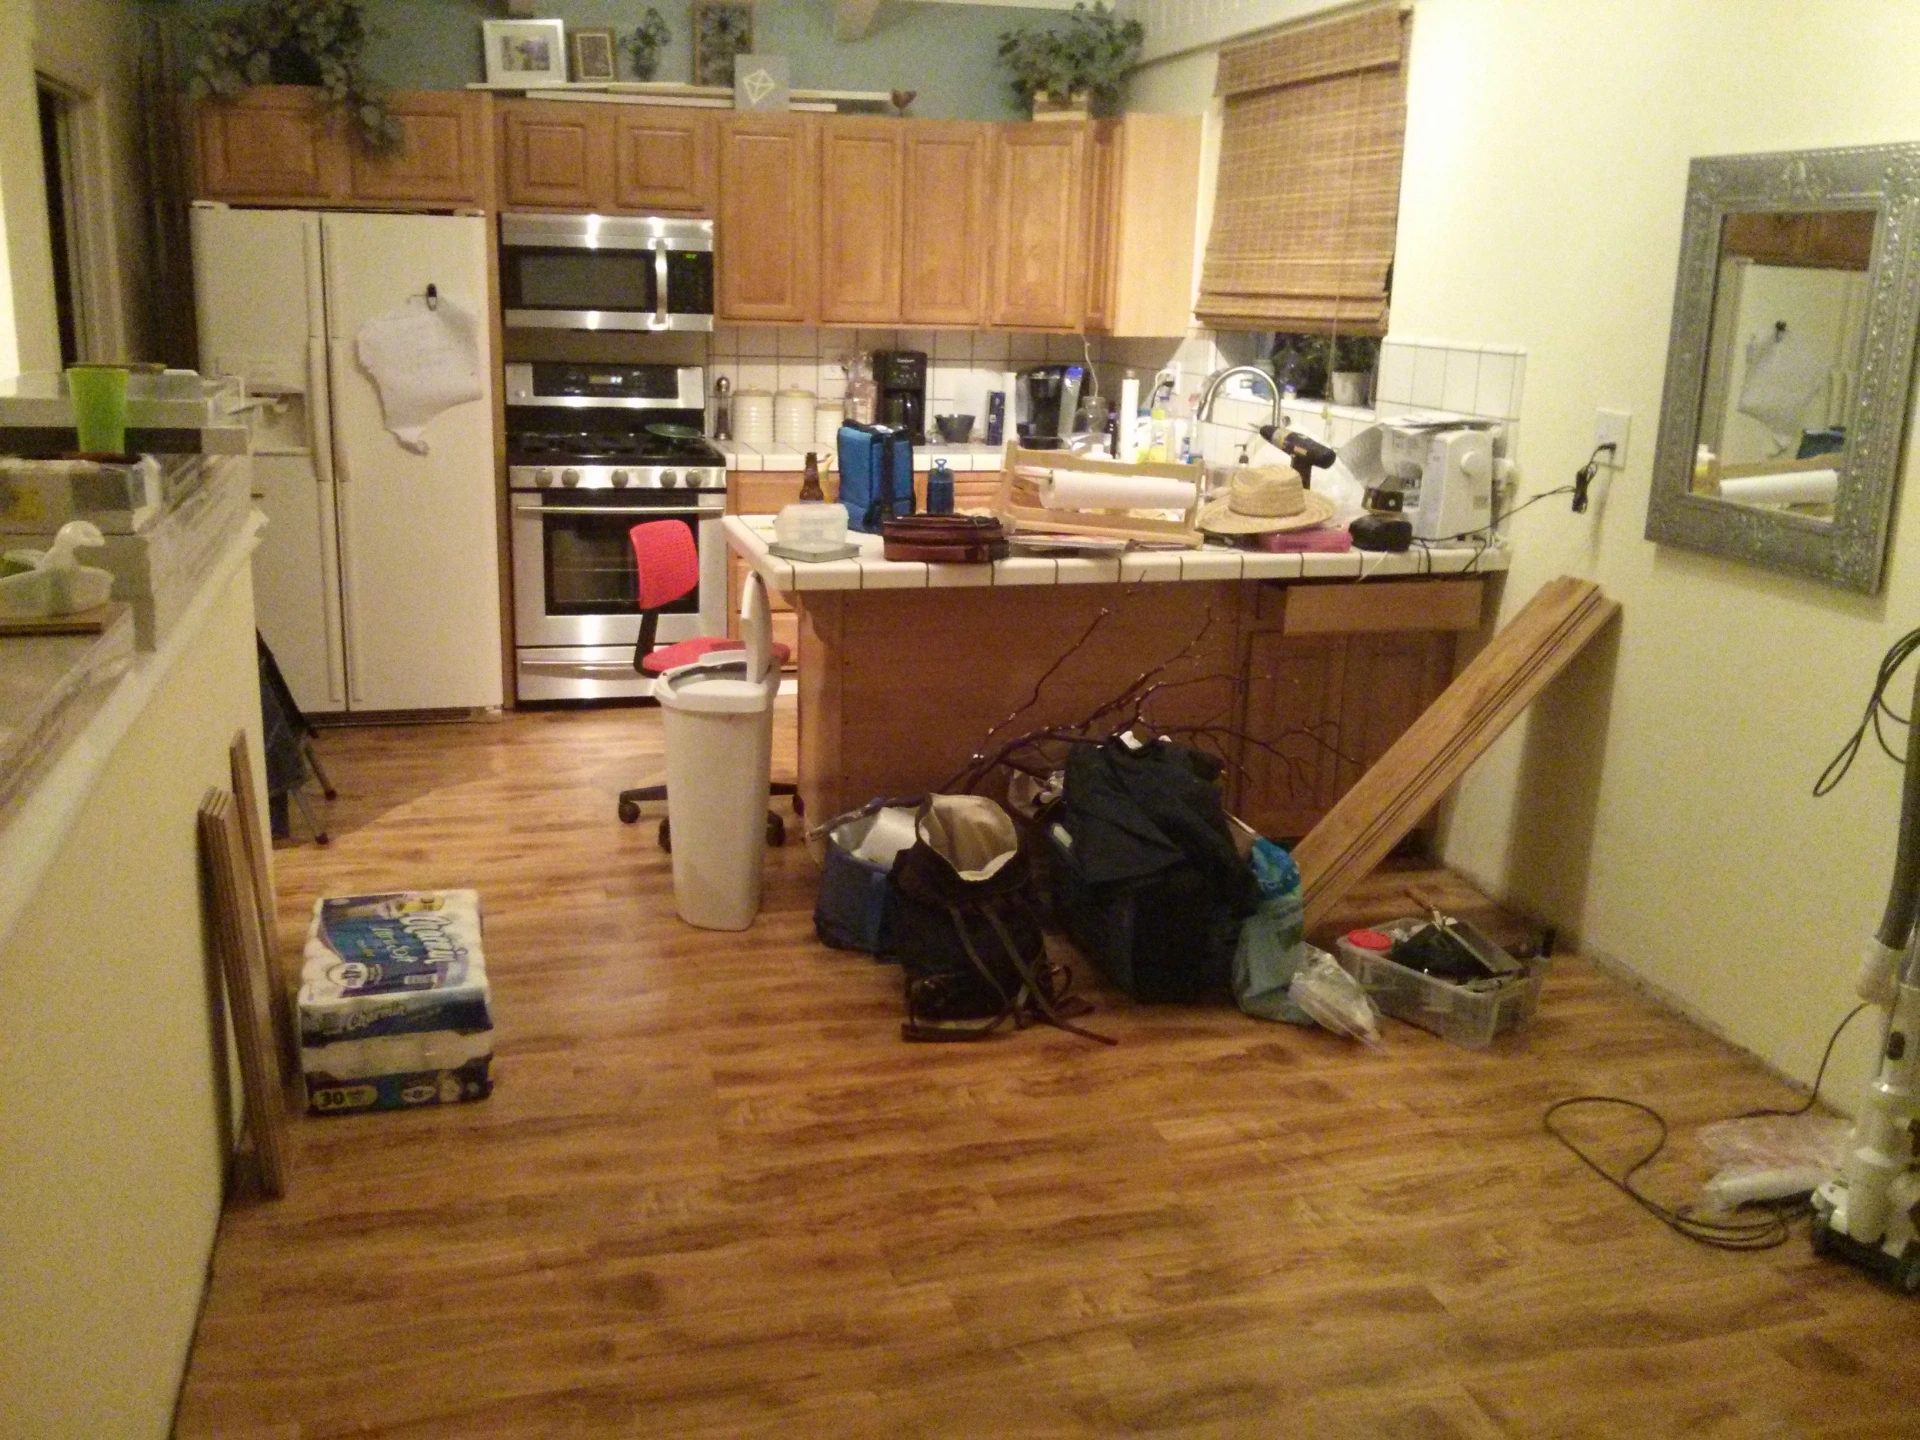
Hey not bad!
Mostly done. The door frames and baseboard are still unfinished

These two appreciated me stopping all that noise to let hem cuddle again
Boulder Creek Shed
That's not my house!
This padding was thinner, and fairly inexpensive. I REALLY like having a thick pad to keep the sound levels down. A shed can use cheaper stuff
A quick mistake to point out: The seam from the last two rows is way to close here. I tried my best to avoid anything less than a 6" overlap
Yay, done
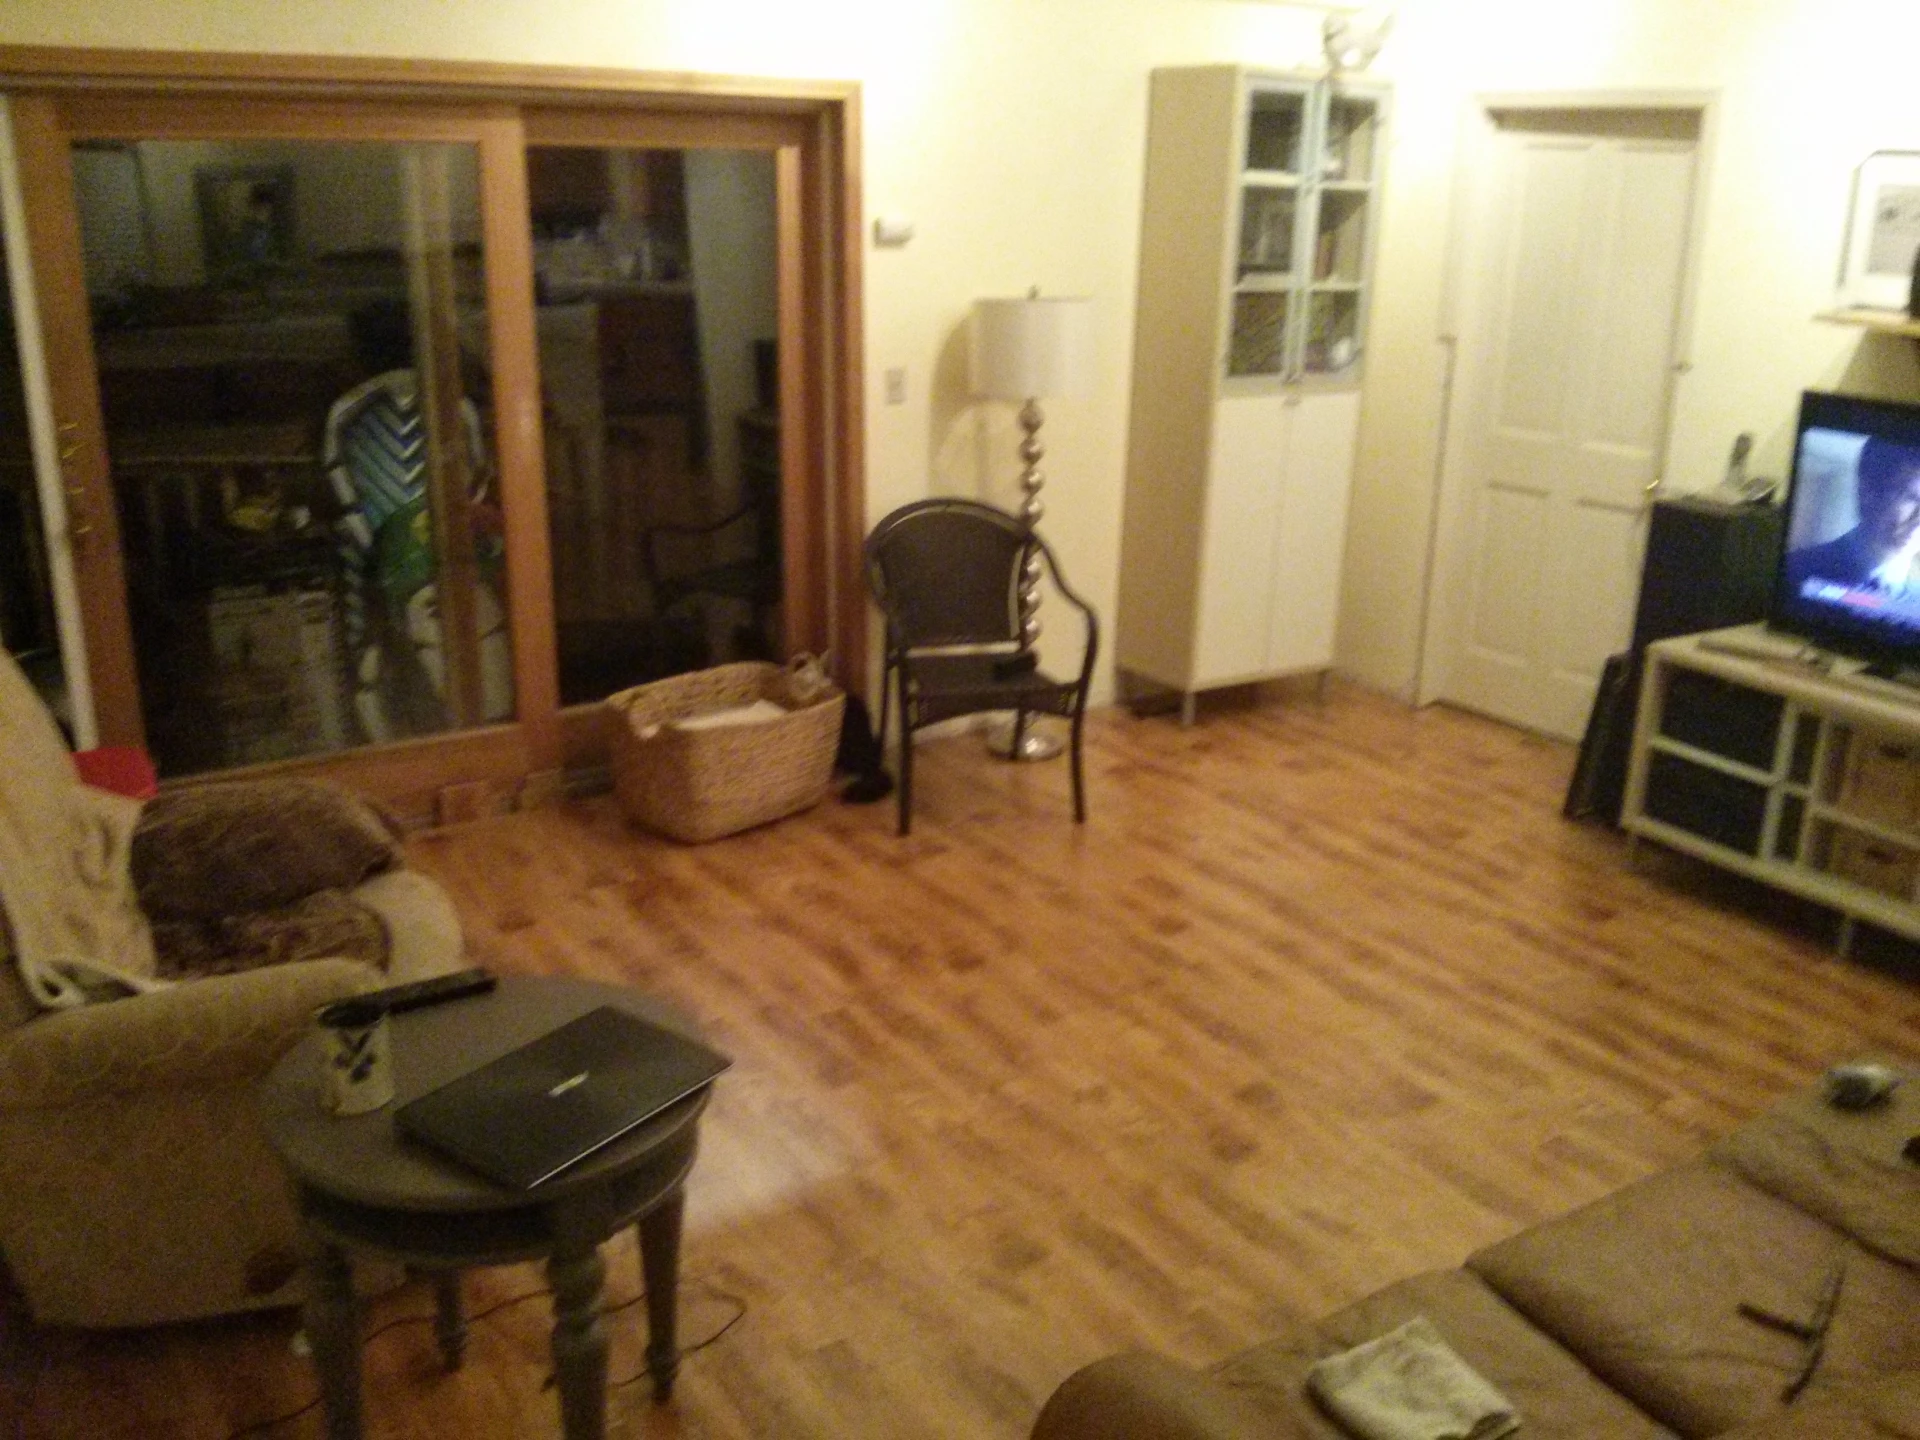
Current House
Now, obviously this project just didn’t happen. We have discussed new flooring for two reasons:
- Animal hair (we have 4 animals with fur)
- Allergies from animal hair and other dander
Michele had called a few places for different quotes. One being Pergo style flooring, another wool carpet (I had no idea it was as expensive as it is) and cheap carpet. As much as I did not want to do this, the numbers that came back were pretty much DOA.
So one Saturday Michele more or less said she ordered a pallet of flooring, which was enough to do the hallway and computer/fun room. Cool I said, lets get cracking.
My kids are old enough to pitch in. They did a little
I took this picture when my Mom texted me saying "Hey sweetie, What are you guys up to this weekend?"
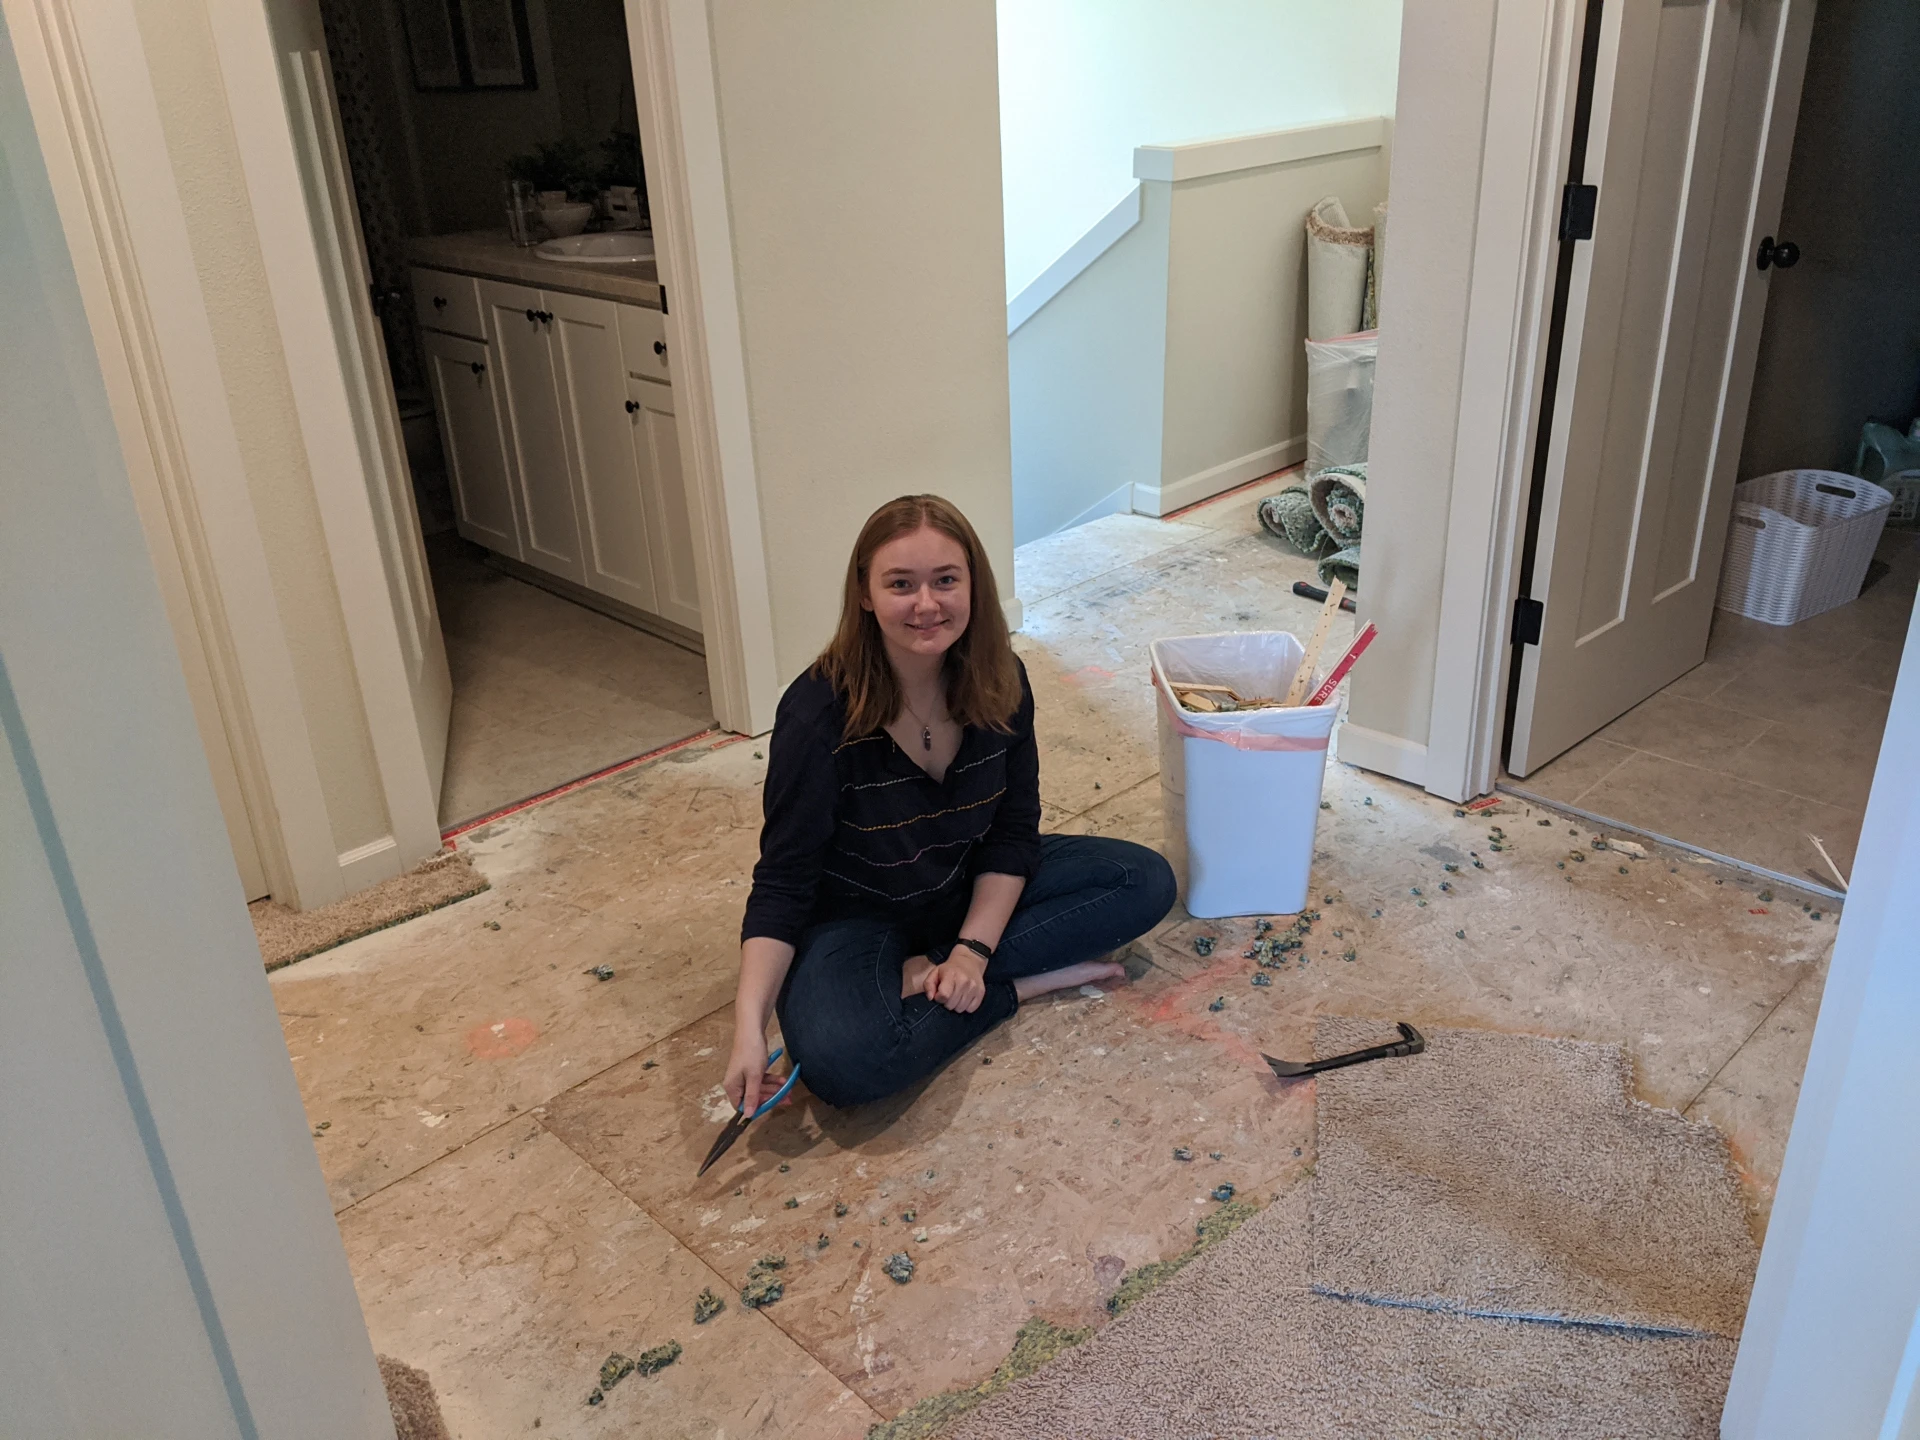
Carpet had to be cut in strips so we could move furniture back and forth
We had a few weeks until the pallet arrived, and just before the pallet arrived Michele said “I think we should do our bedroom as well”
I may have been less compliant with that request. I MAY have said:
“That wasn’t part of the deal!”
To which she nearly replied:

My initial reaction to a lot of things is to say no, but then about 20 minutes later I said “Okay, lets get in the car and pick up the extra flooring we need for the bedroom”
Some measuring and math later, we bought just enough to get started with the bedroom.
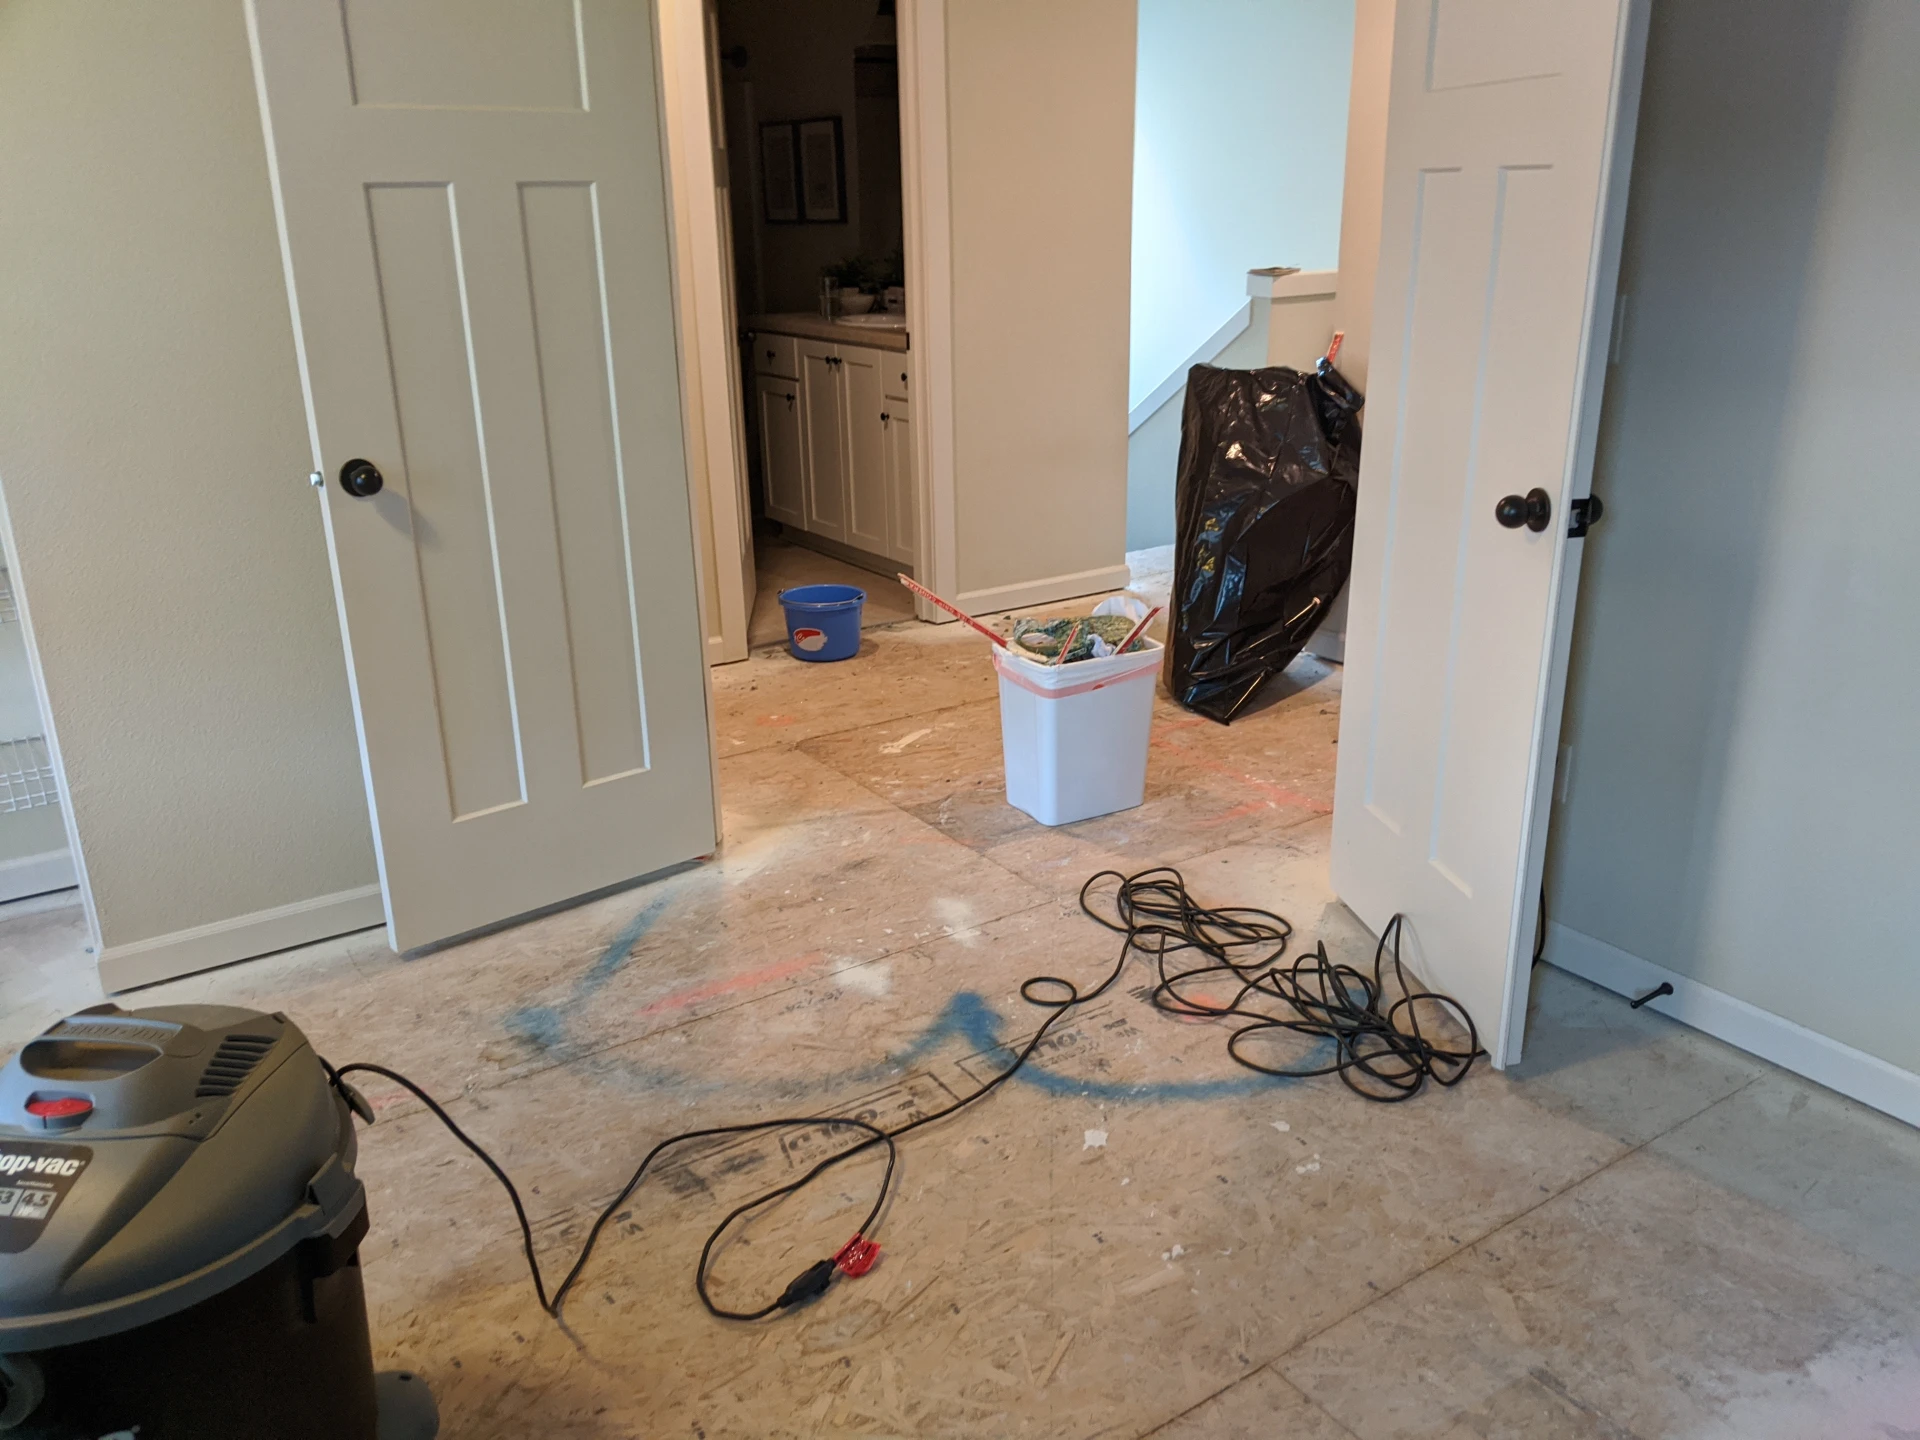
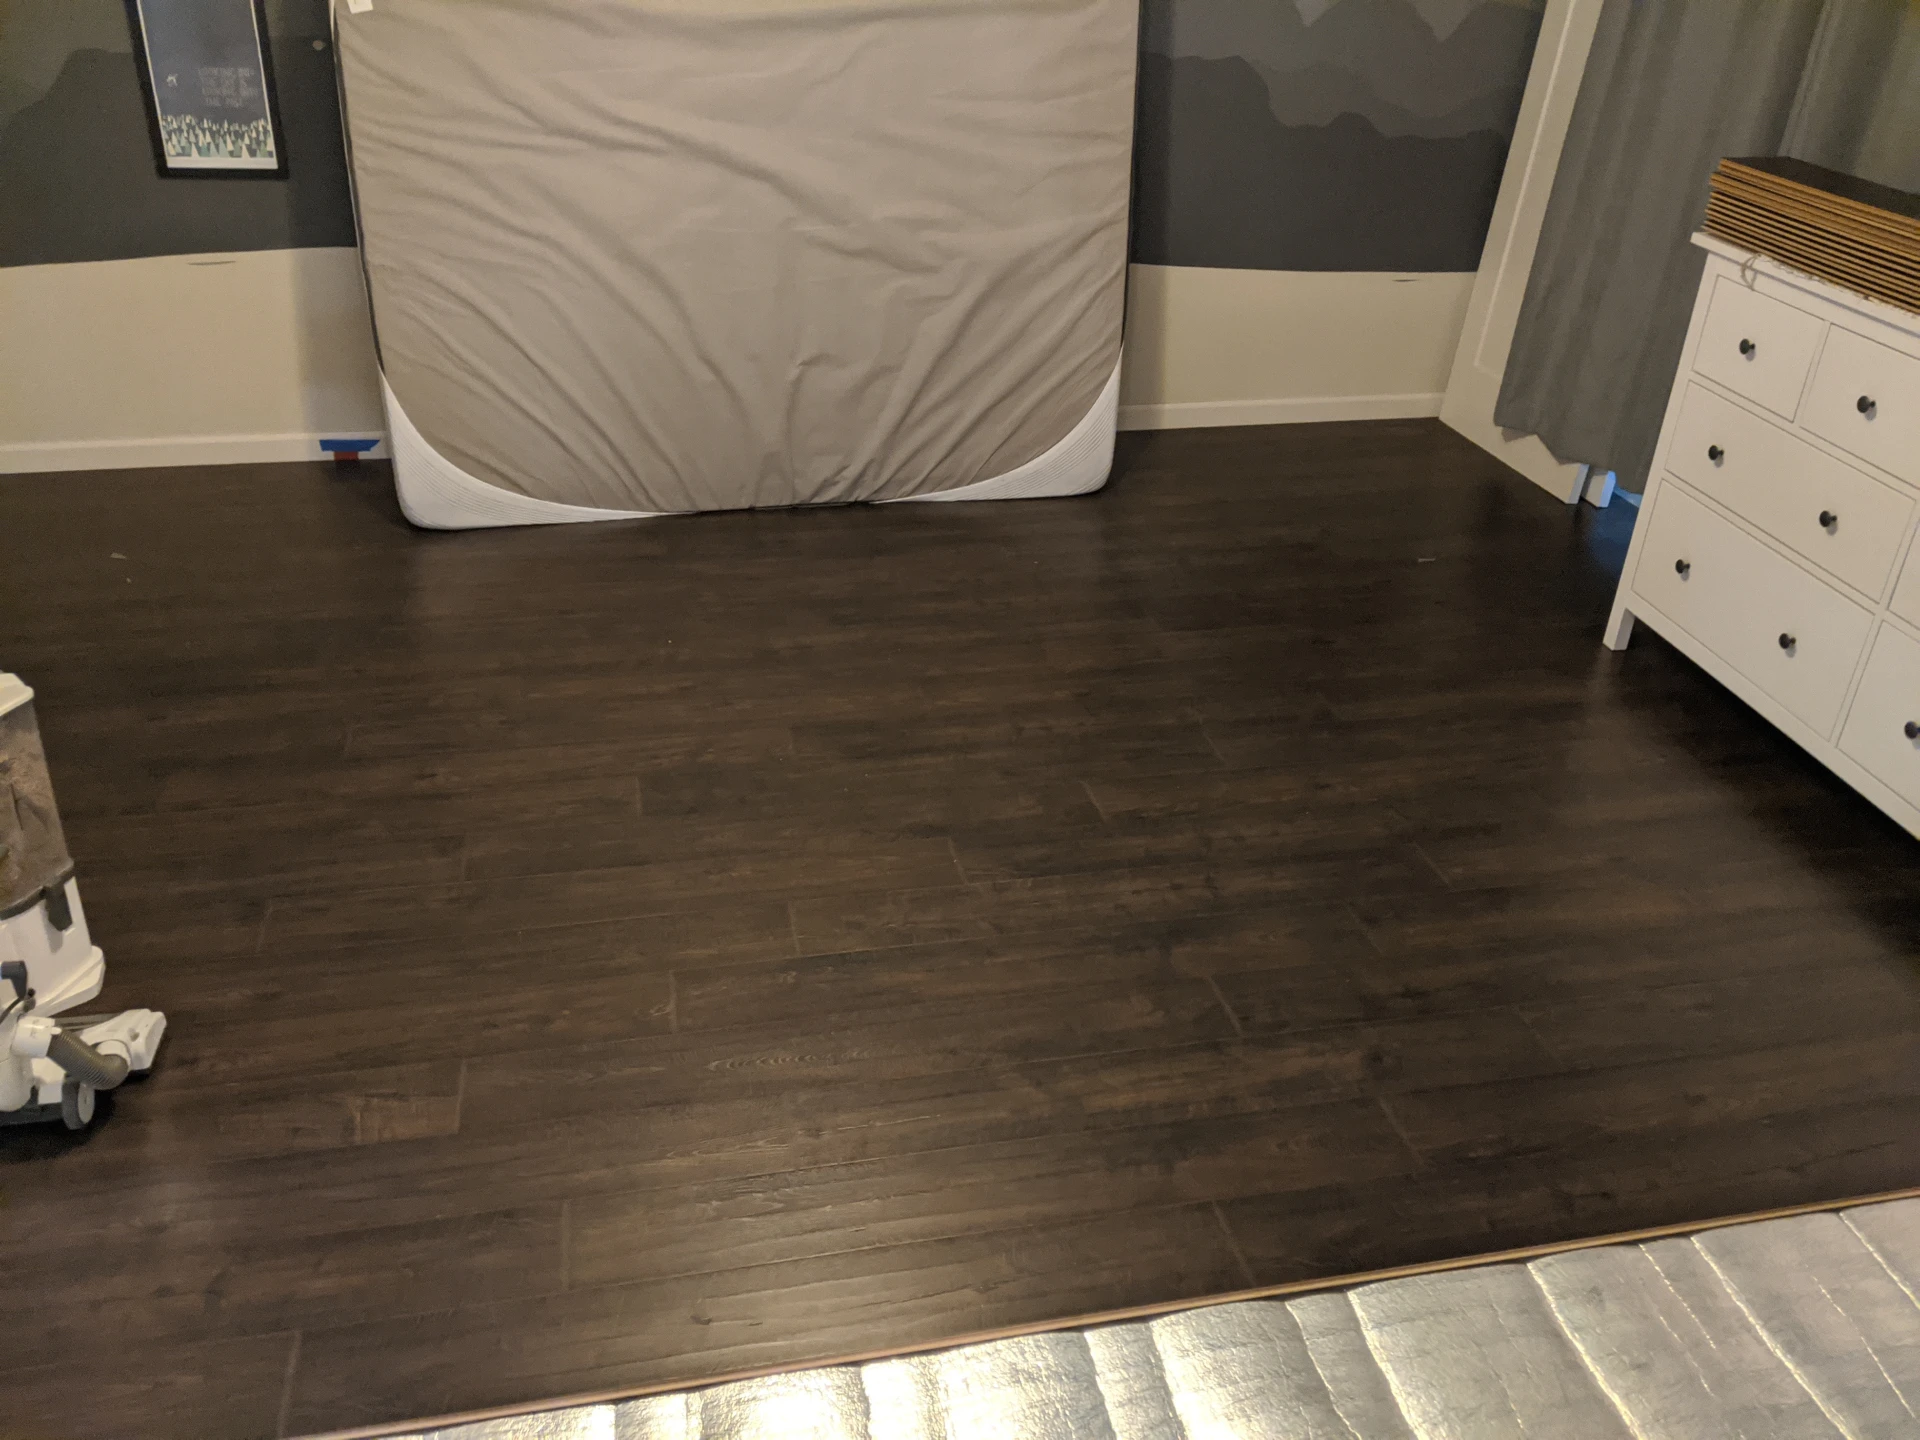
AFTER I ripped the carpet and padding out. Shuffling the furniture was the most time consuming.
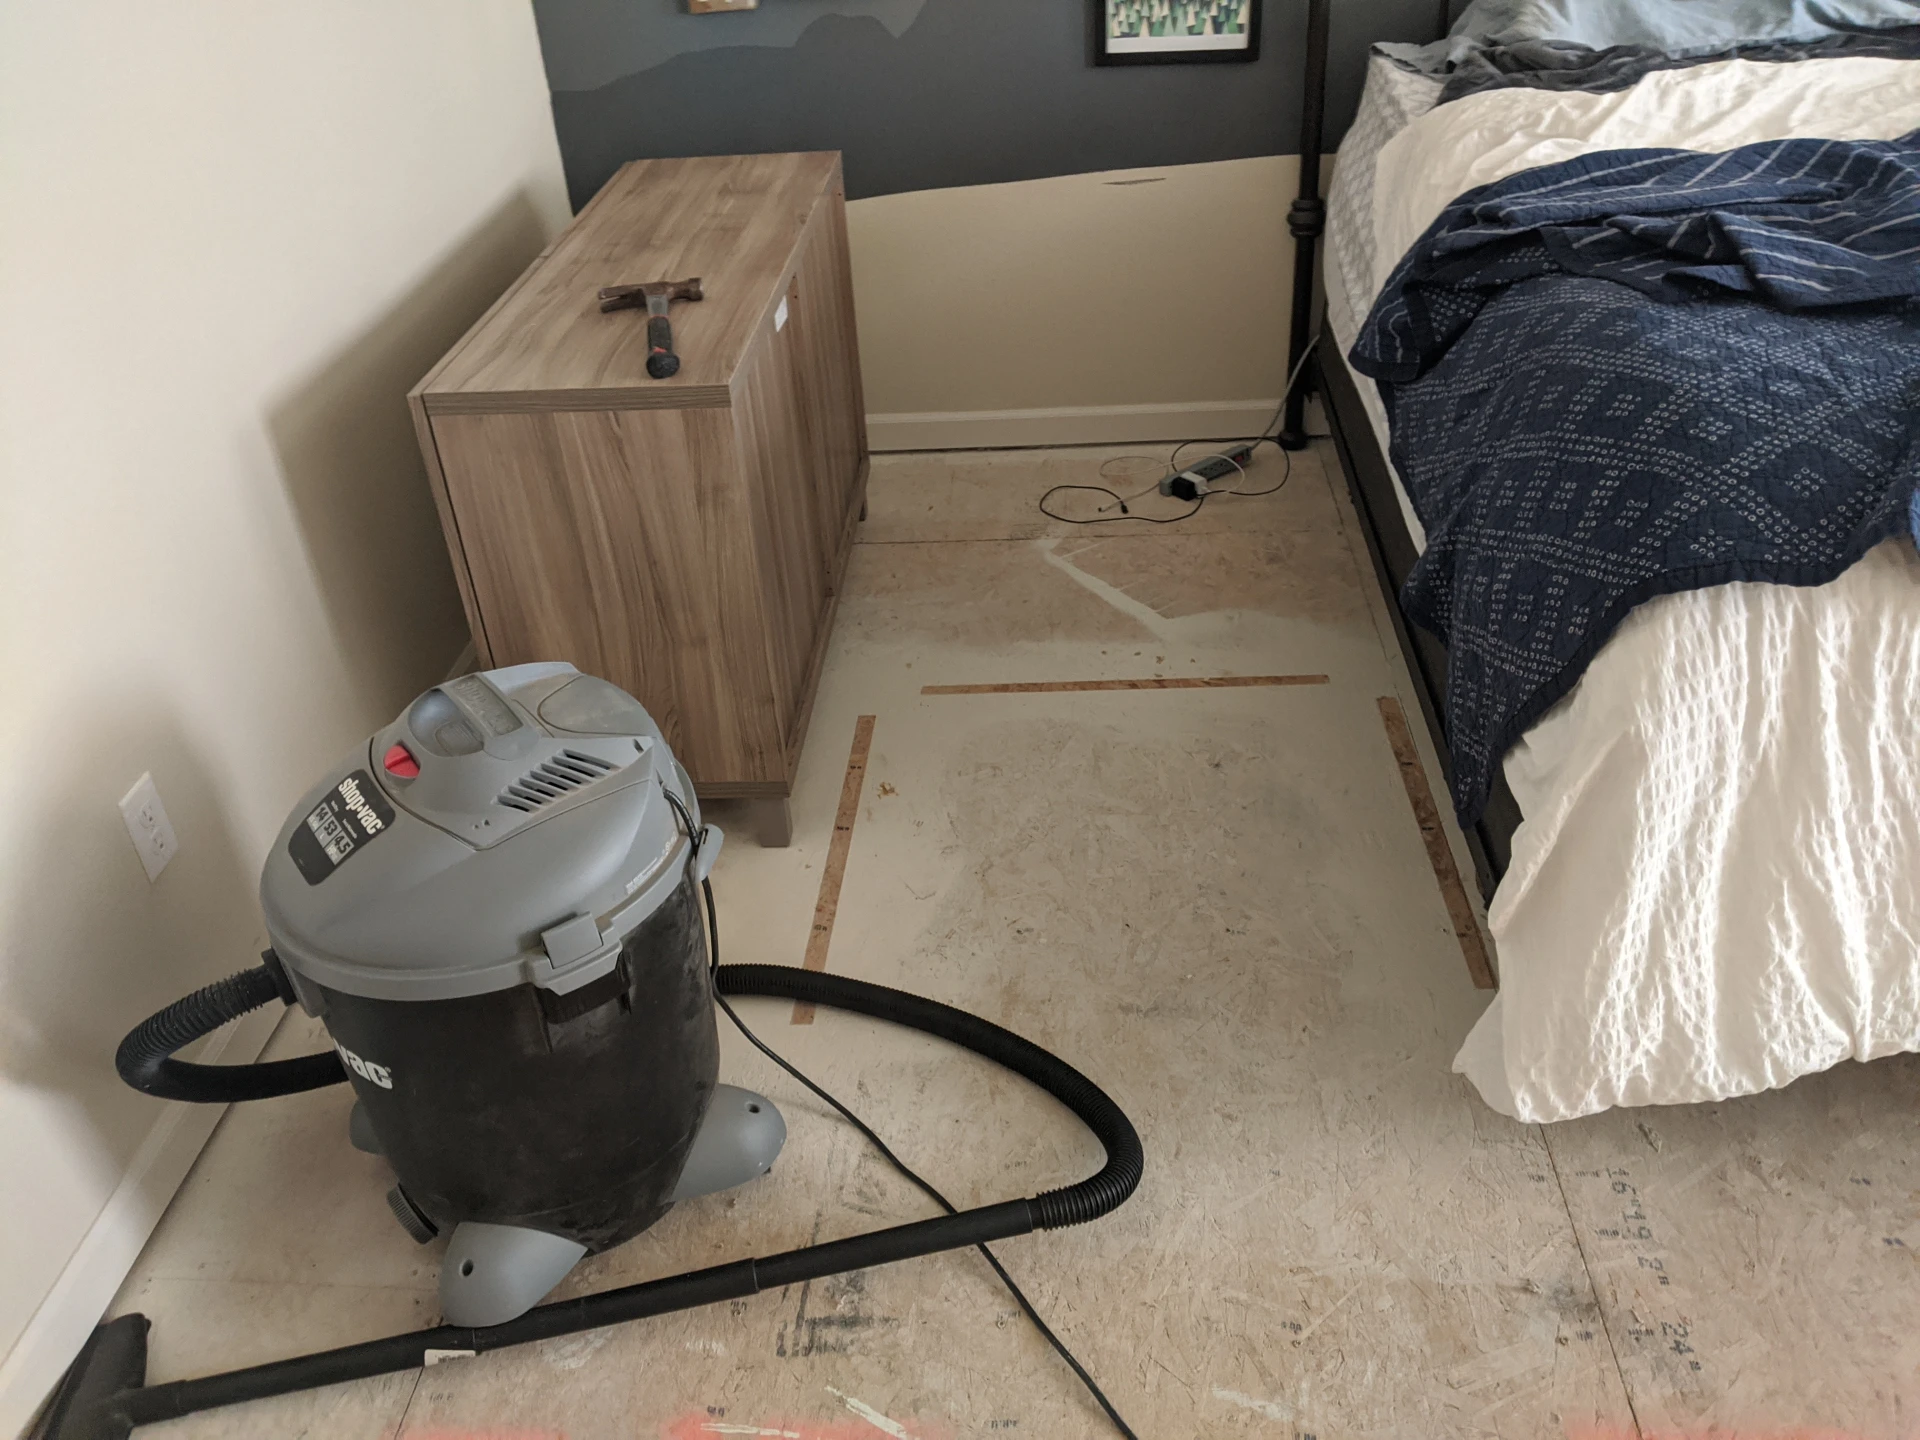
Master Bedroom cleared
Let me restate: This was the first time I have done this all by myself. The results may have been a little sloppy at first.
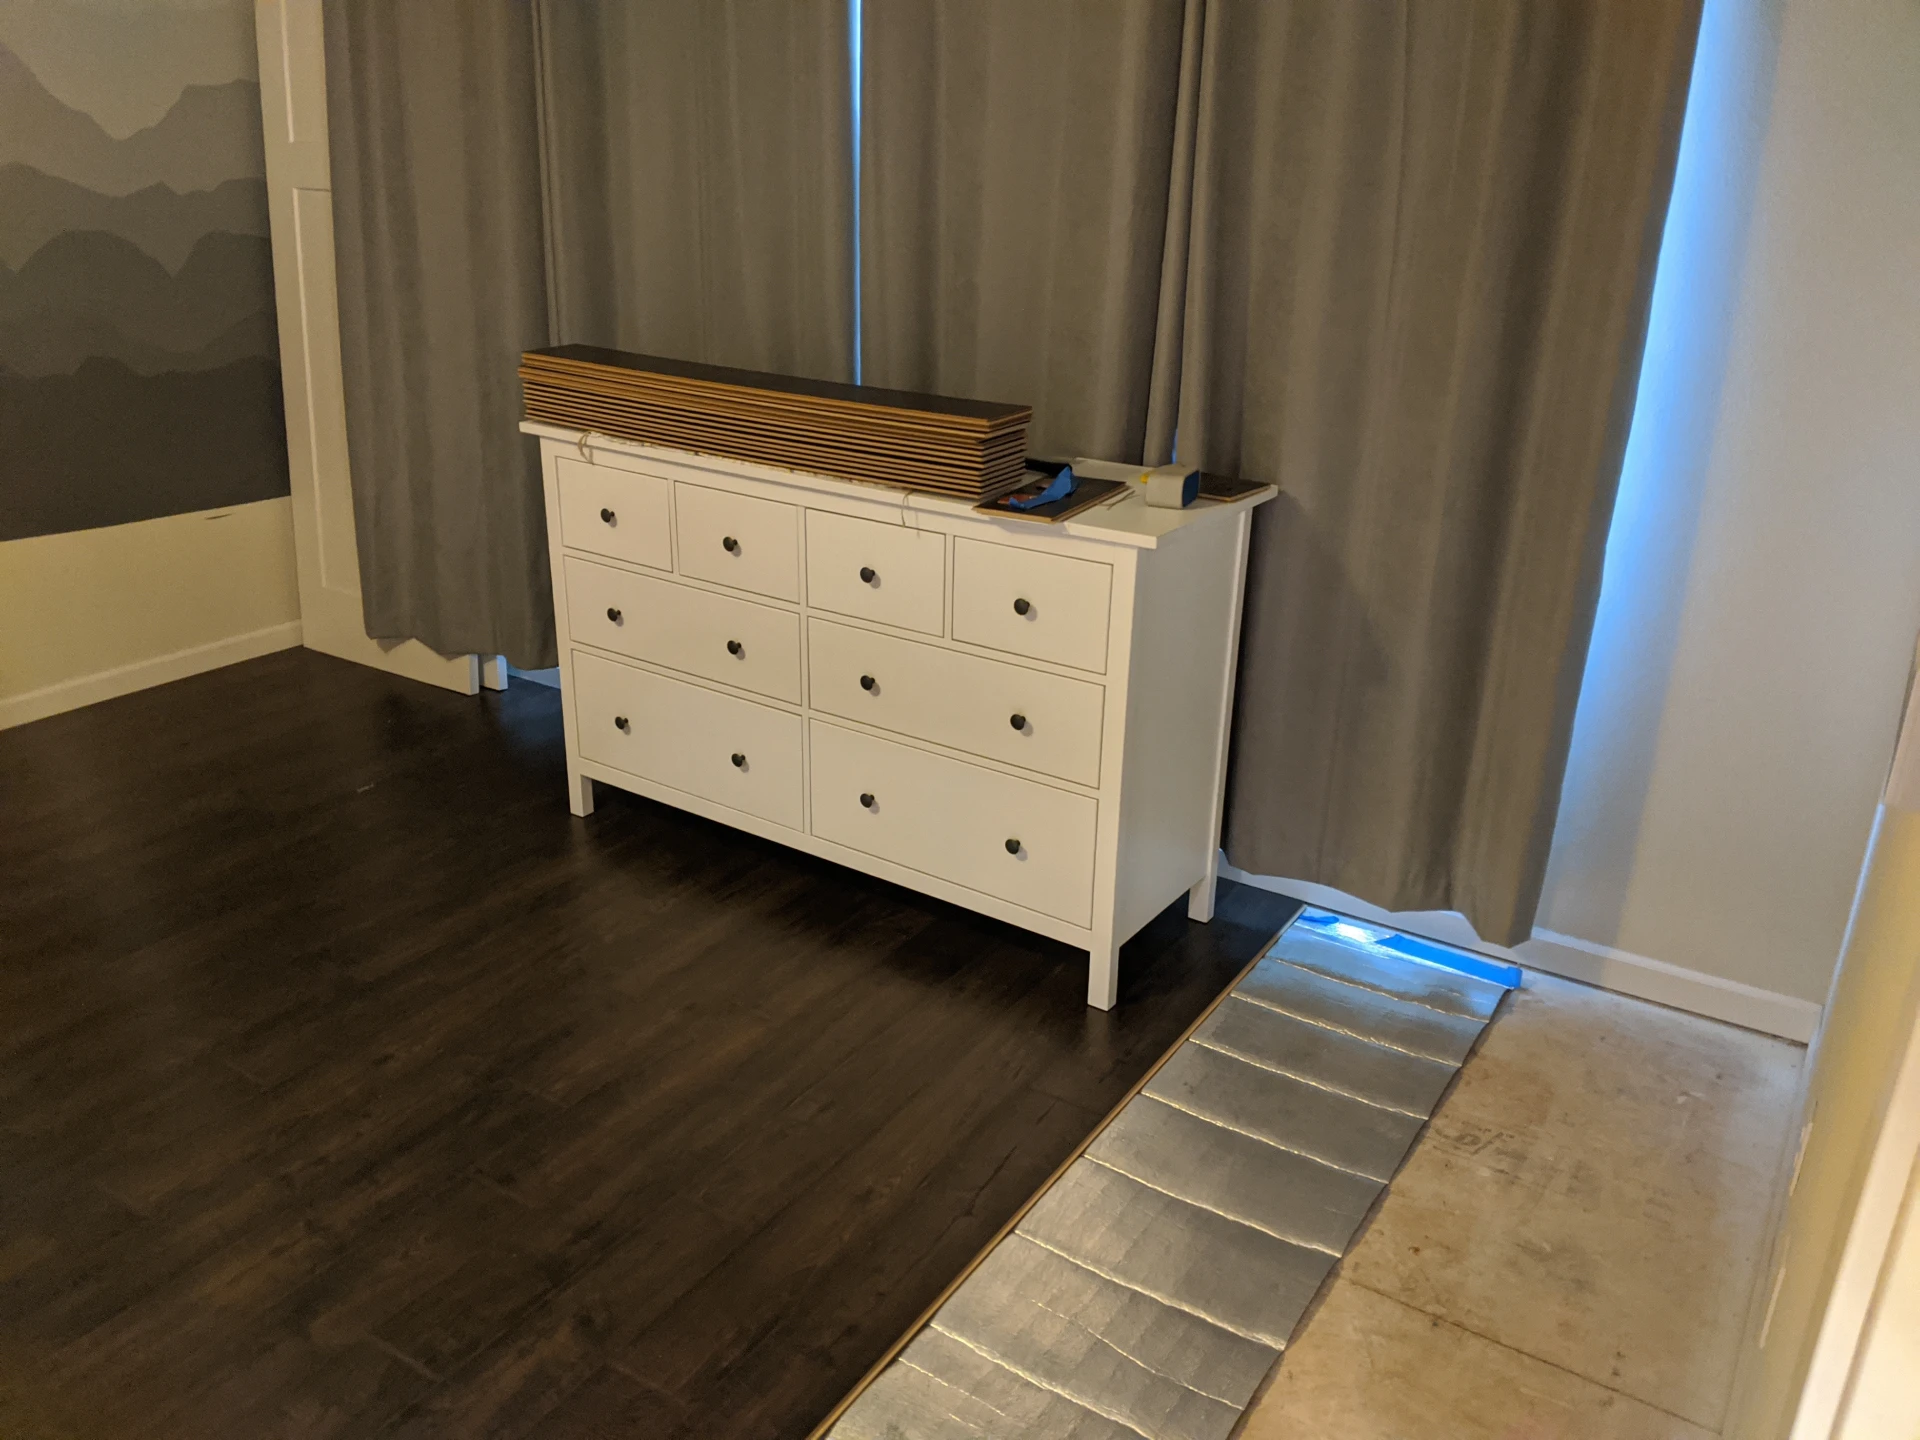
We decided to start from the master bedroom wall, and work towards the master bath. Part of this decision was based on the flow of the lines, and, we wanted to leave cutting into the doorway last.
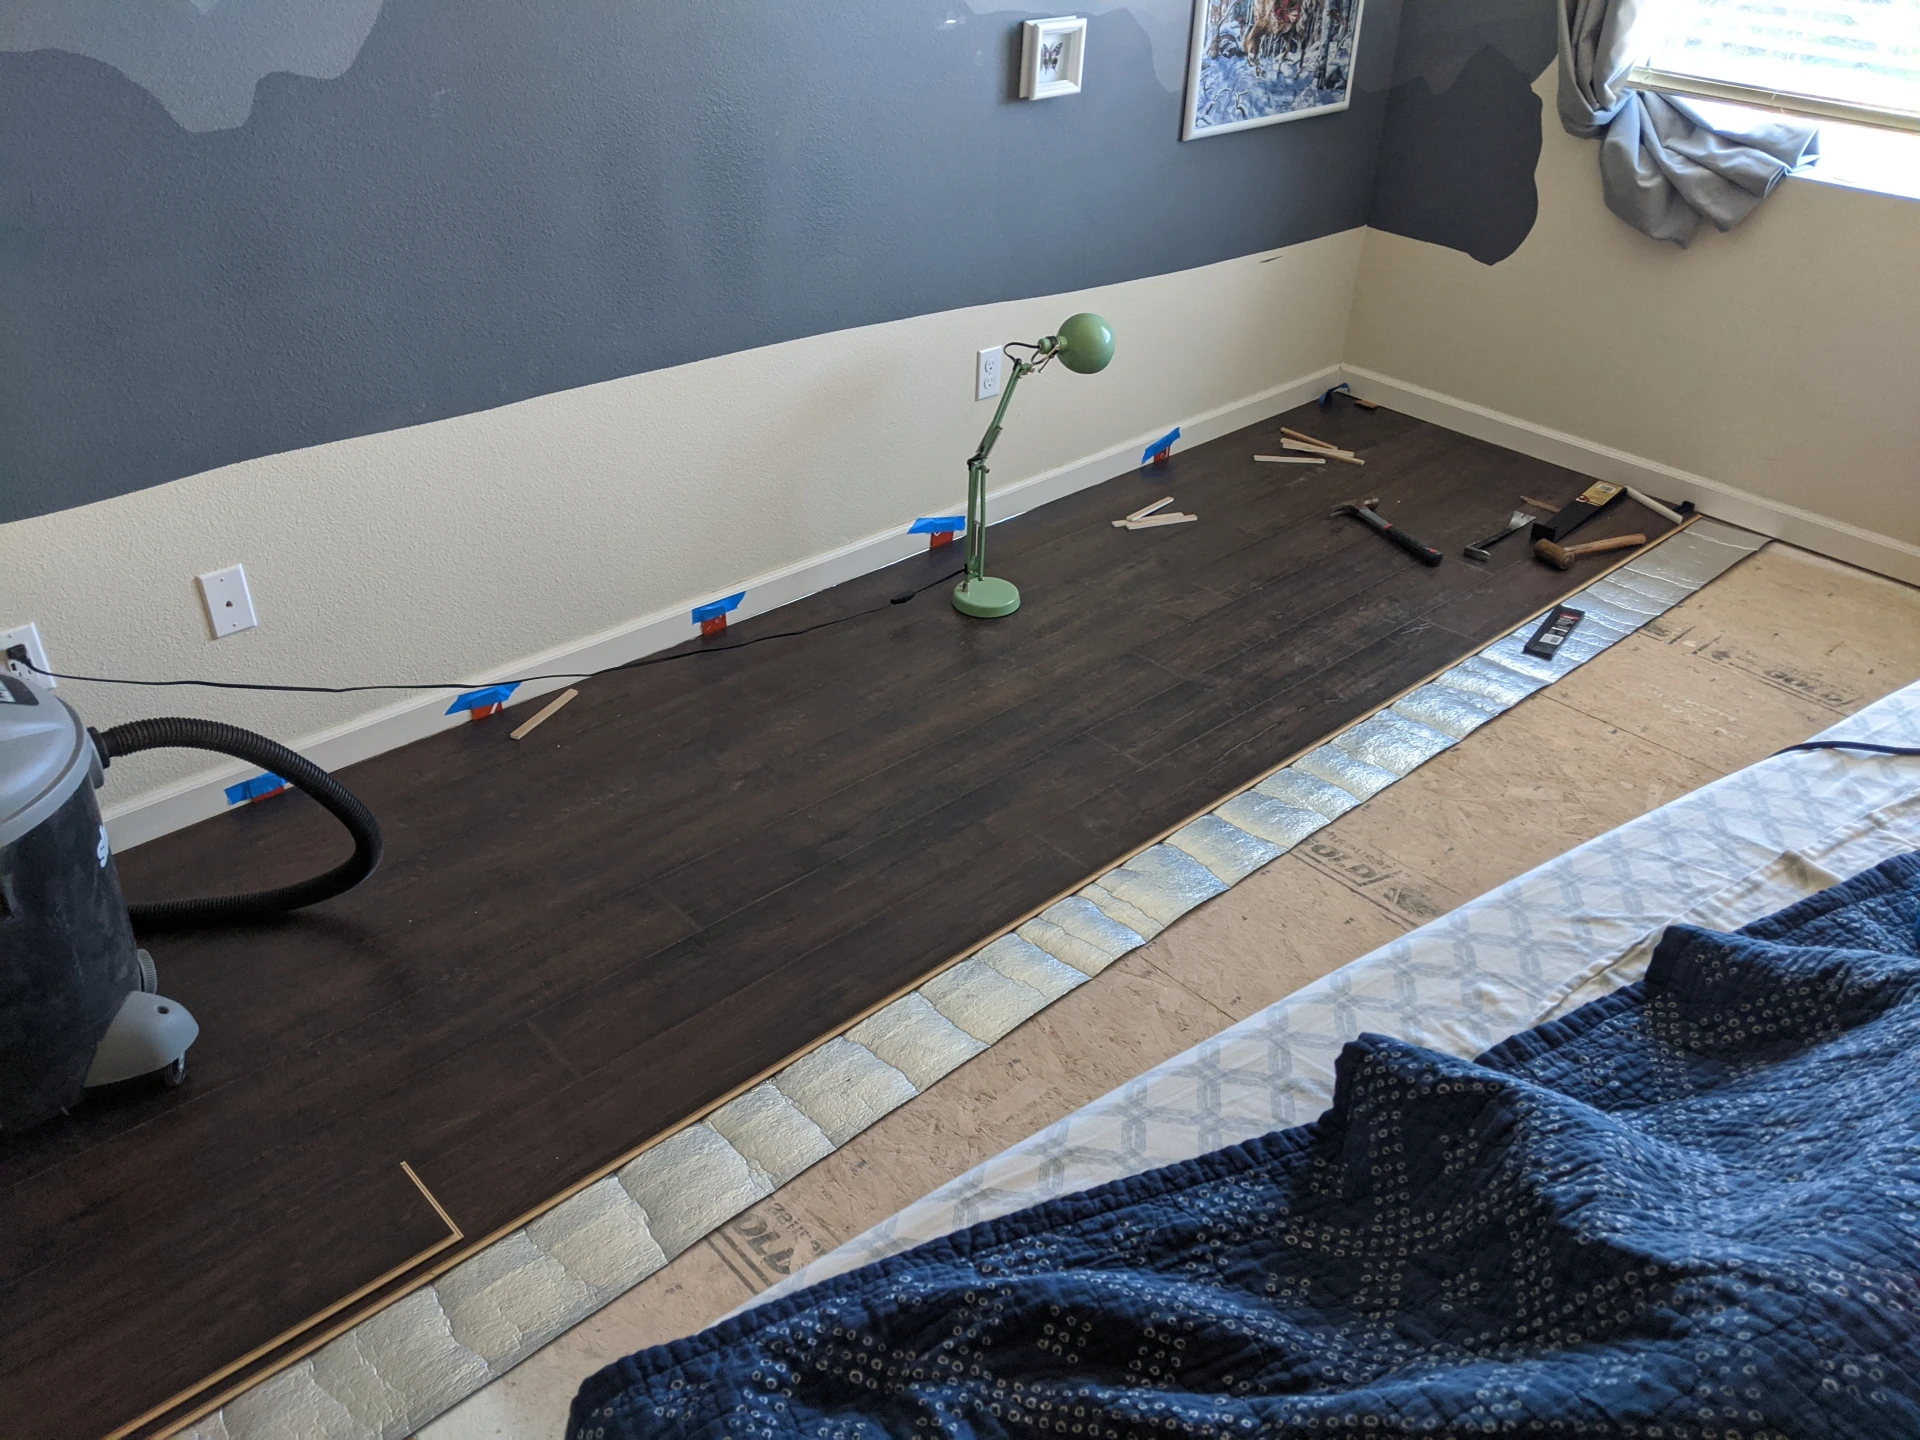
This was one day of progress
Day 2, and not too bad
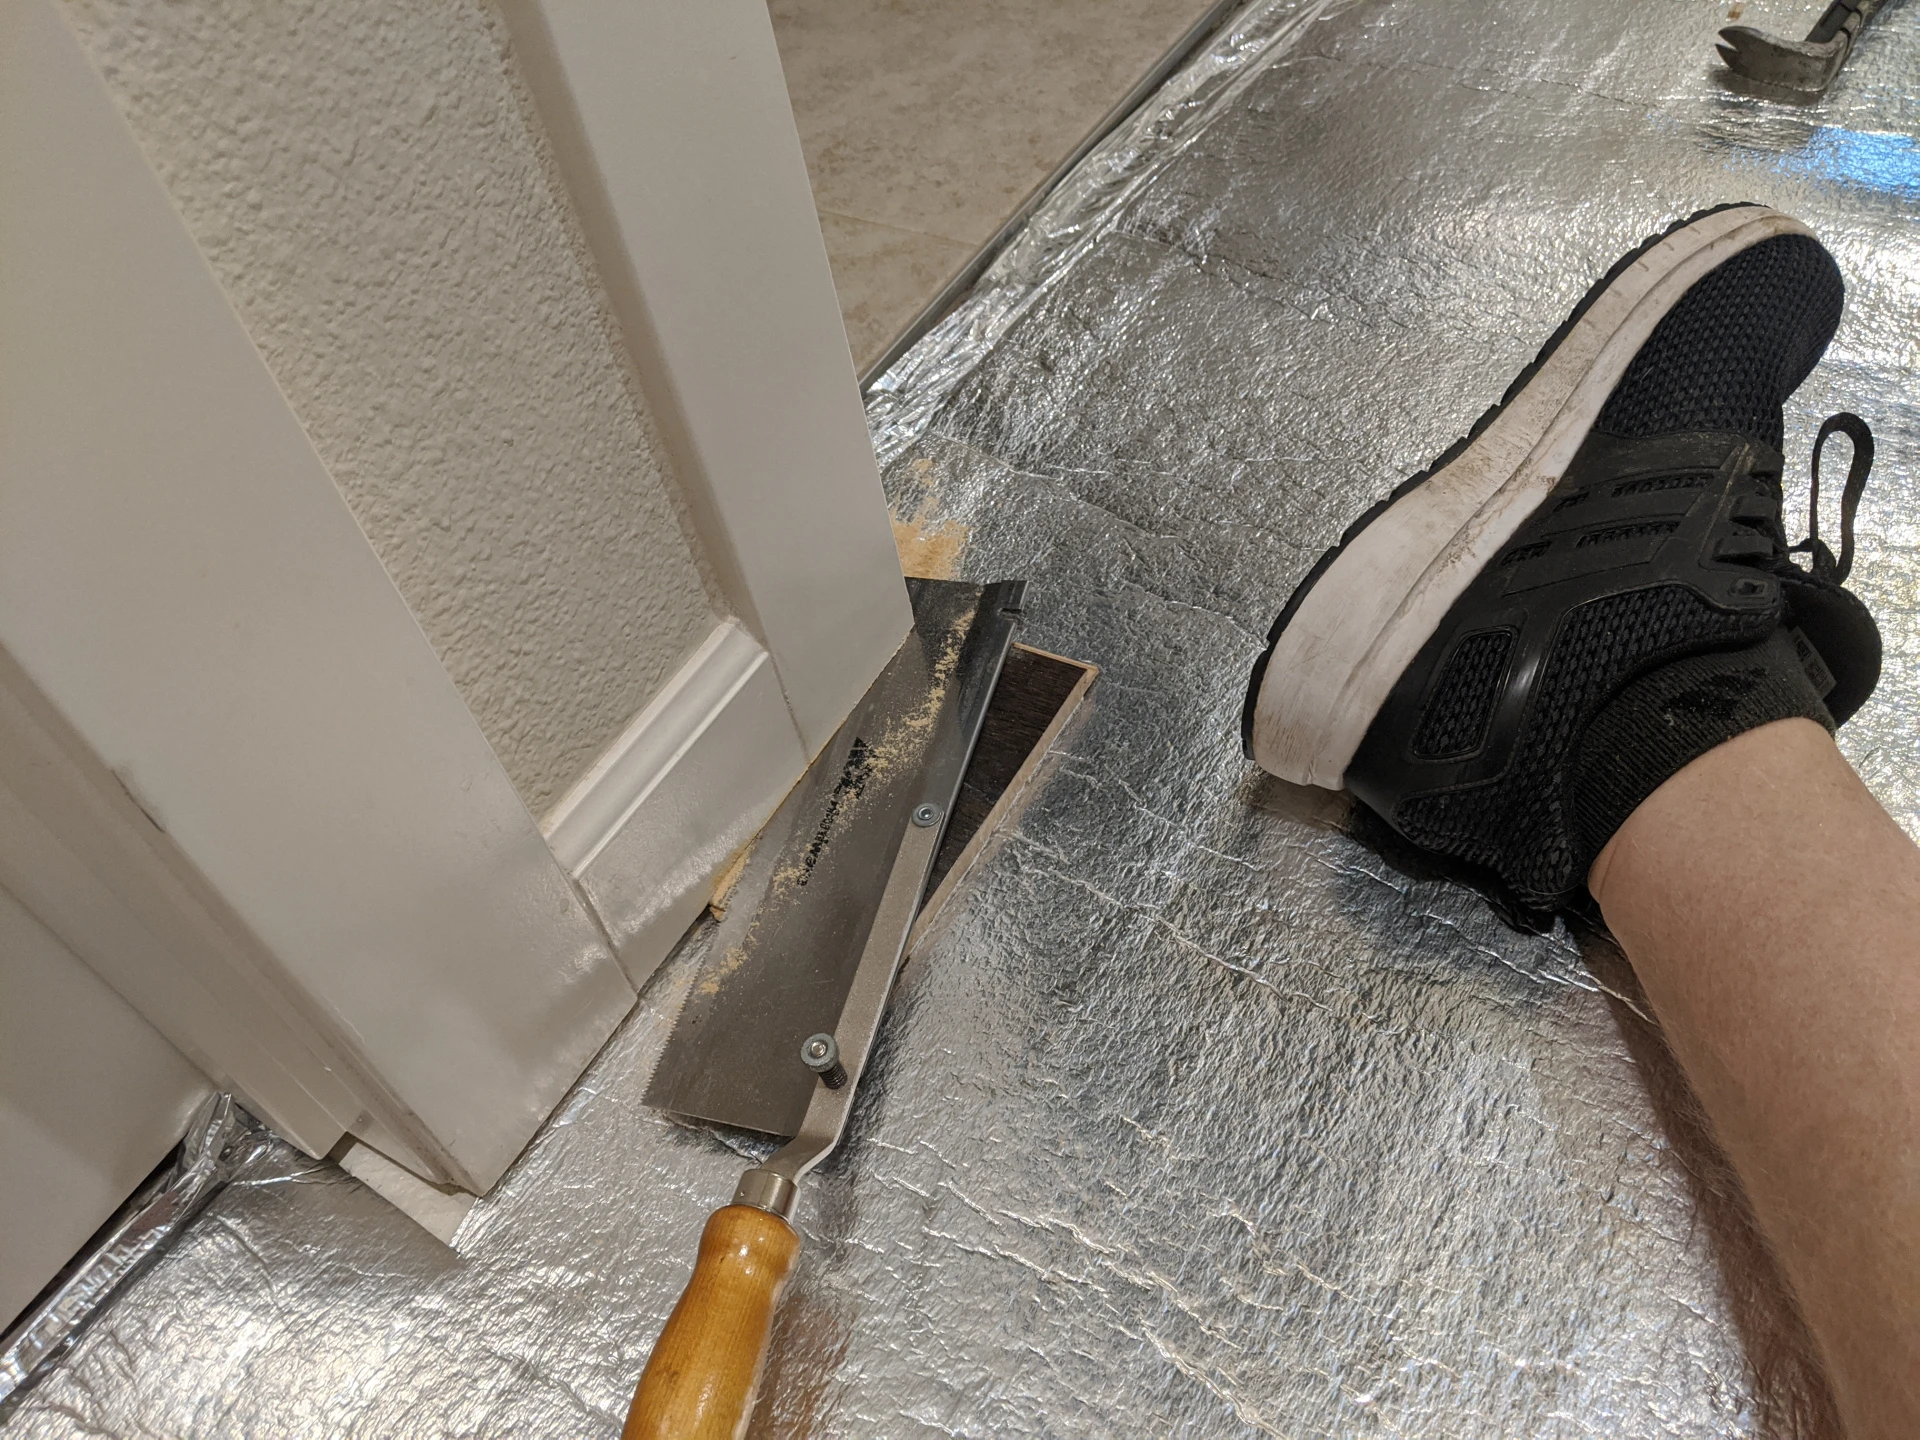
This hand saw is nice for one doorway. After doing one, I decided it was for the birds
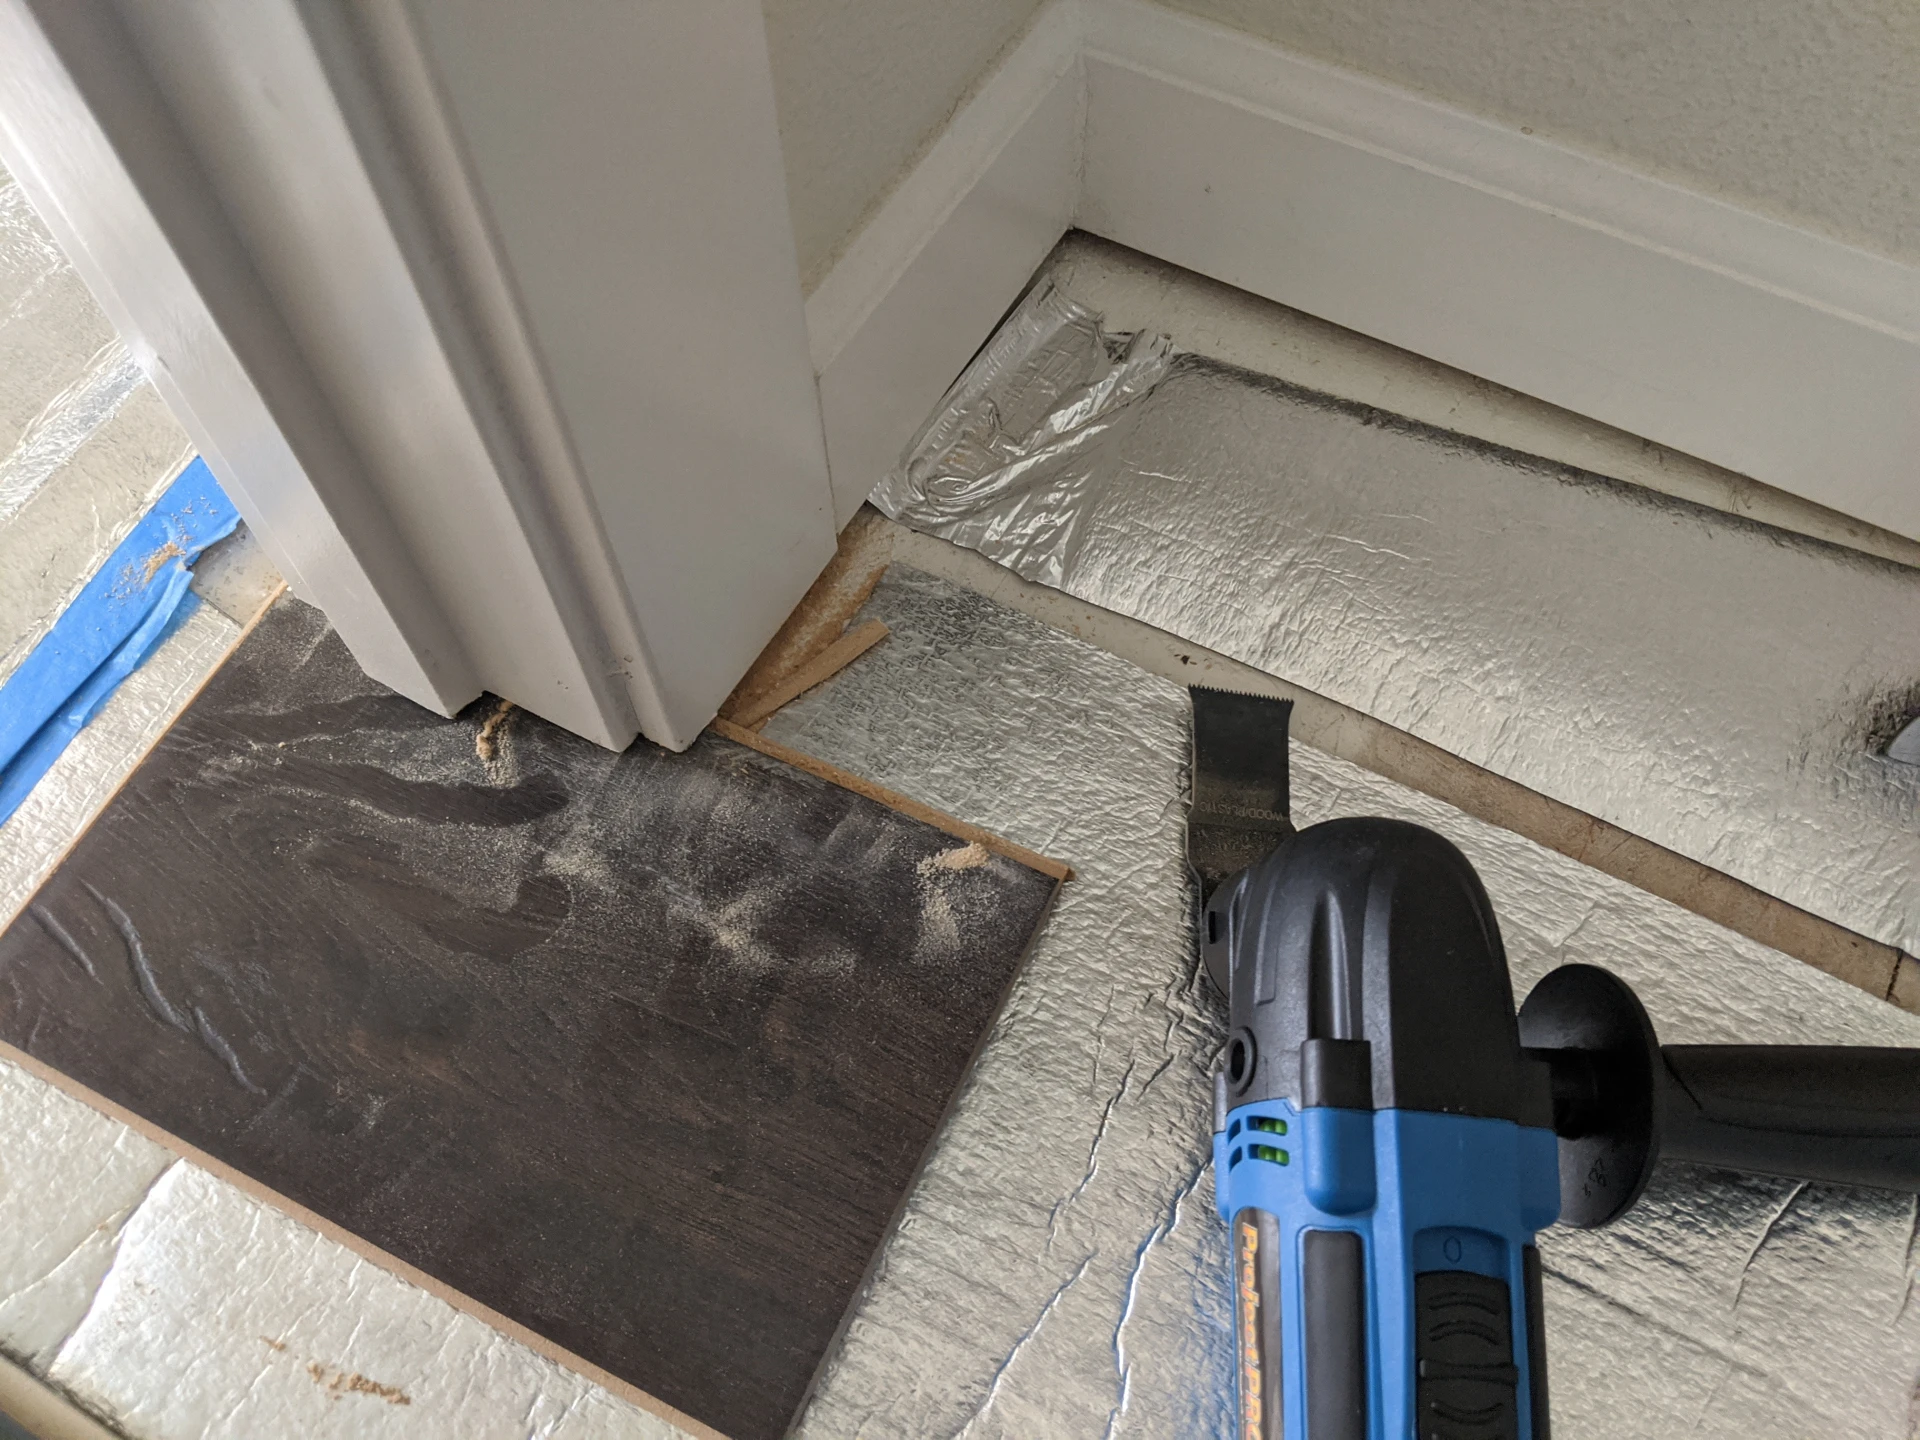
$50 bucks later I had a tool that produced results and maniacal laughter
These two boards were difficult to install
- laying a row
- measuring the last board
- running to the garage to cut it
- starting a new row
Progress was pretty fast. It was a little tiring, but I was having a nice time. If Michel wasn’t home I could blast music. If Michele was home, I had to be a little more selective about the playlist :)
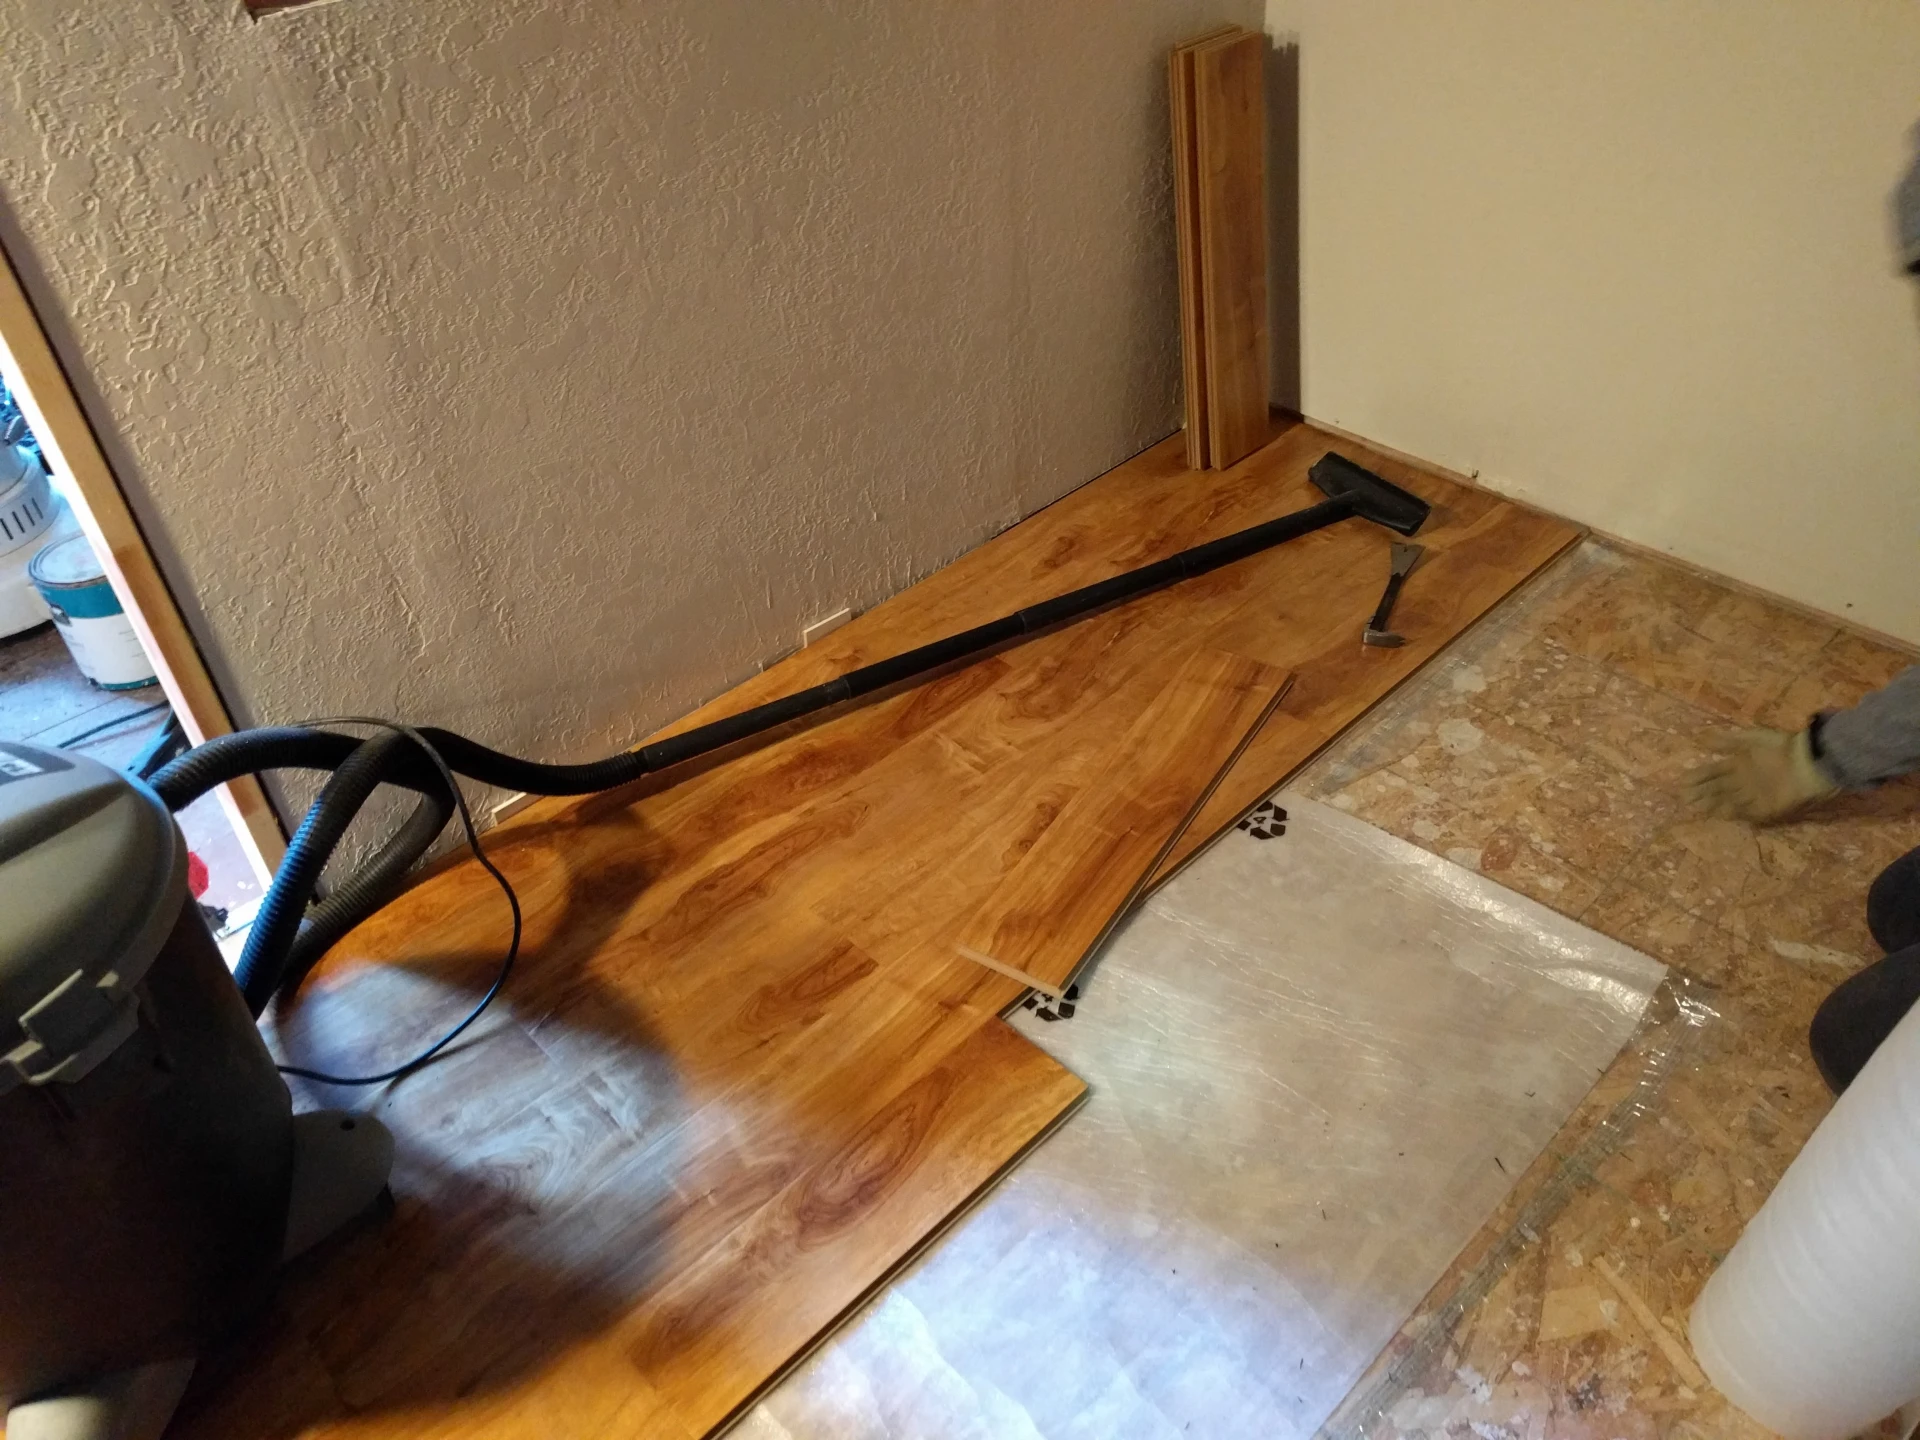
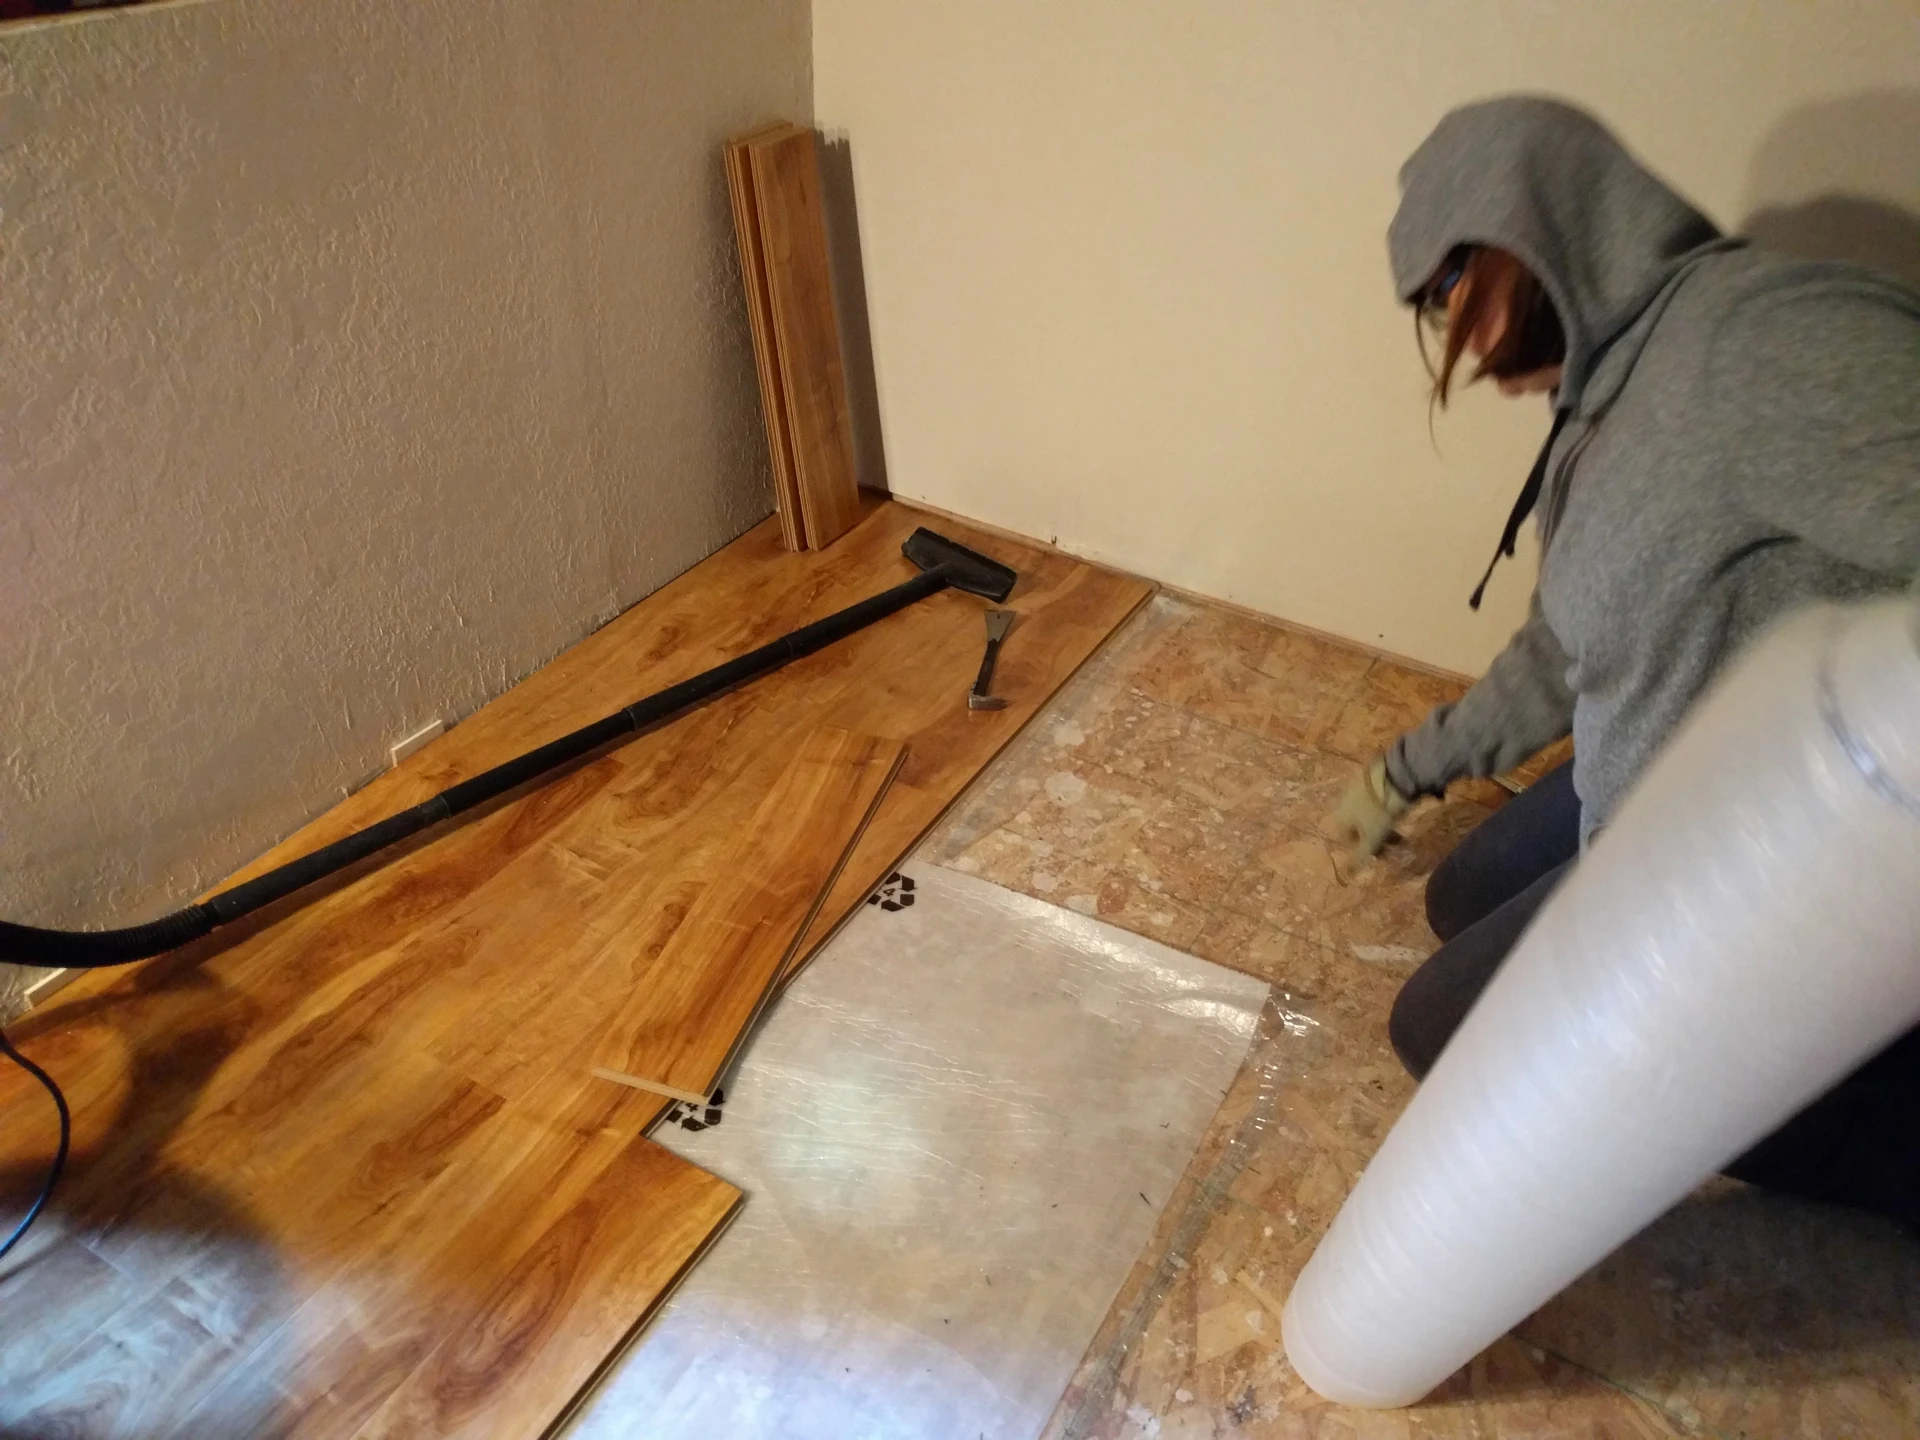
Occasionally, and this is beyond my expertise to avoid, either a corner or a doorway would really slow me down. I would say I spent two hours on the computer room doorway alone.
Most homes, at least ones I’ve lived in, are a series of boxes connected together. This is nice and easy, I love 90 degree angles. Well, the computer room doorway in my current house is at a 45 degree angle. This means I have to cut essentially a notch out of one or more Pergo boards, and the slot it into place.
So, a couple of things that helped out with these difficult connections.
First, my improvised angle finder. I could line up the angle and basic measurements of the 45 degre entrance, put a bunch of masking tape on a board, and essentially trace and draw the angles. Then I could do the classic measure once but cut 10 times because you’re scared of ruining an entire board.
Second, cutting the locking ridge off the Pergo board and using glue. With the last row, or a small closet, getting the final boards in place can be difficult. Pergo style flooring is basically a lock in place mechanism, with a male and female end butting together. If you cut the ridge down with a wood planar or a knife on the female end, the male end can just slide in place. Using glue will compensate for the lack of a locking mechanism.
Third and final, when your trying to get that last row board in, lift the ENTIRE floor you just laid down, and slide your board under so you have room to slot in under the door frame
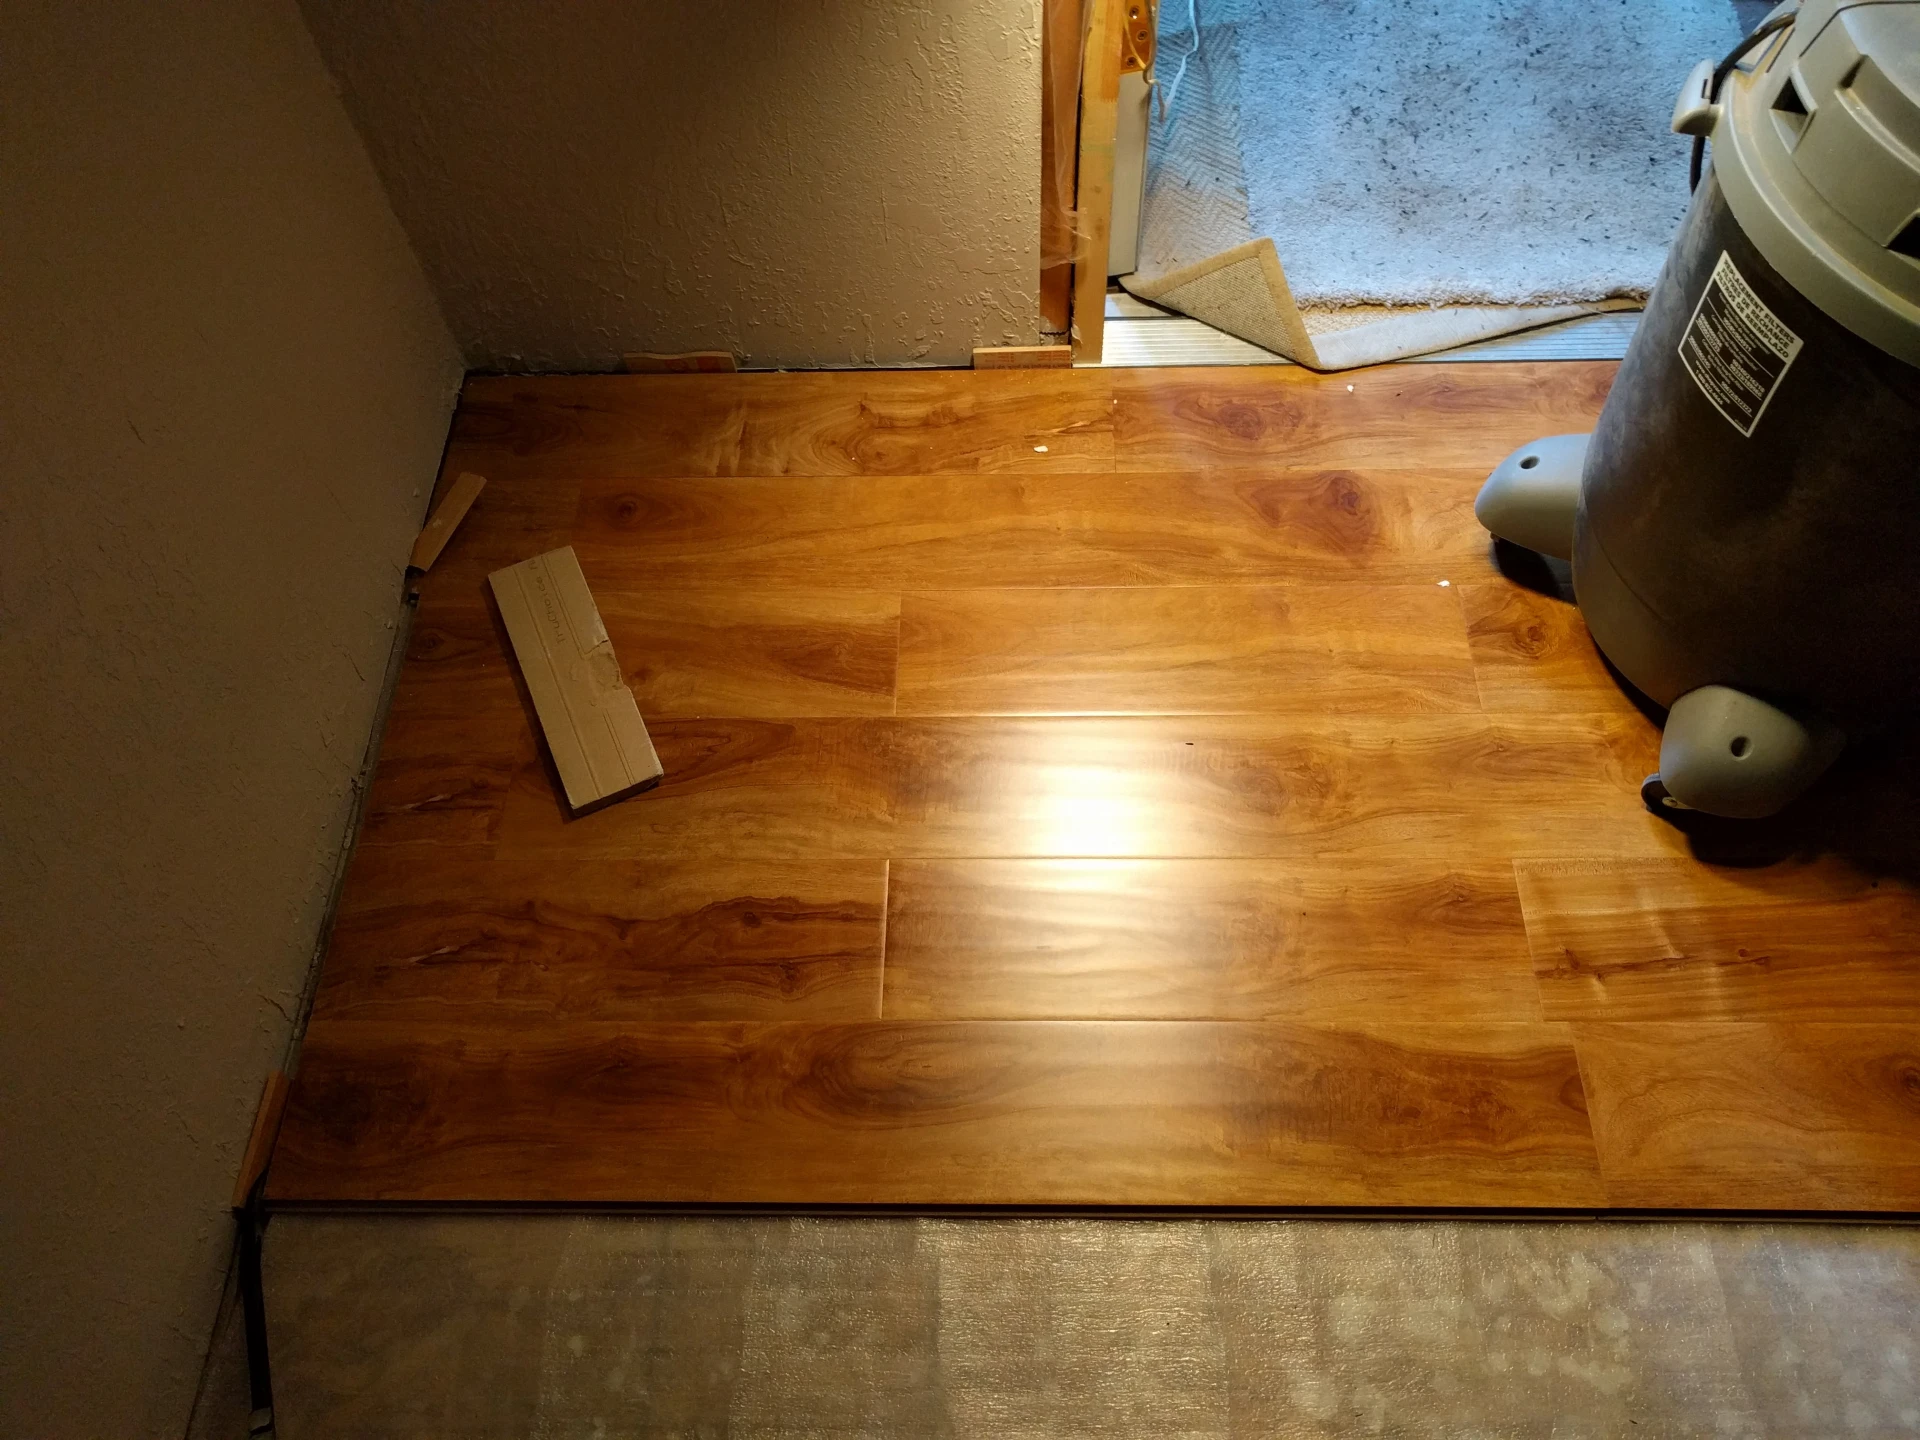
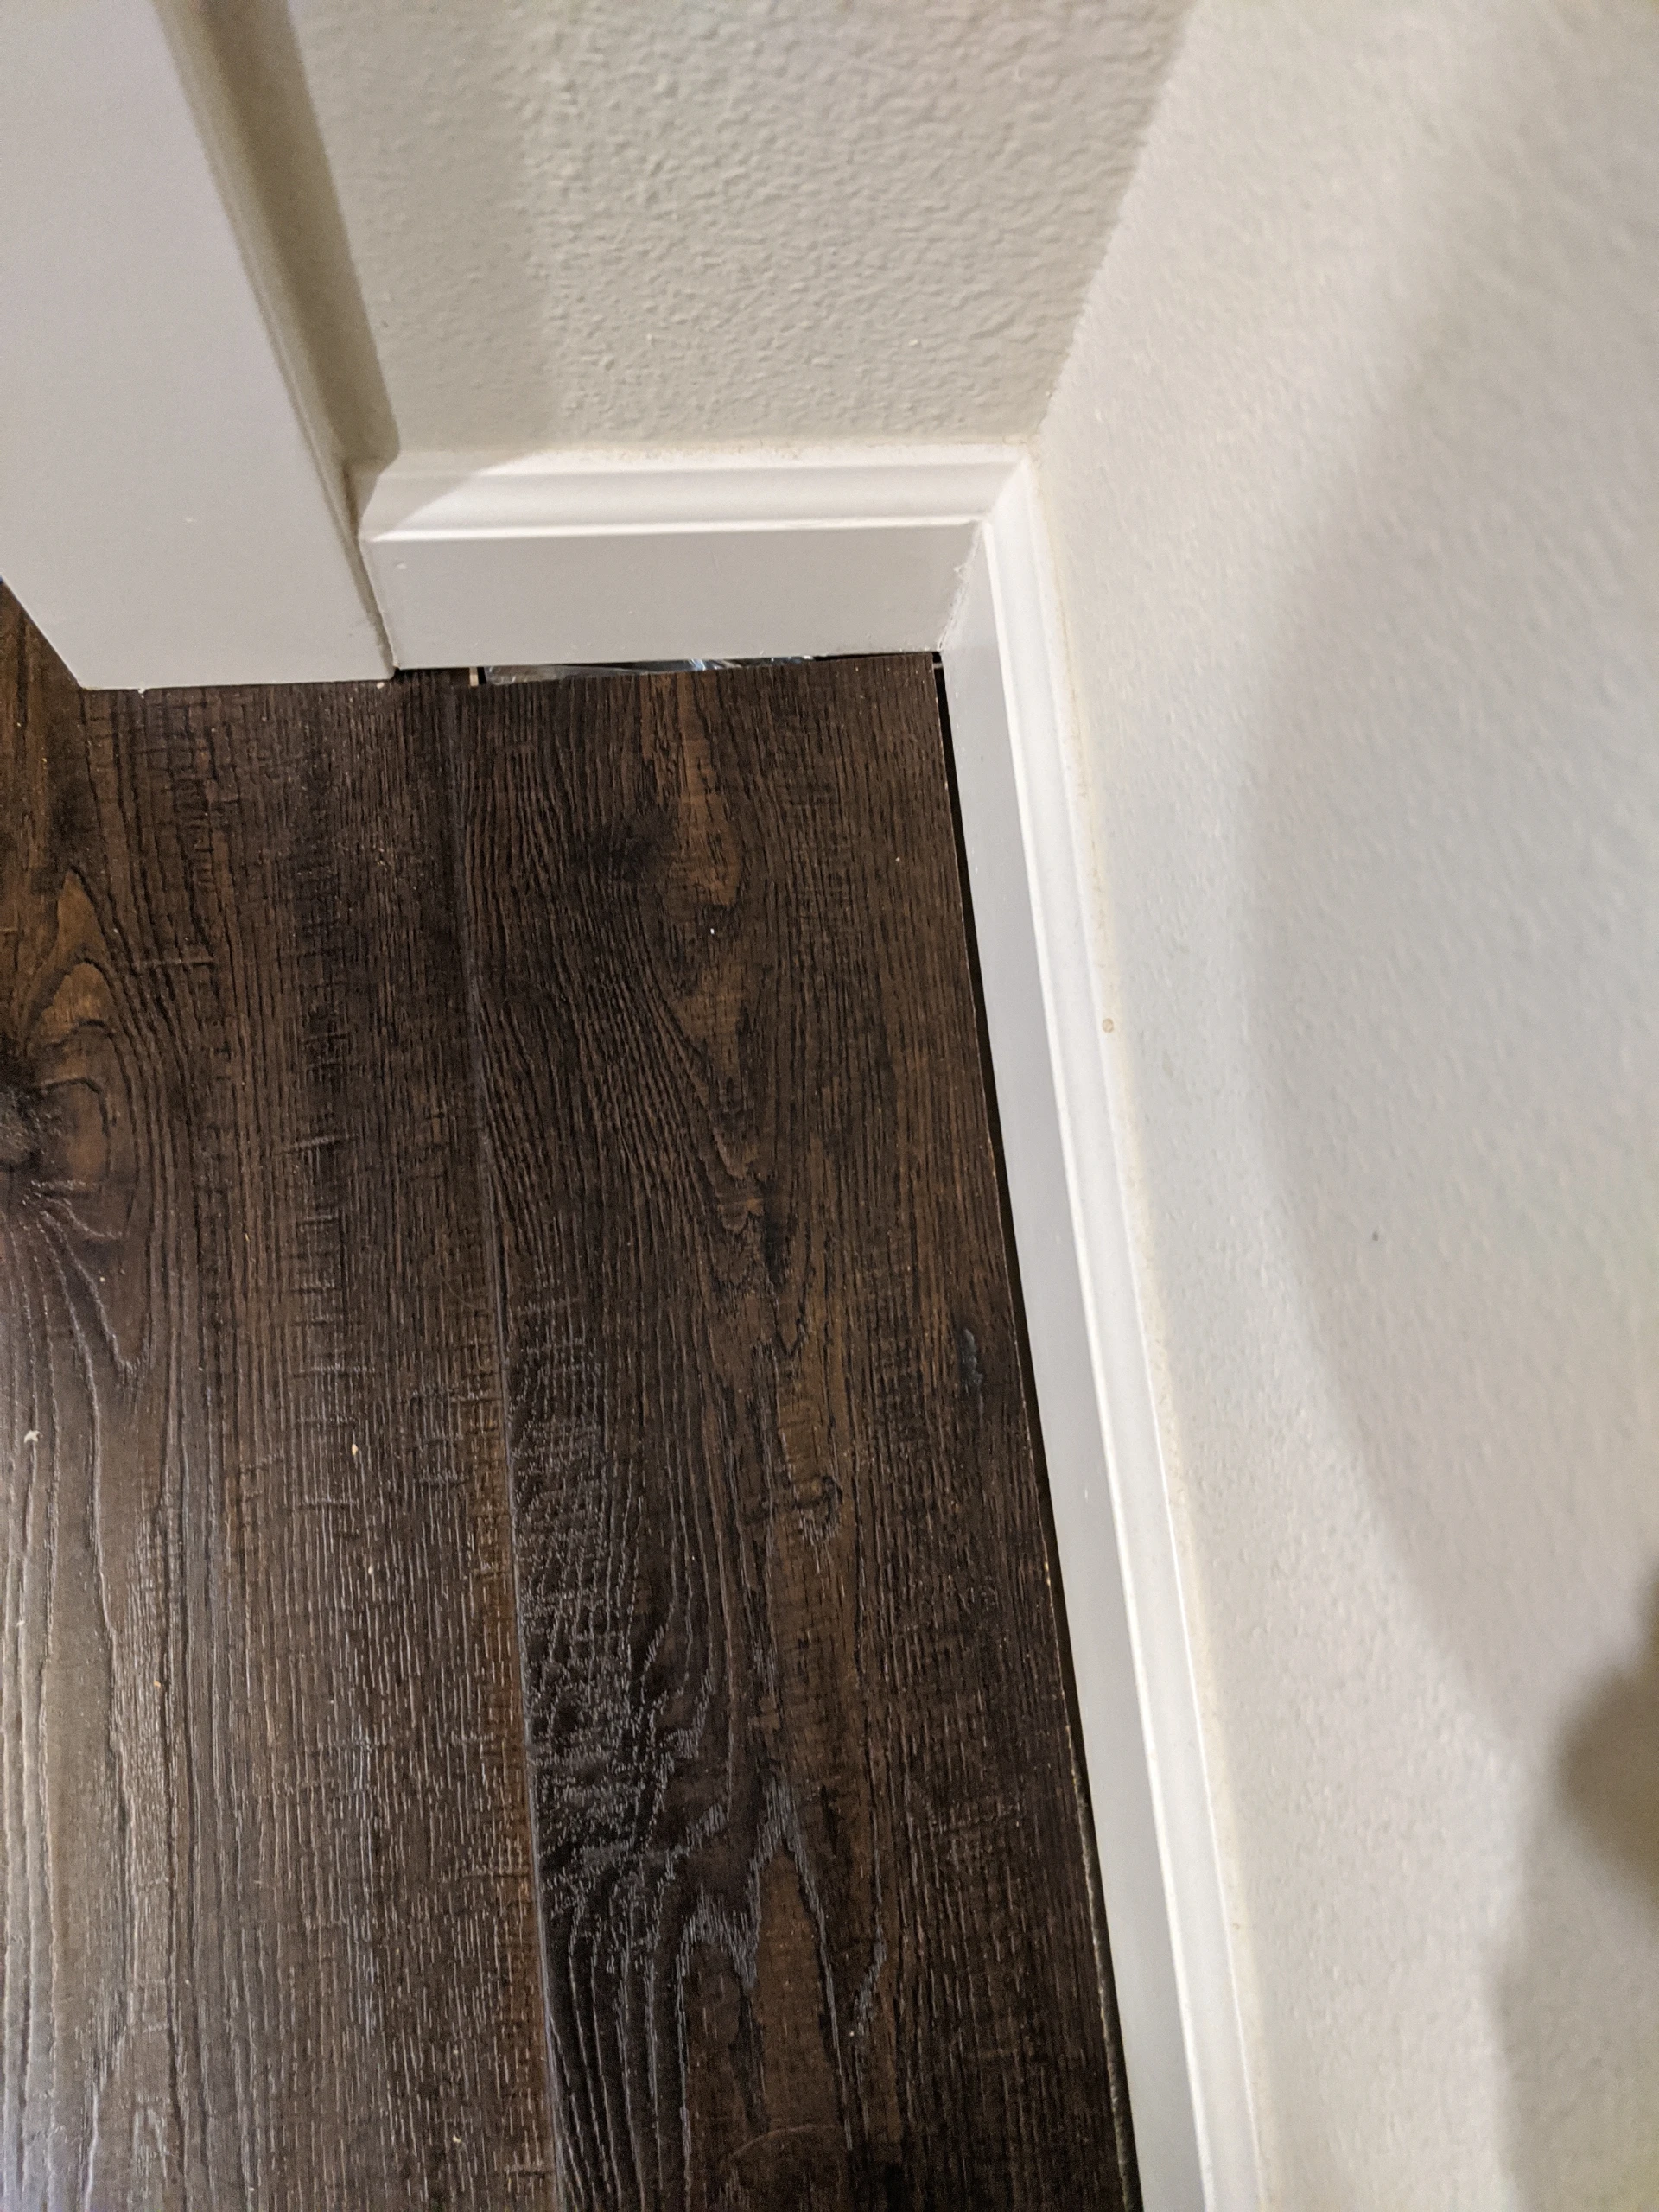
Another doorway that took an hour to cut and get in there JUST right
LOOK AT THAT LASER PRECISION CUT!
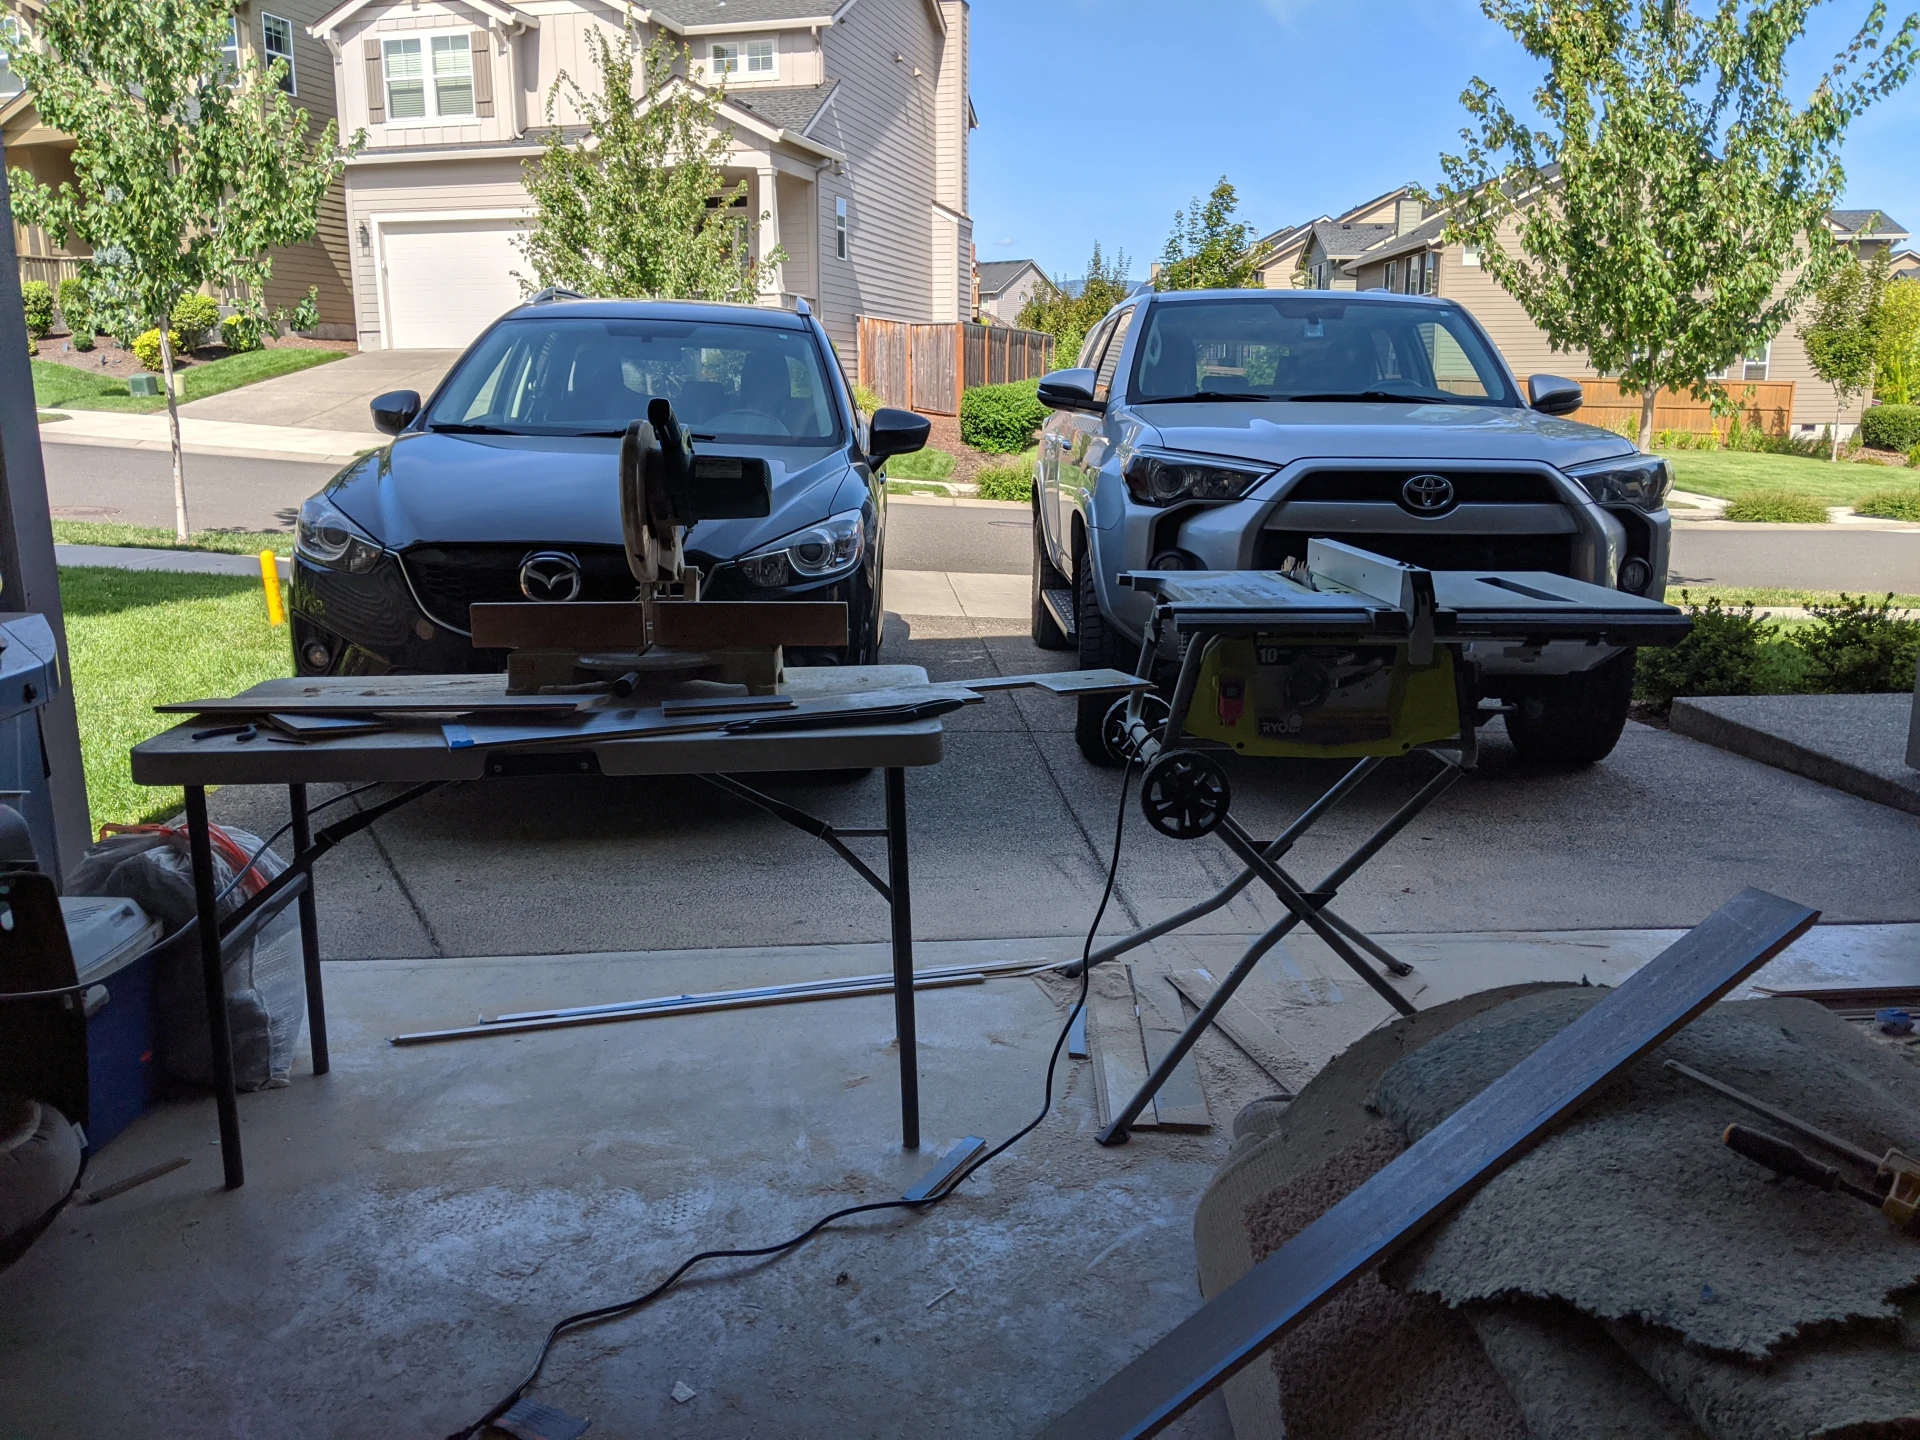
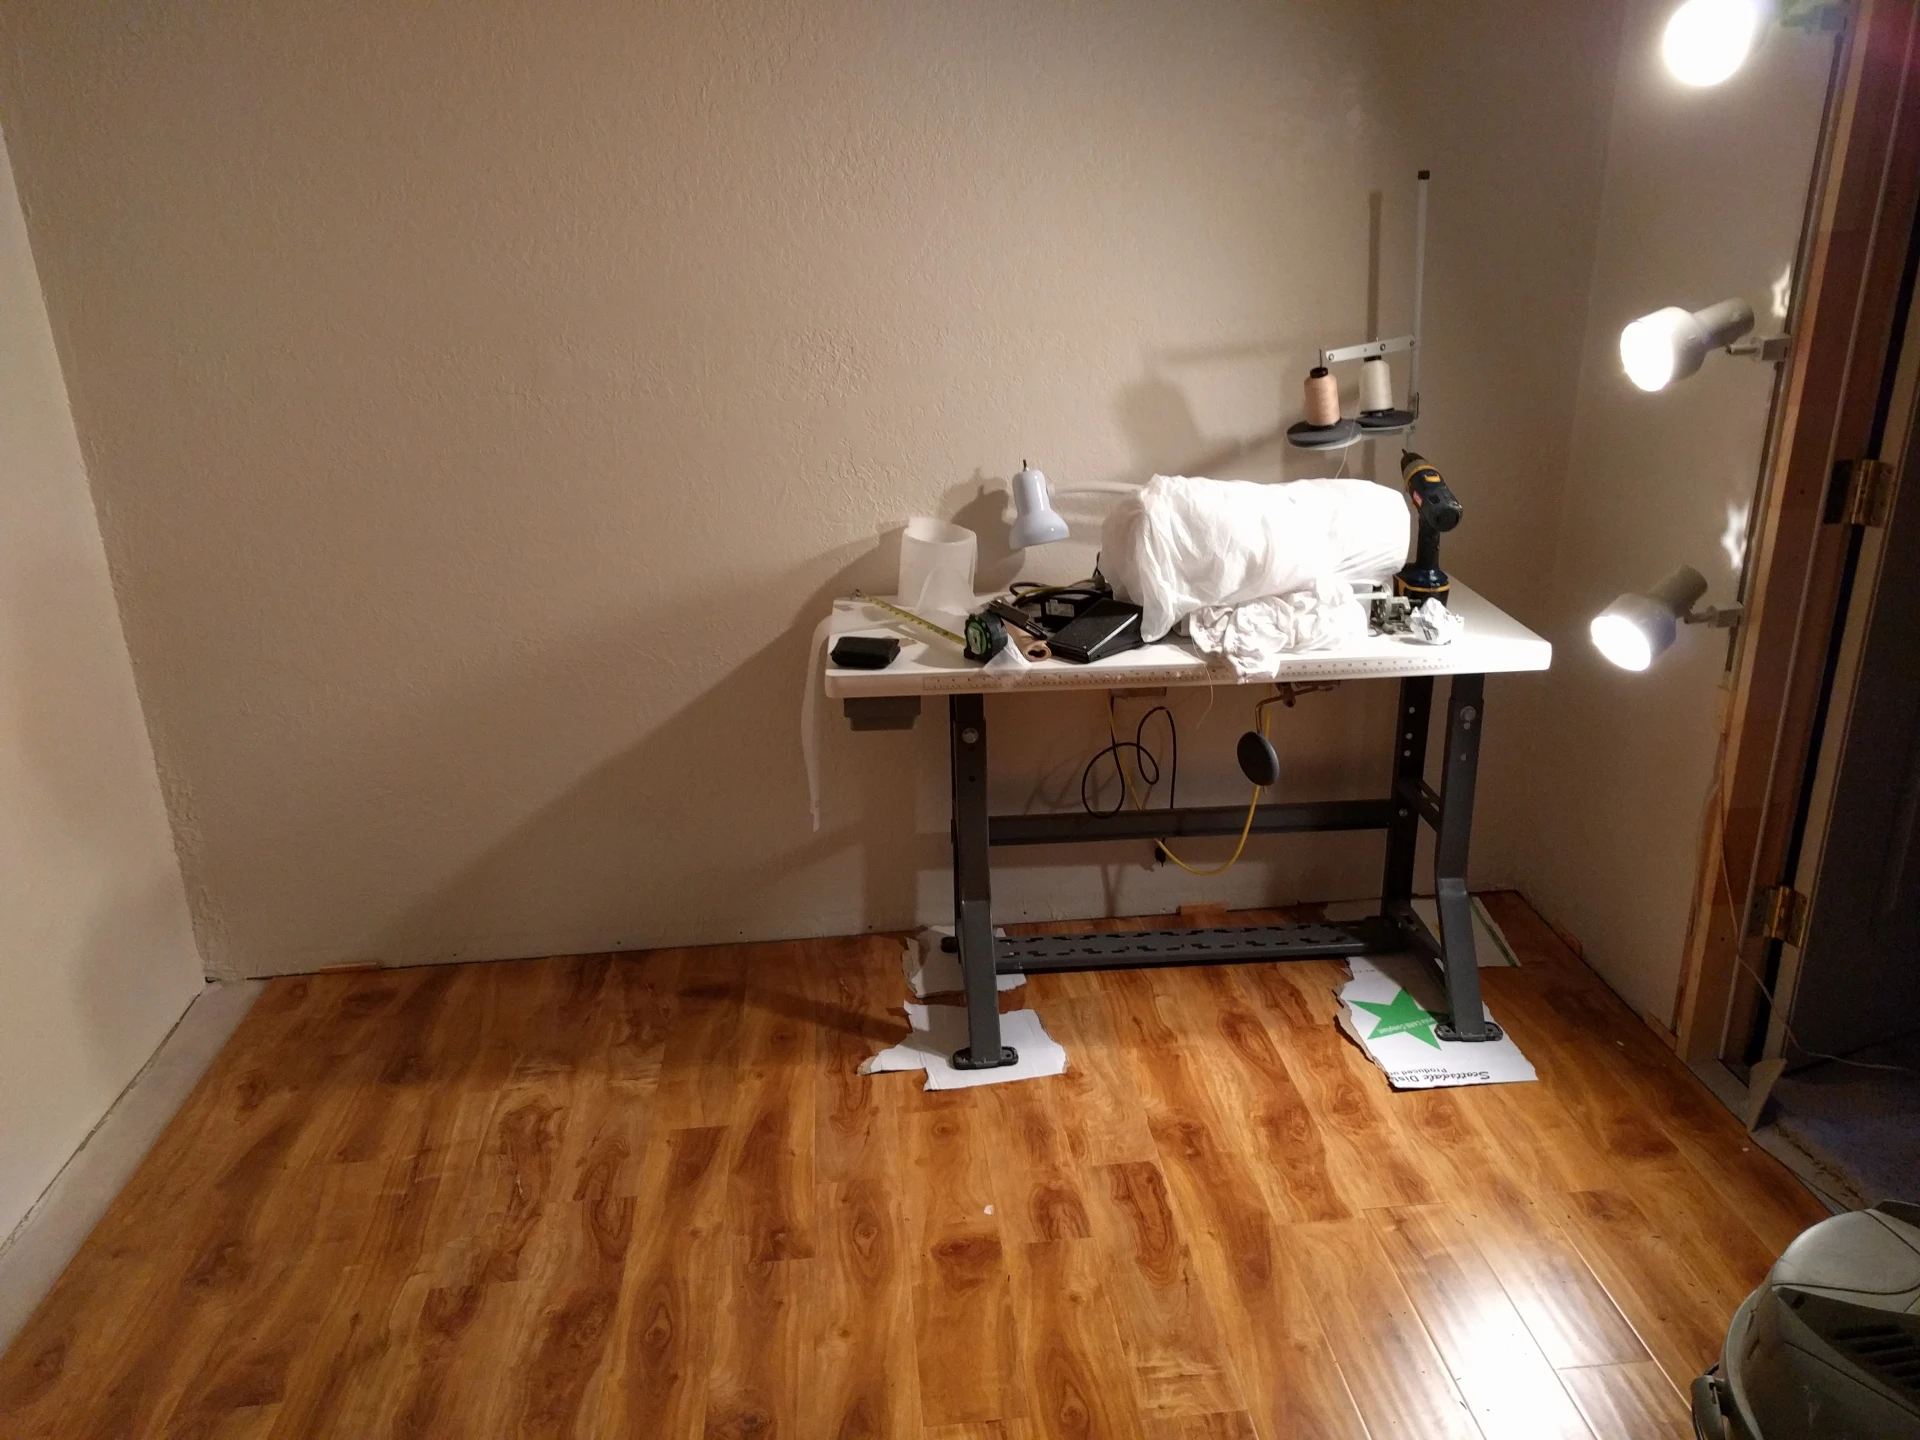
My setup in the garage
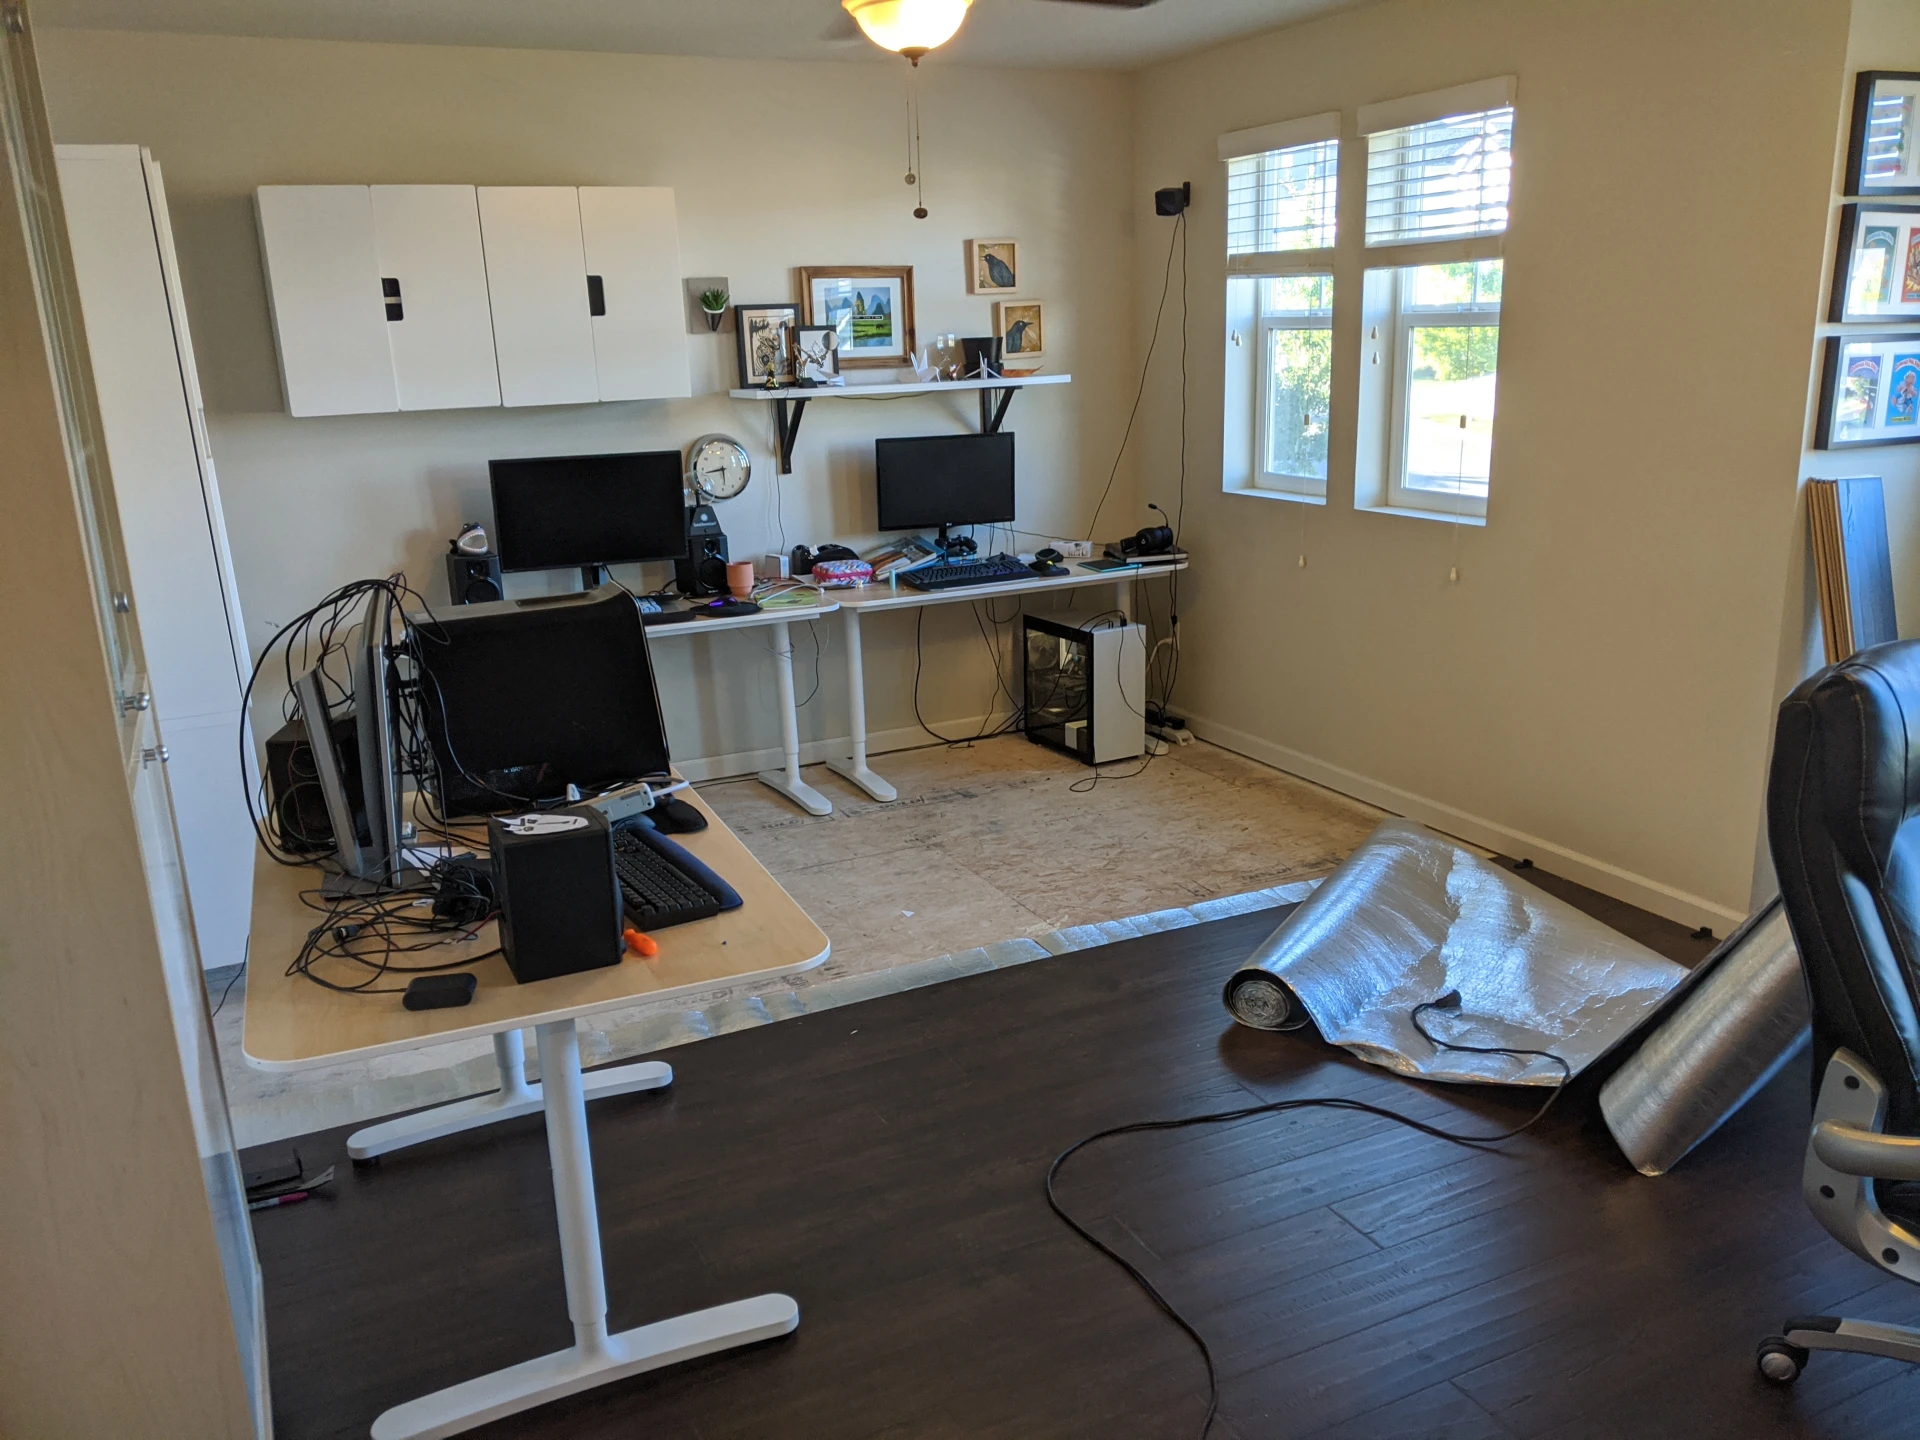
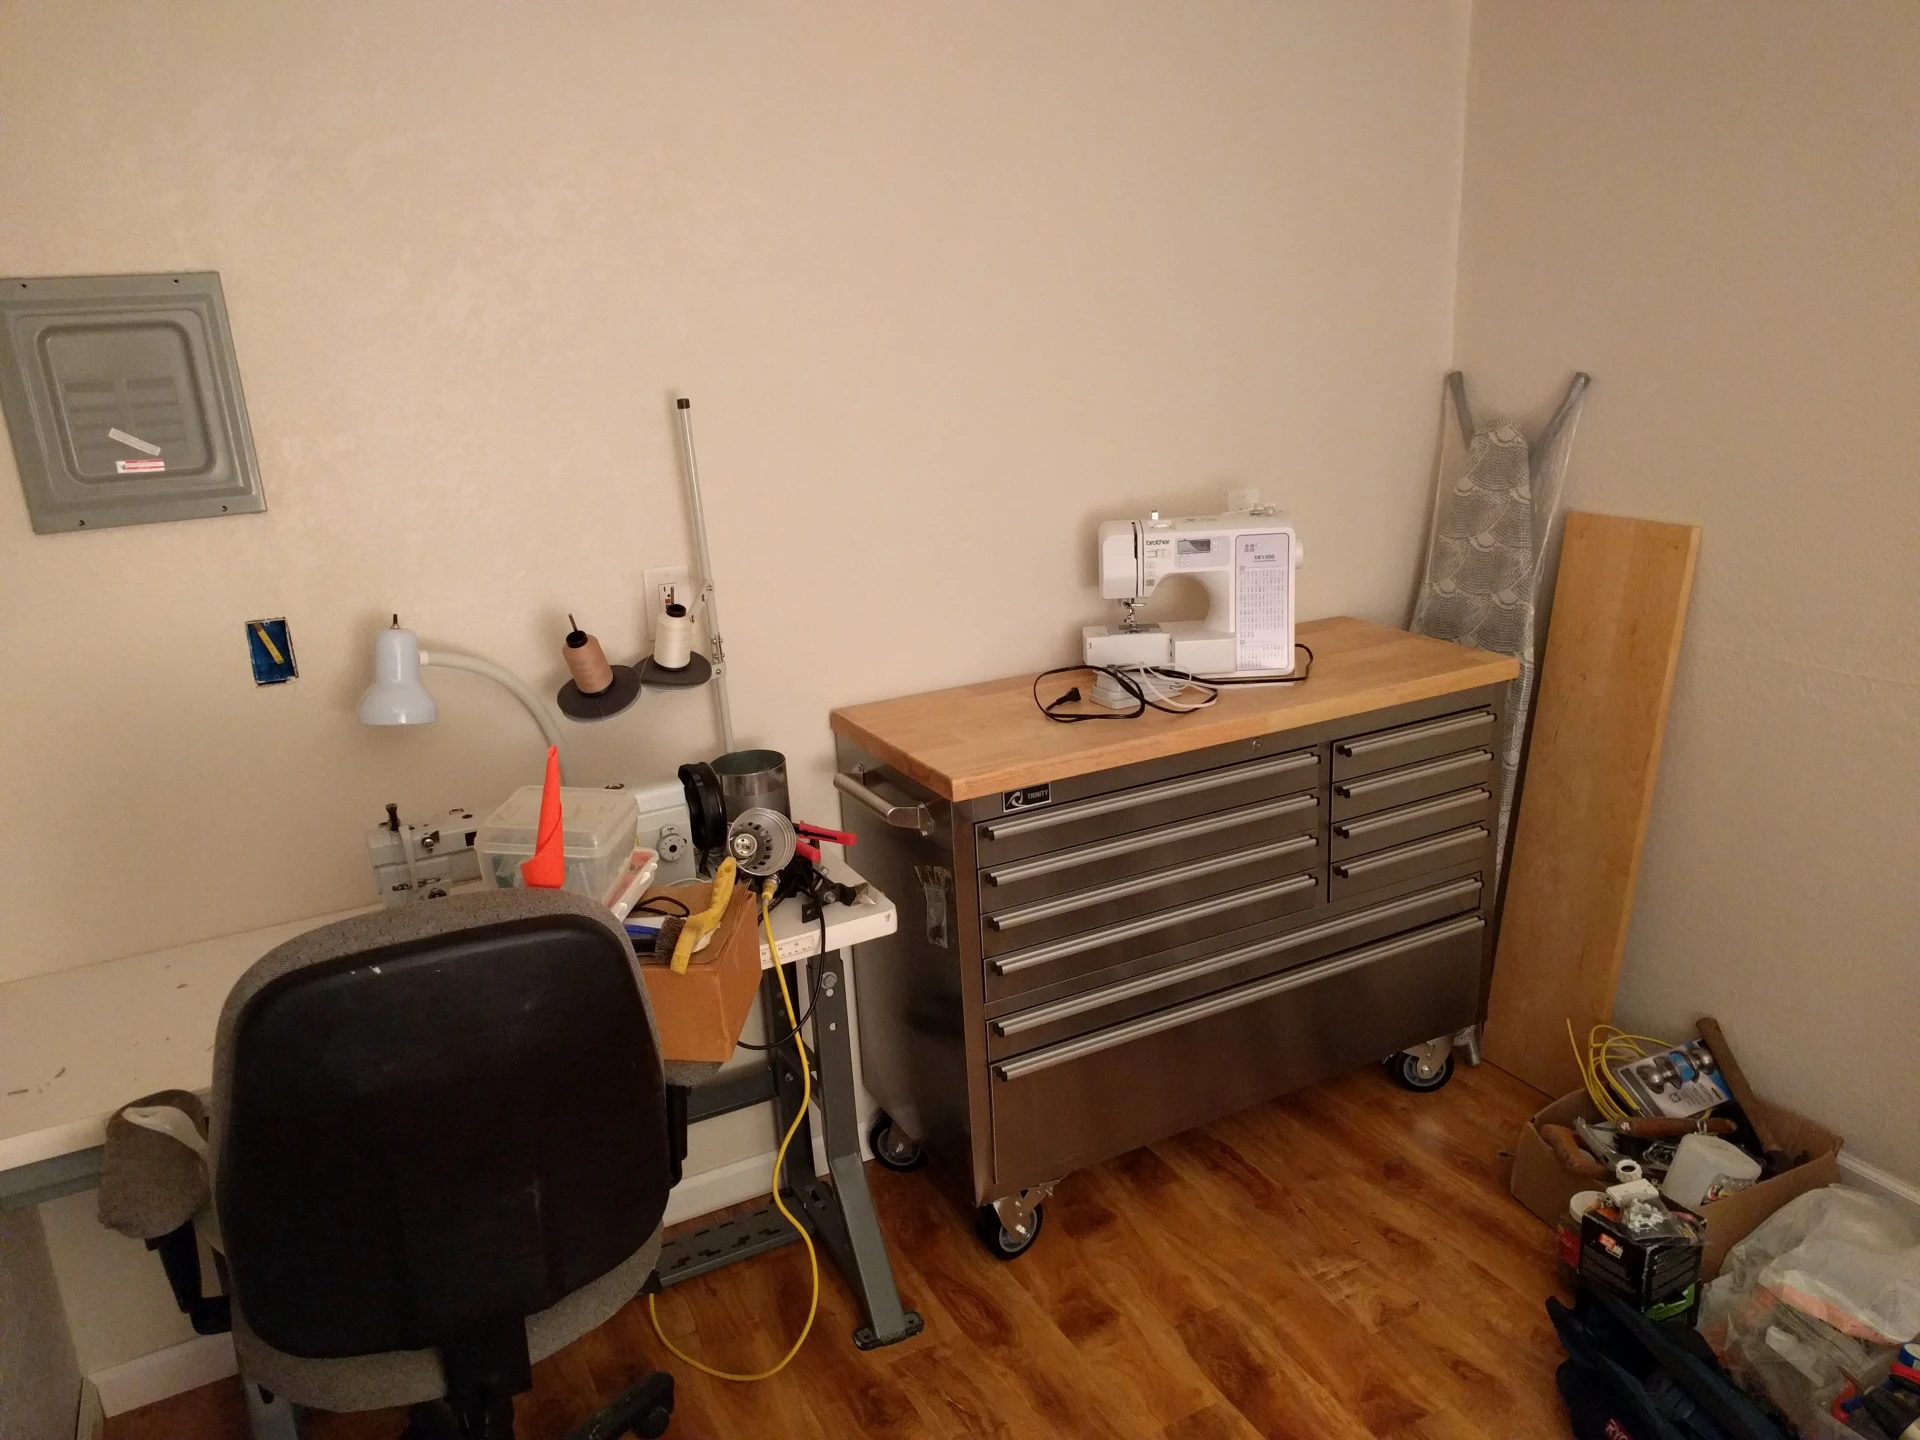
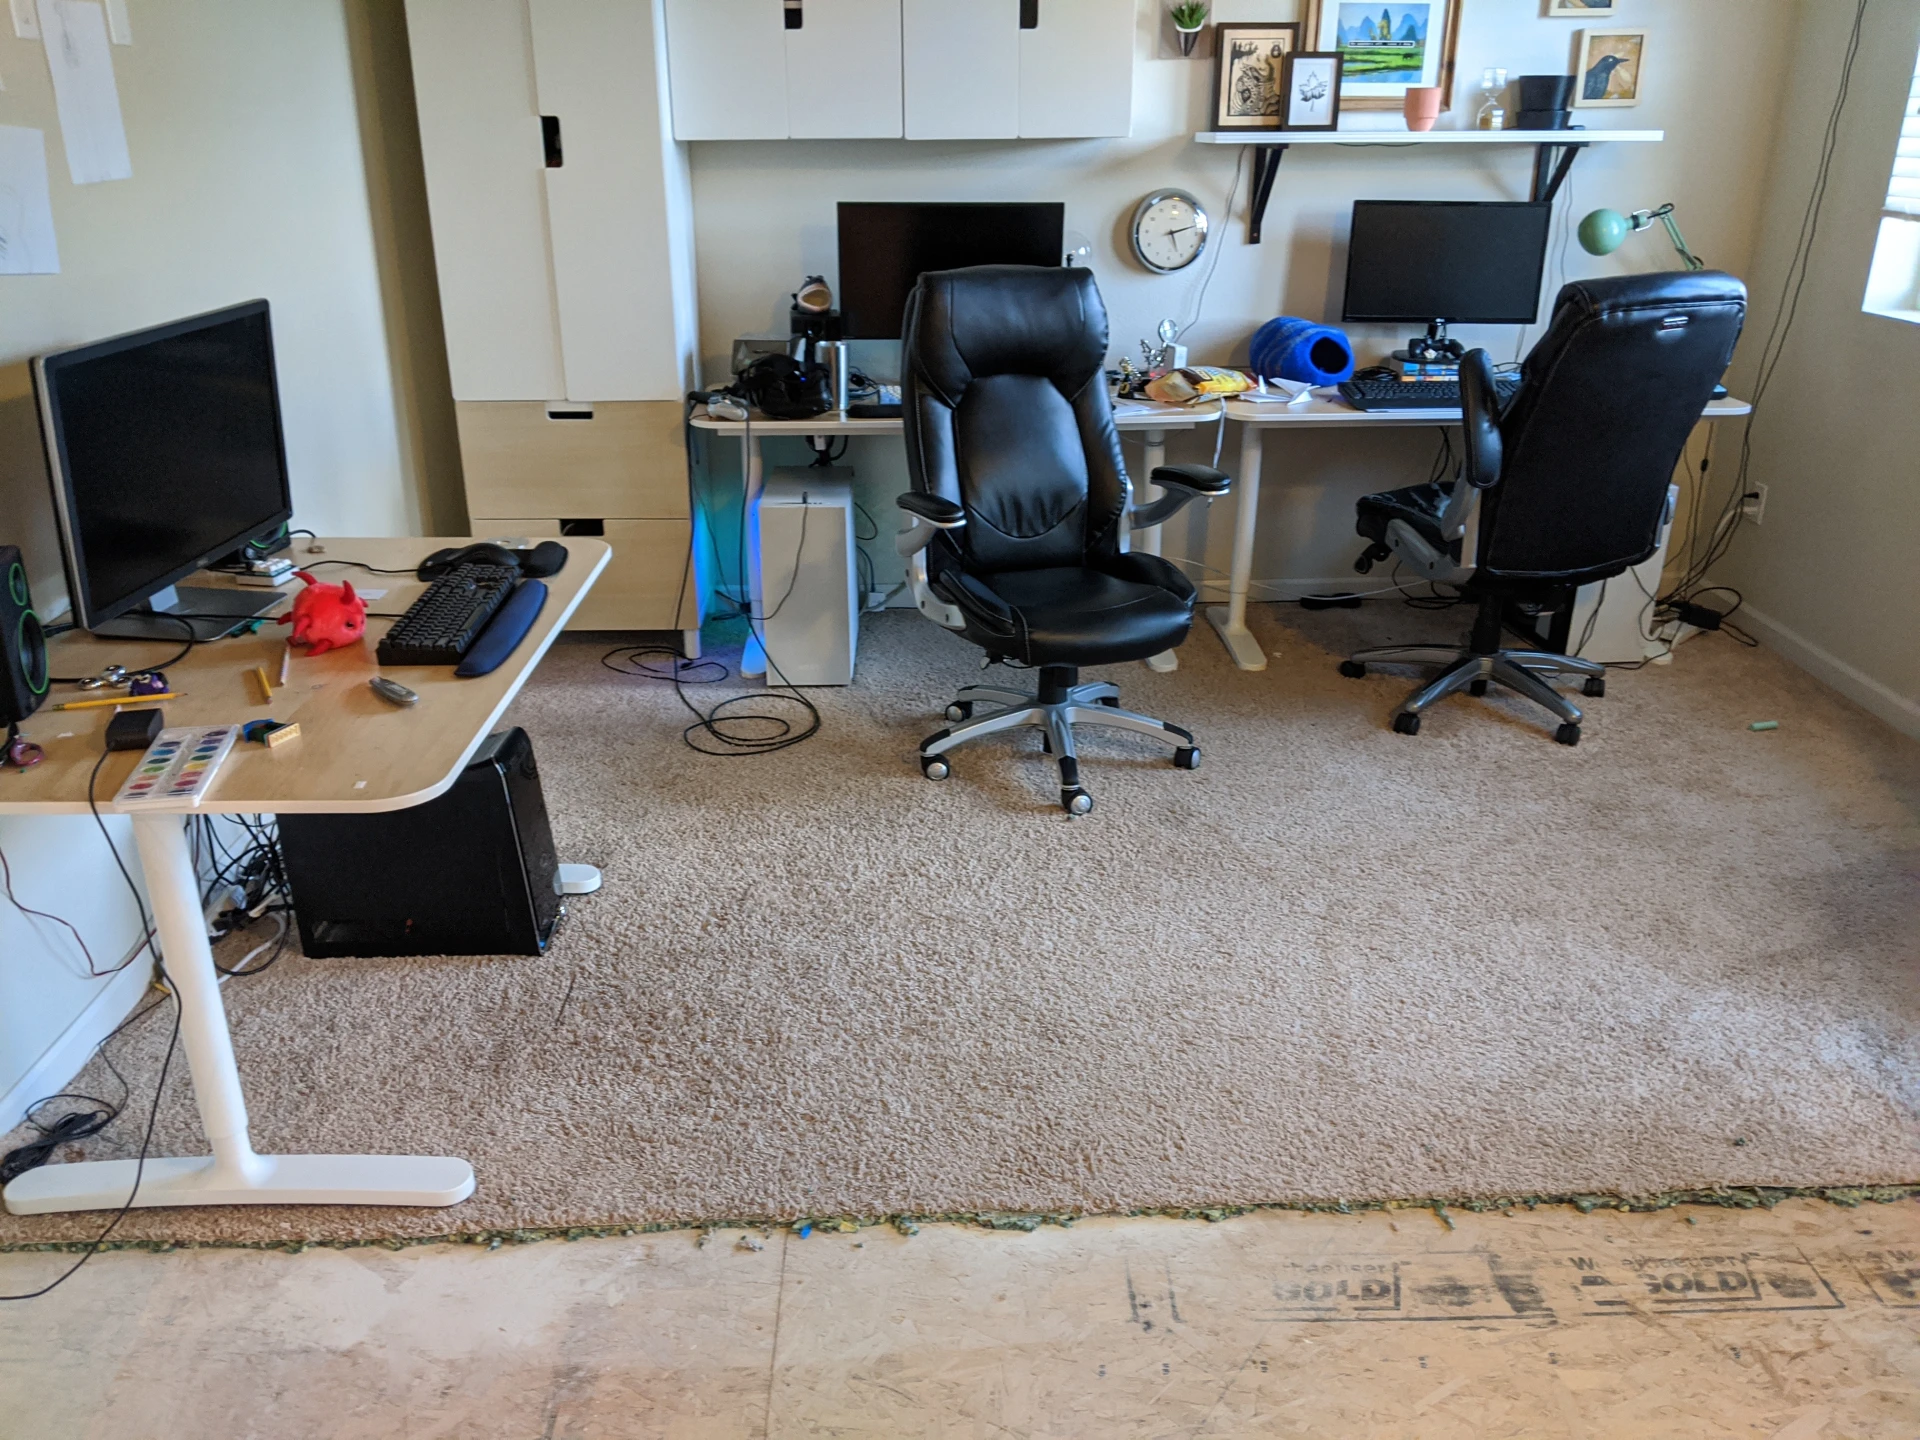
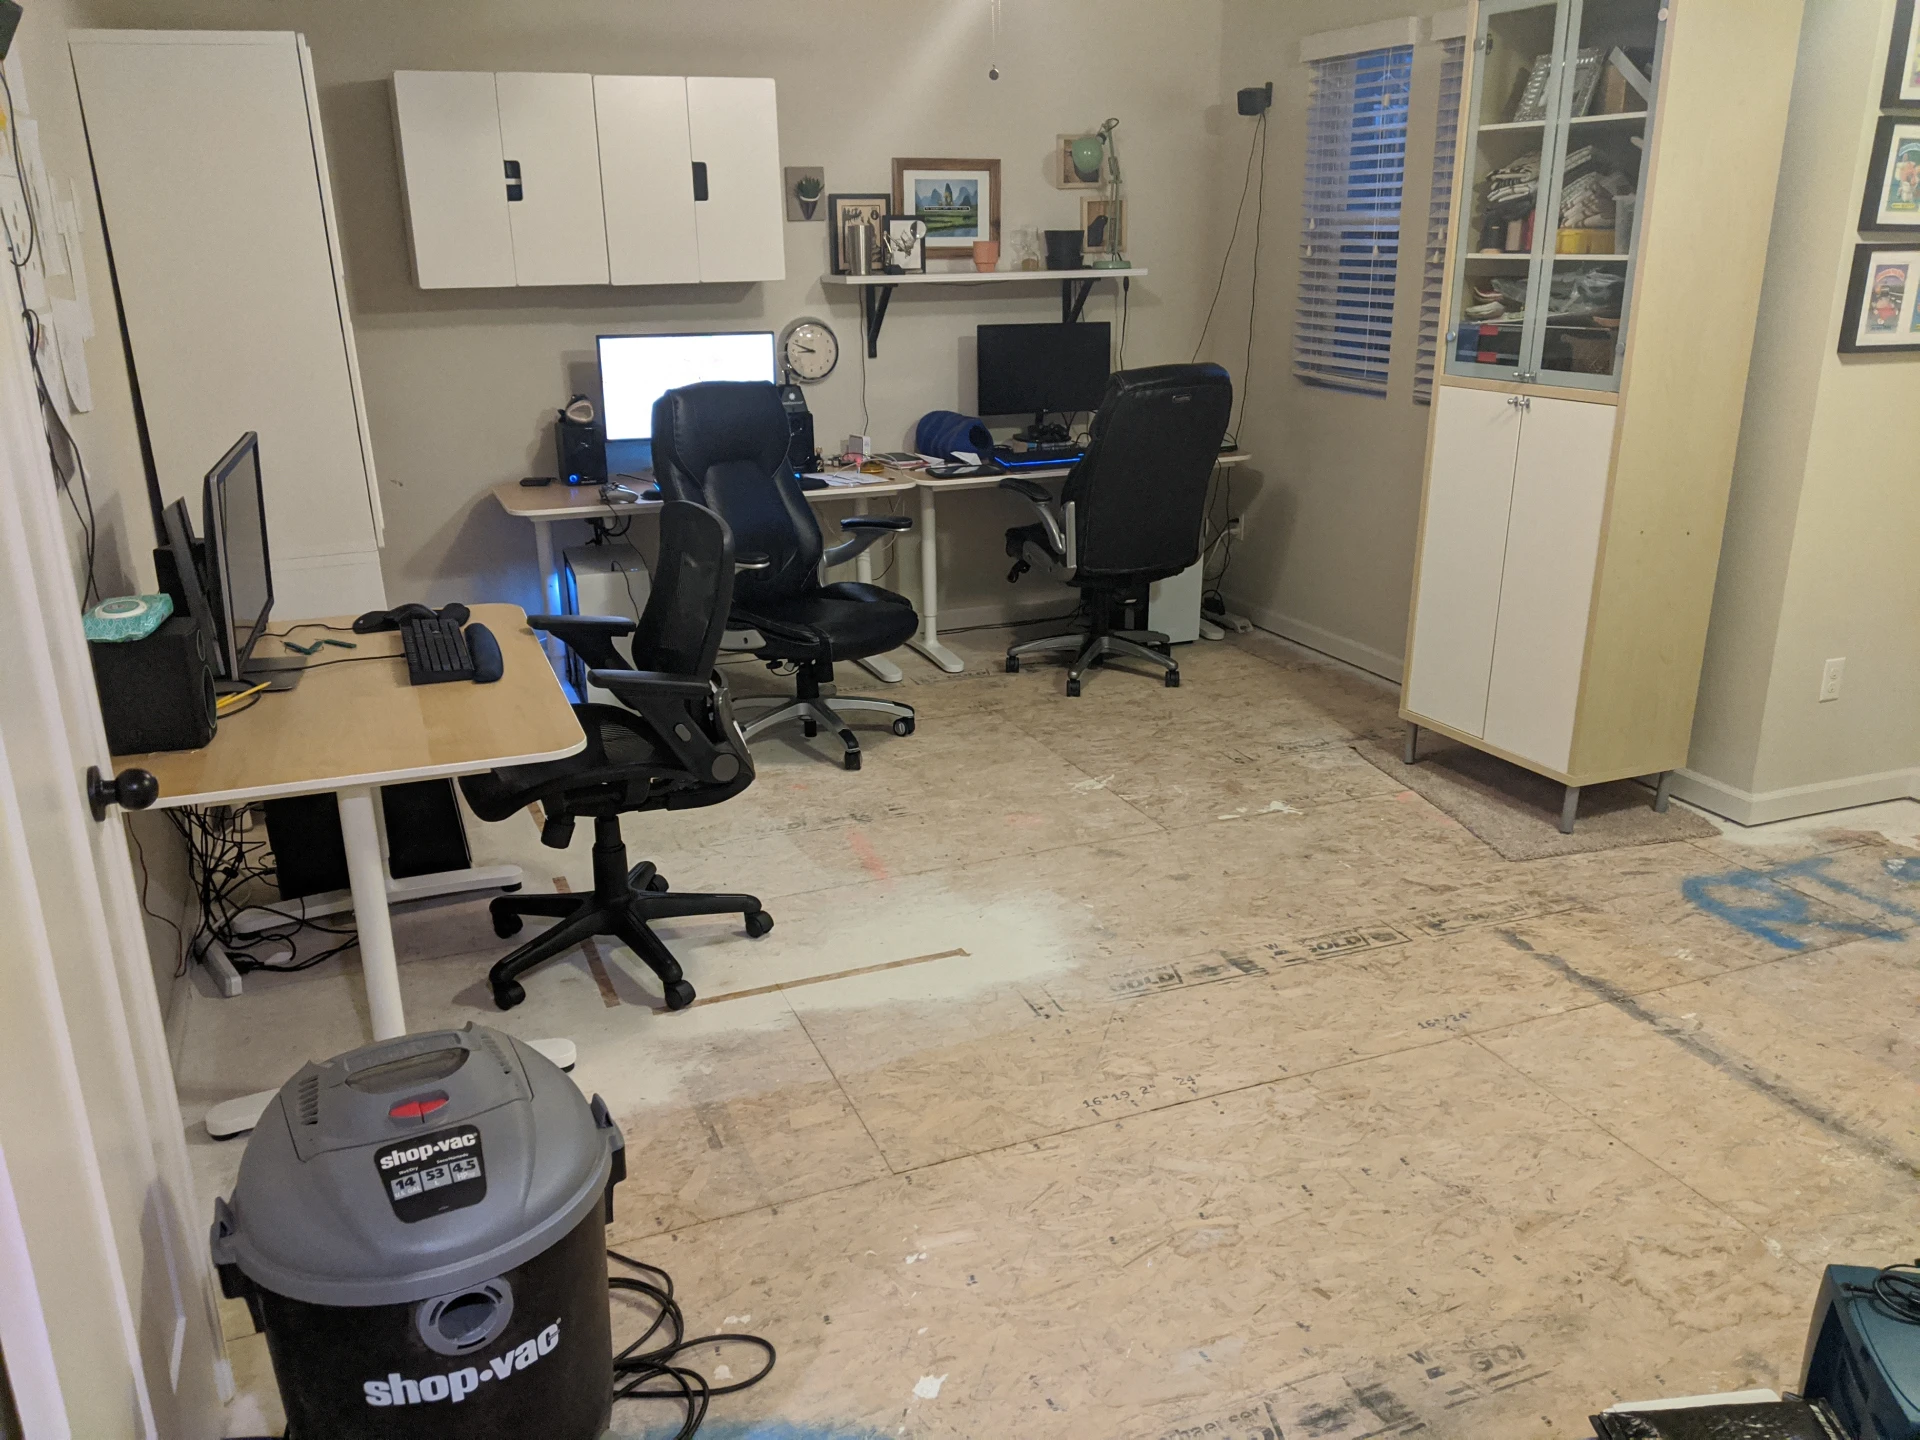
This is the home stretch right here. I only had to move the computer desks out of the way
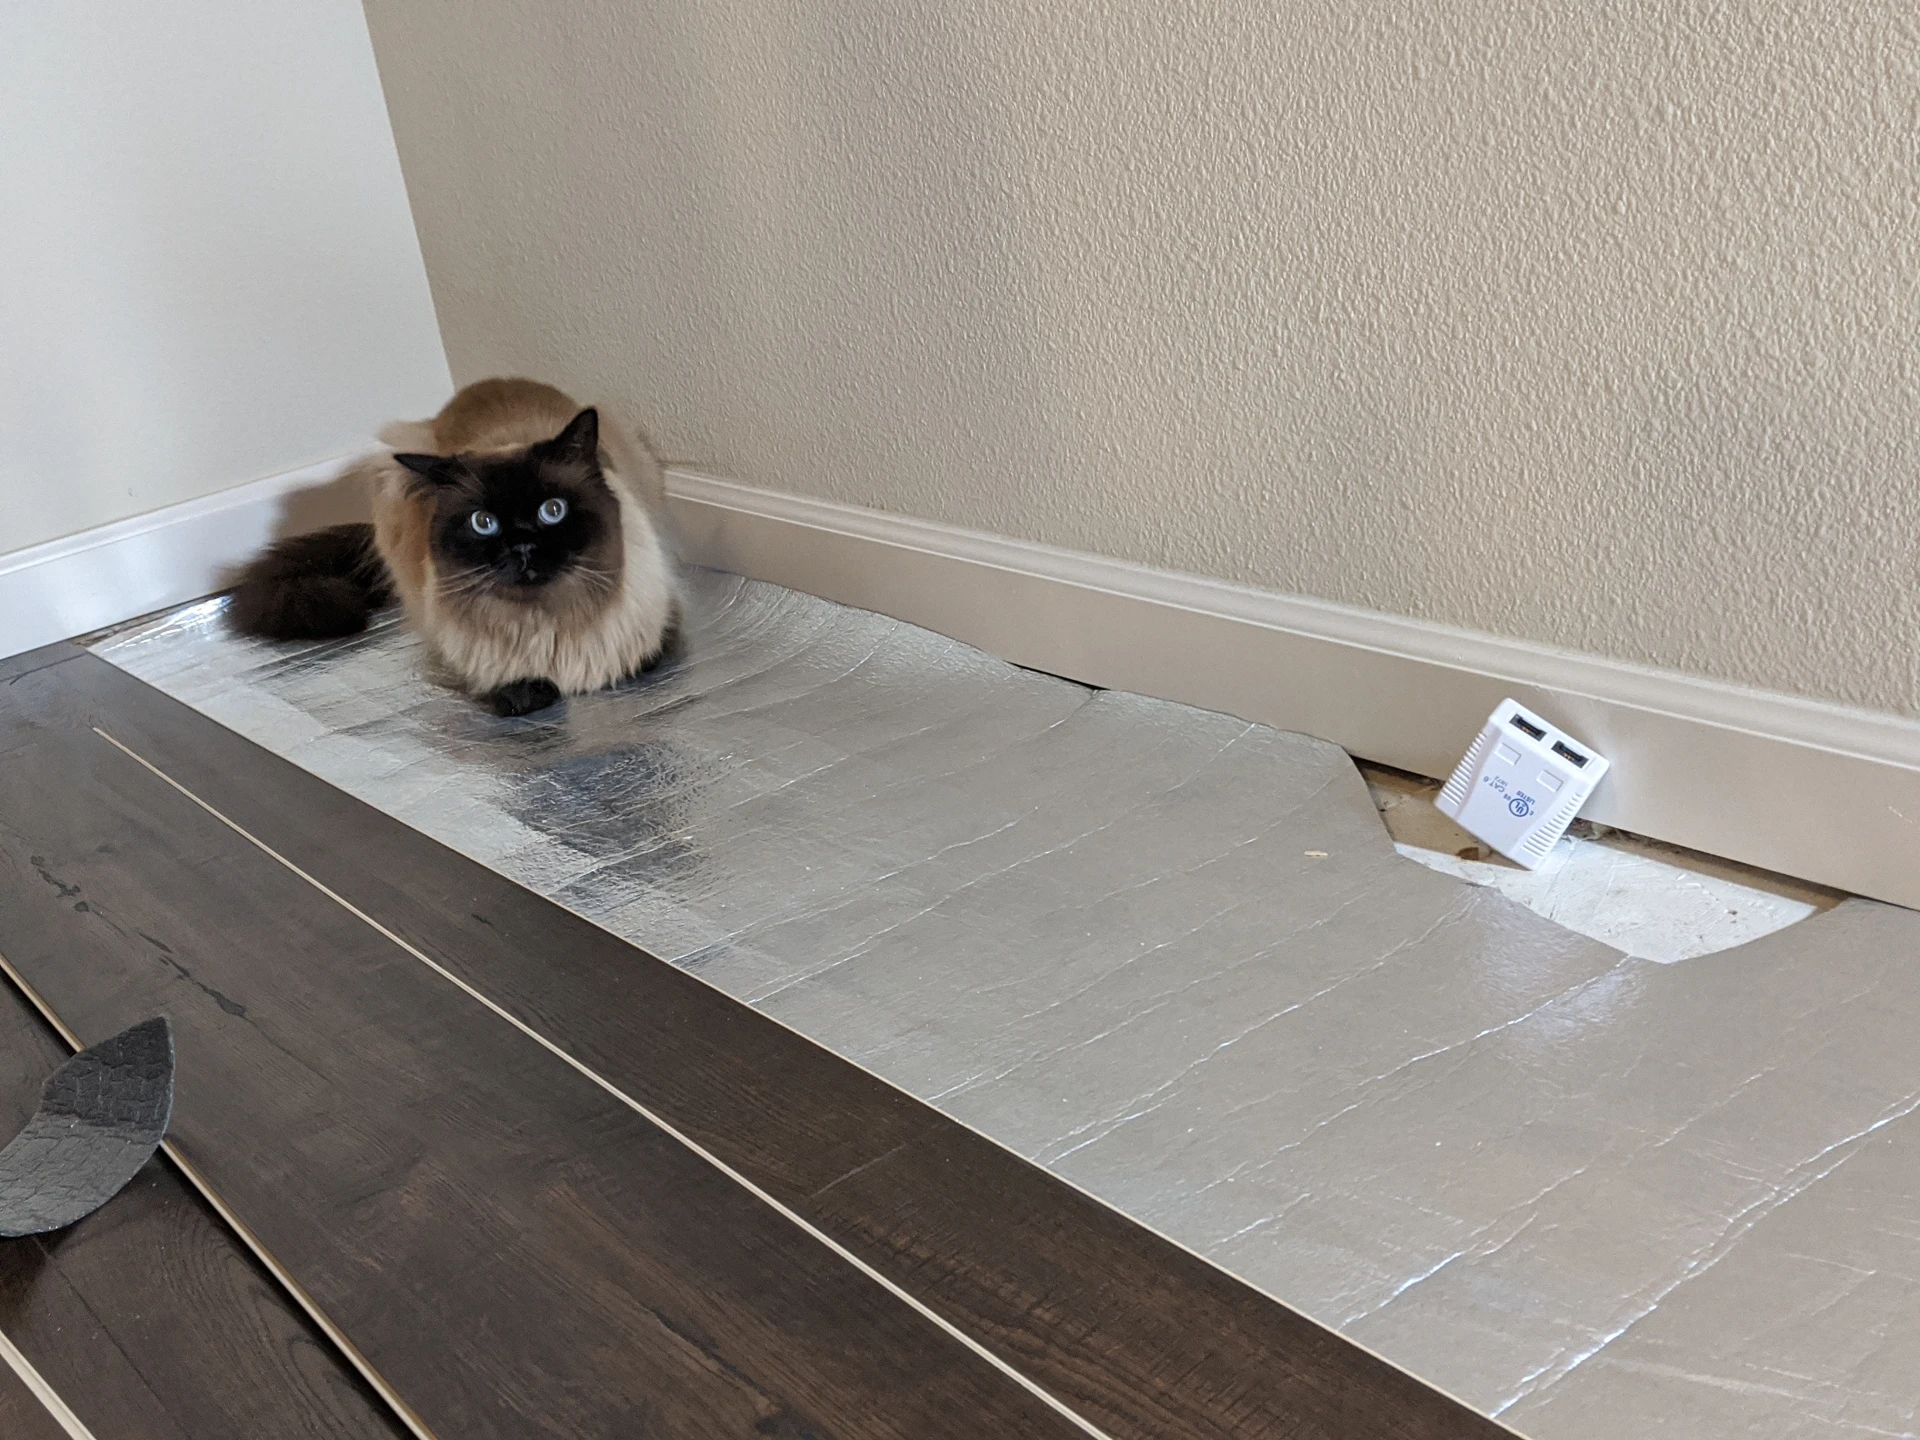
Levi was helping me keep the padding down.
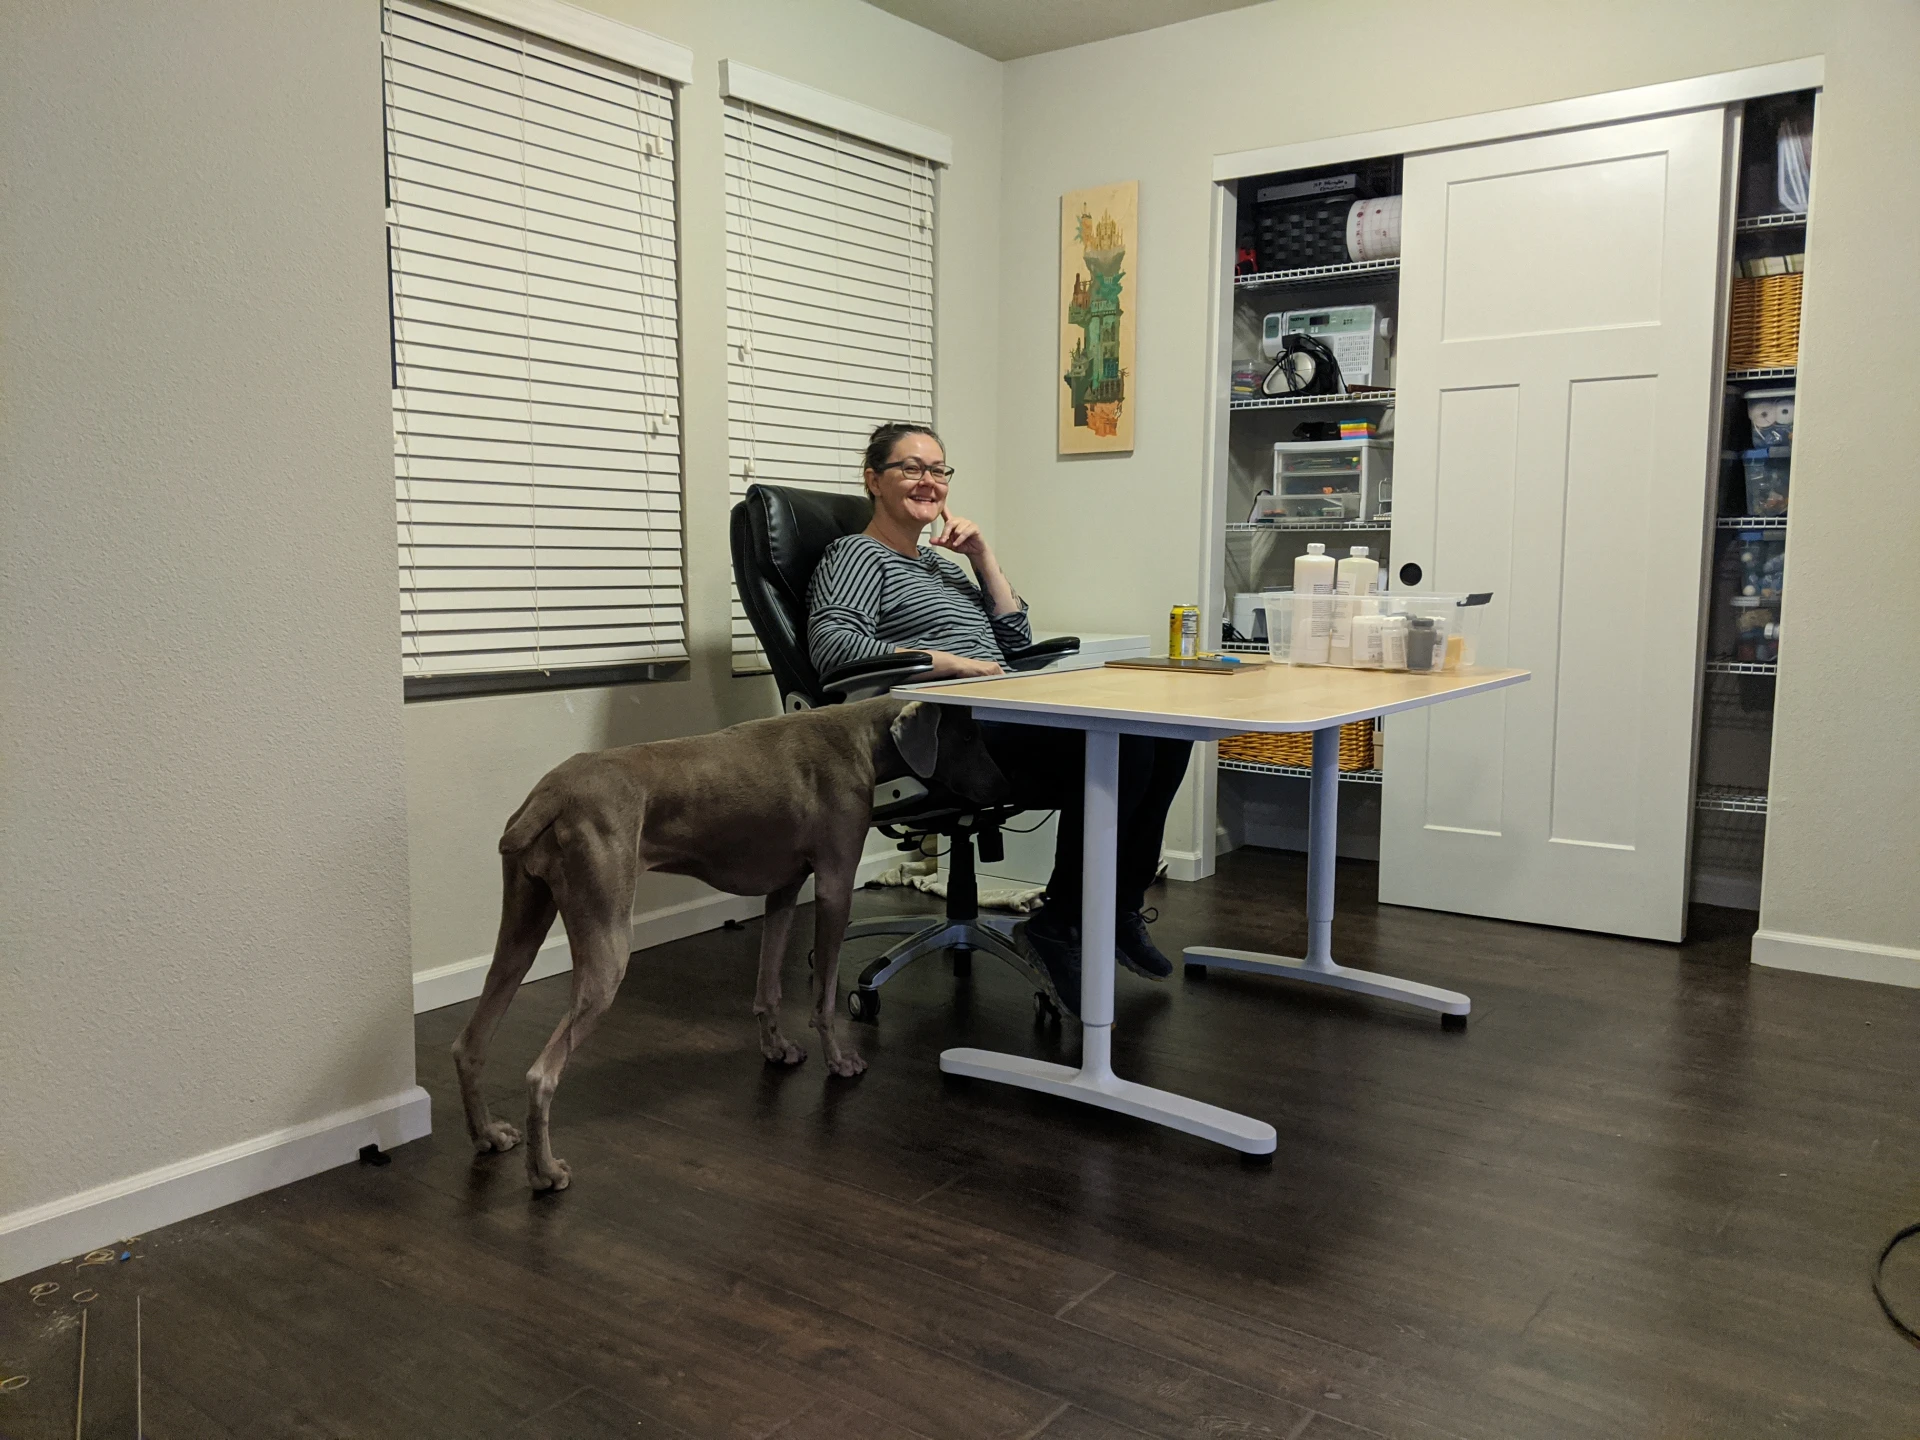
Foreman Michele at her Executive desk
Wow that was great, lets move on to…
COMPLAINTS
Imagine me yelling all of this
- 30 - 60 flights of stairs a day!
- Not establishing a firm “leave the line” or “take the line” policy when one person measures and another cuts
- You know what? Don’t trade off that job, just do all the measuring and cutting
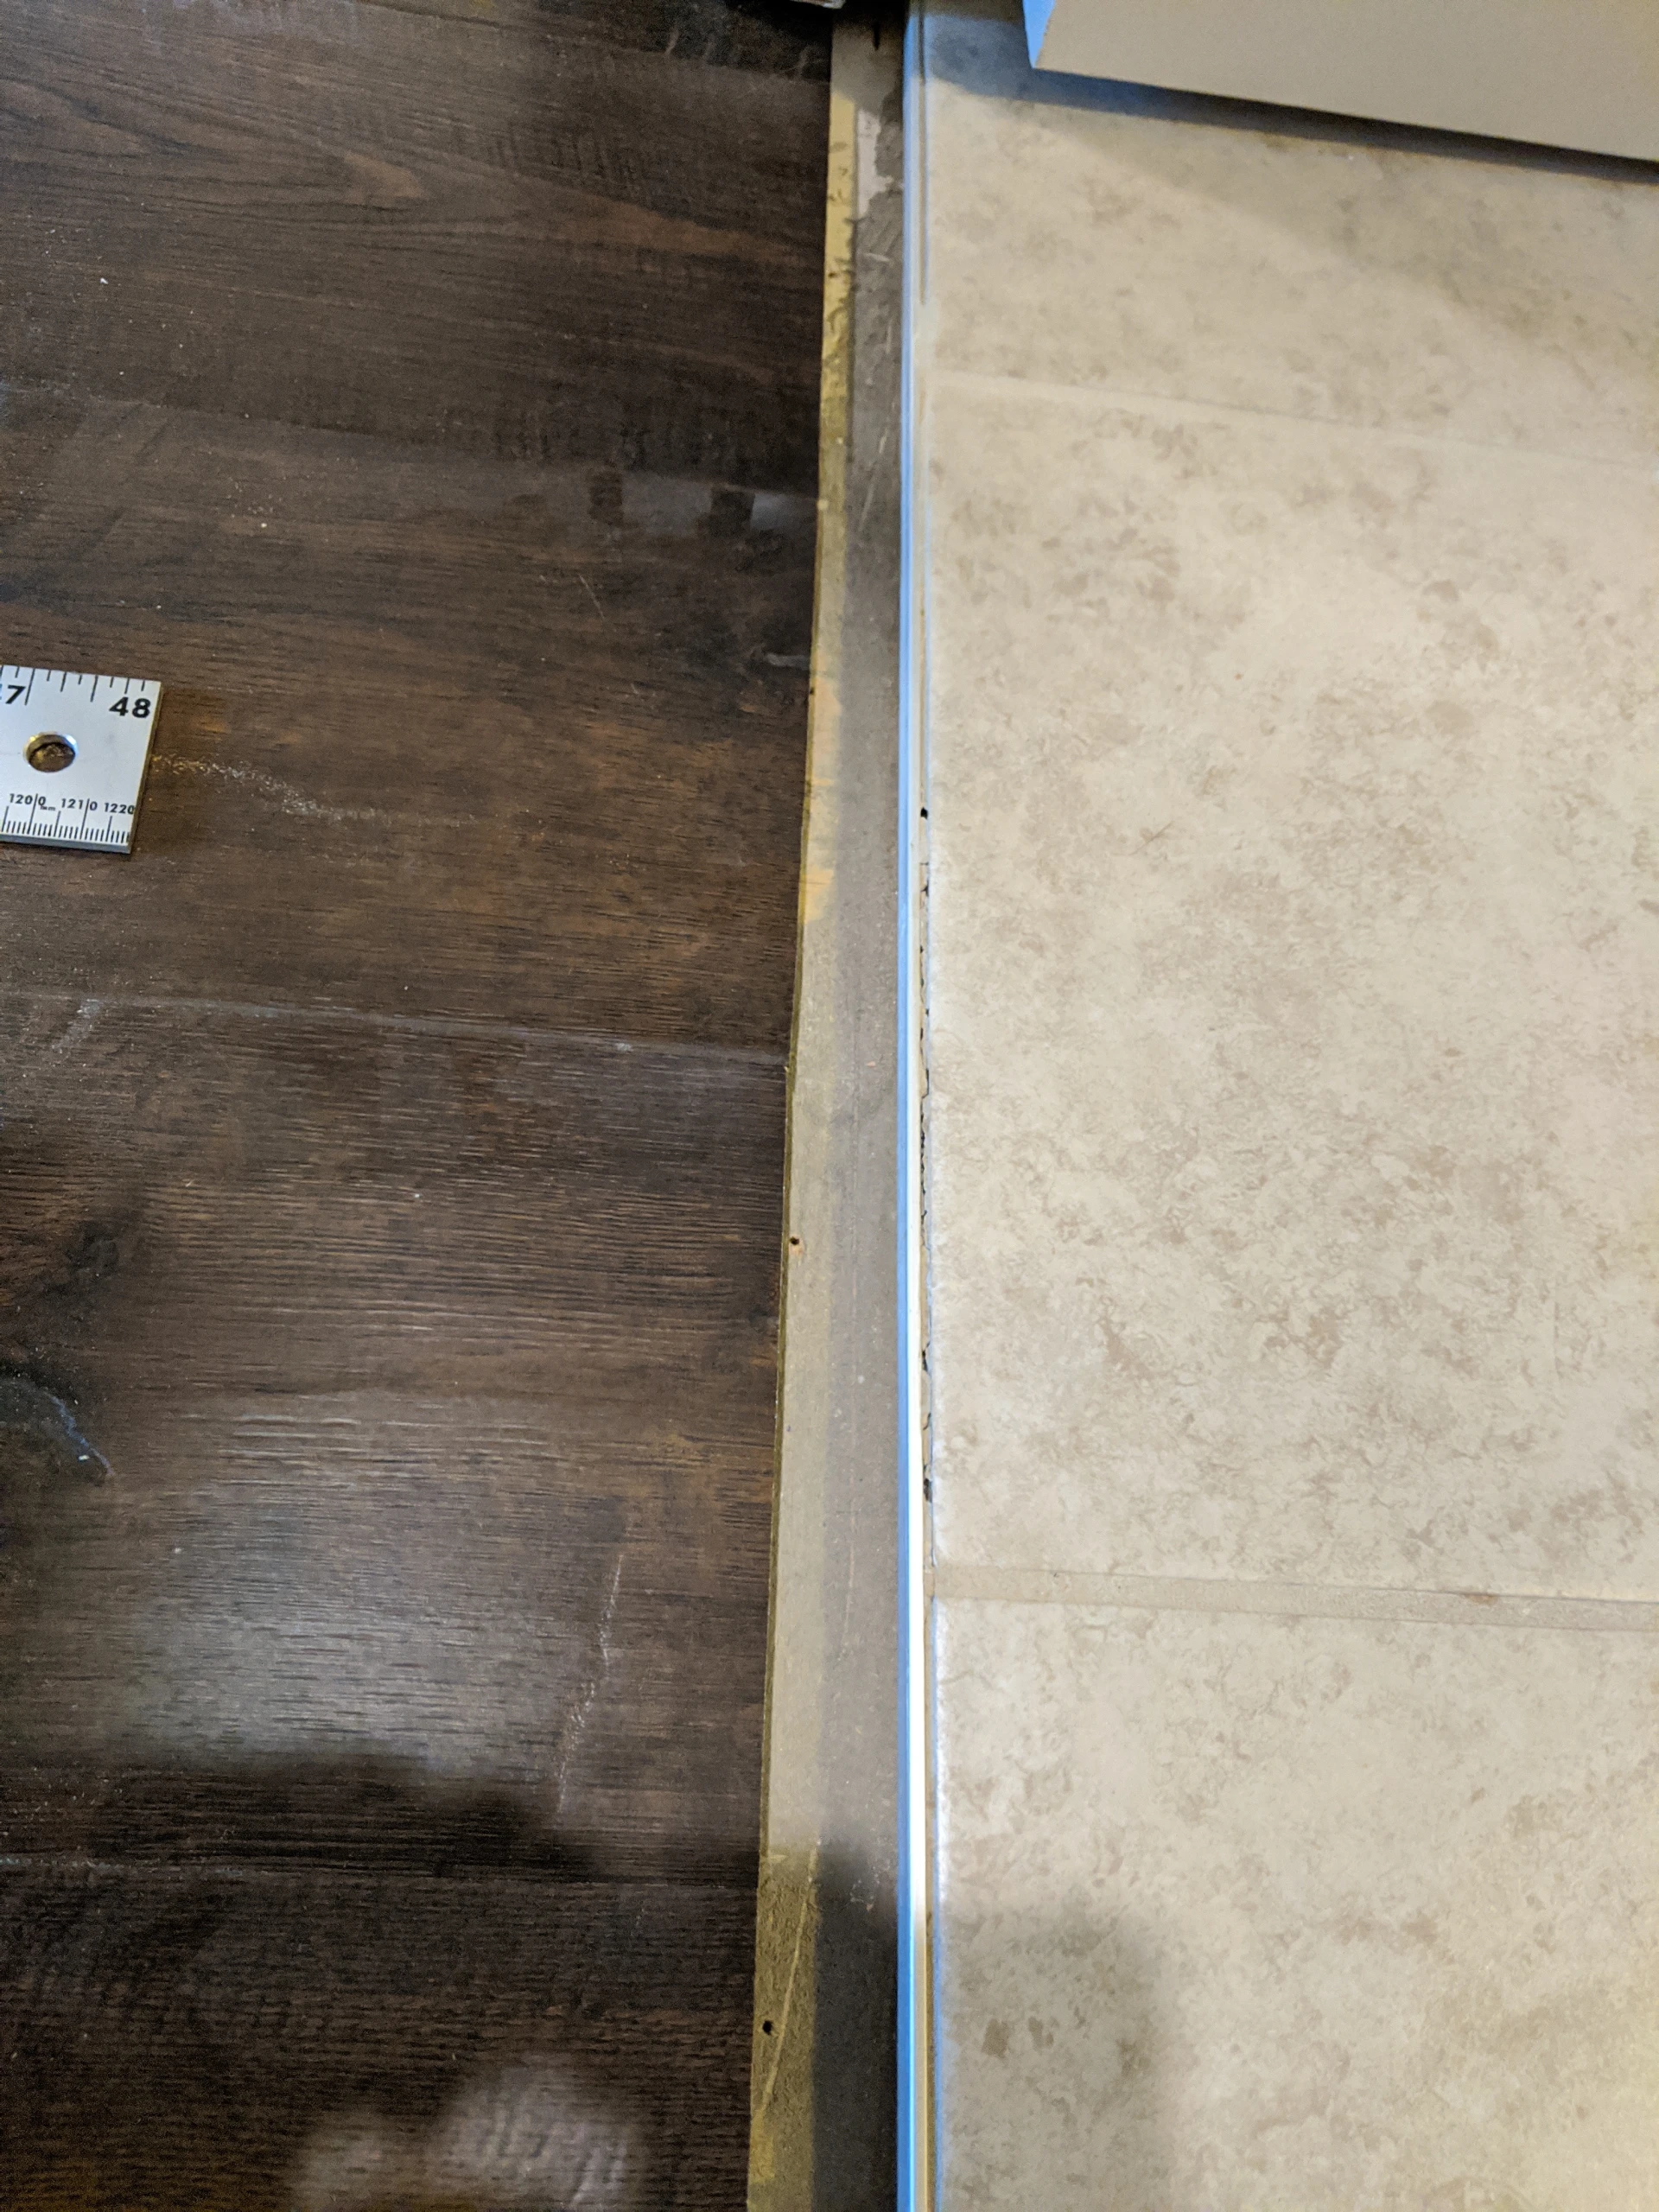
- Small tolerances. You cannot have too large of a gap if you are going to cover everything with 1/4 round. This sucks. Every mistake you make will be seen
- Chipping Pergo board. Holy shit is this stuff fragile. I have a few chip outs from knocking or prying boards into place and its a huge eye sore
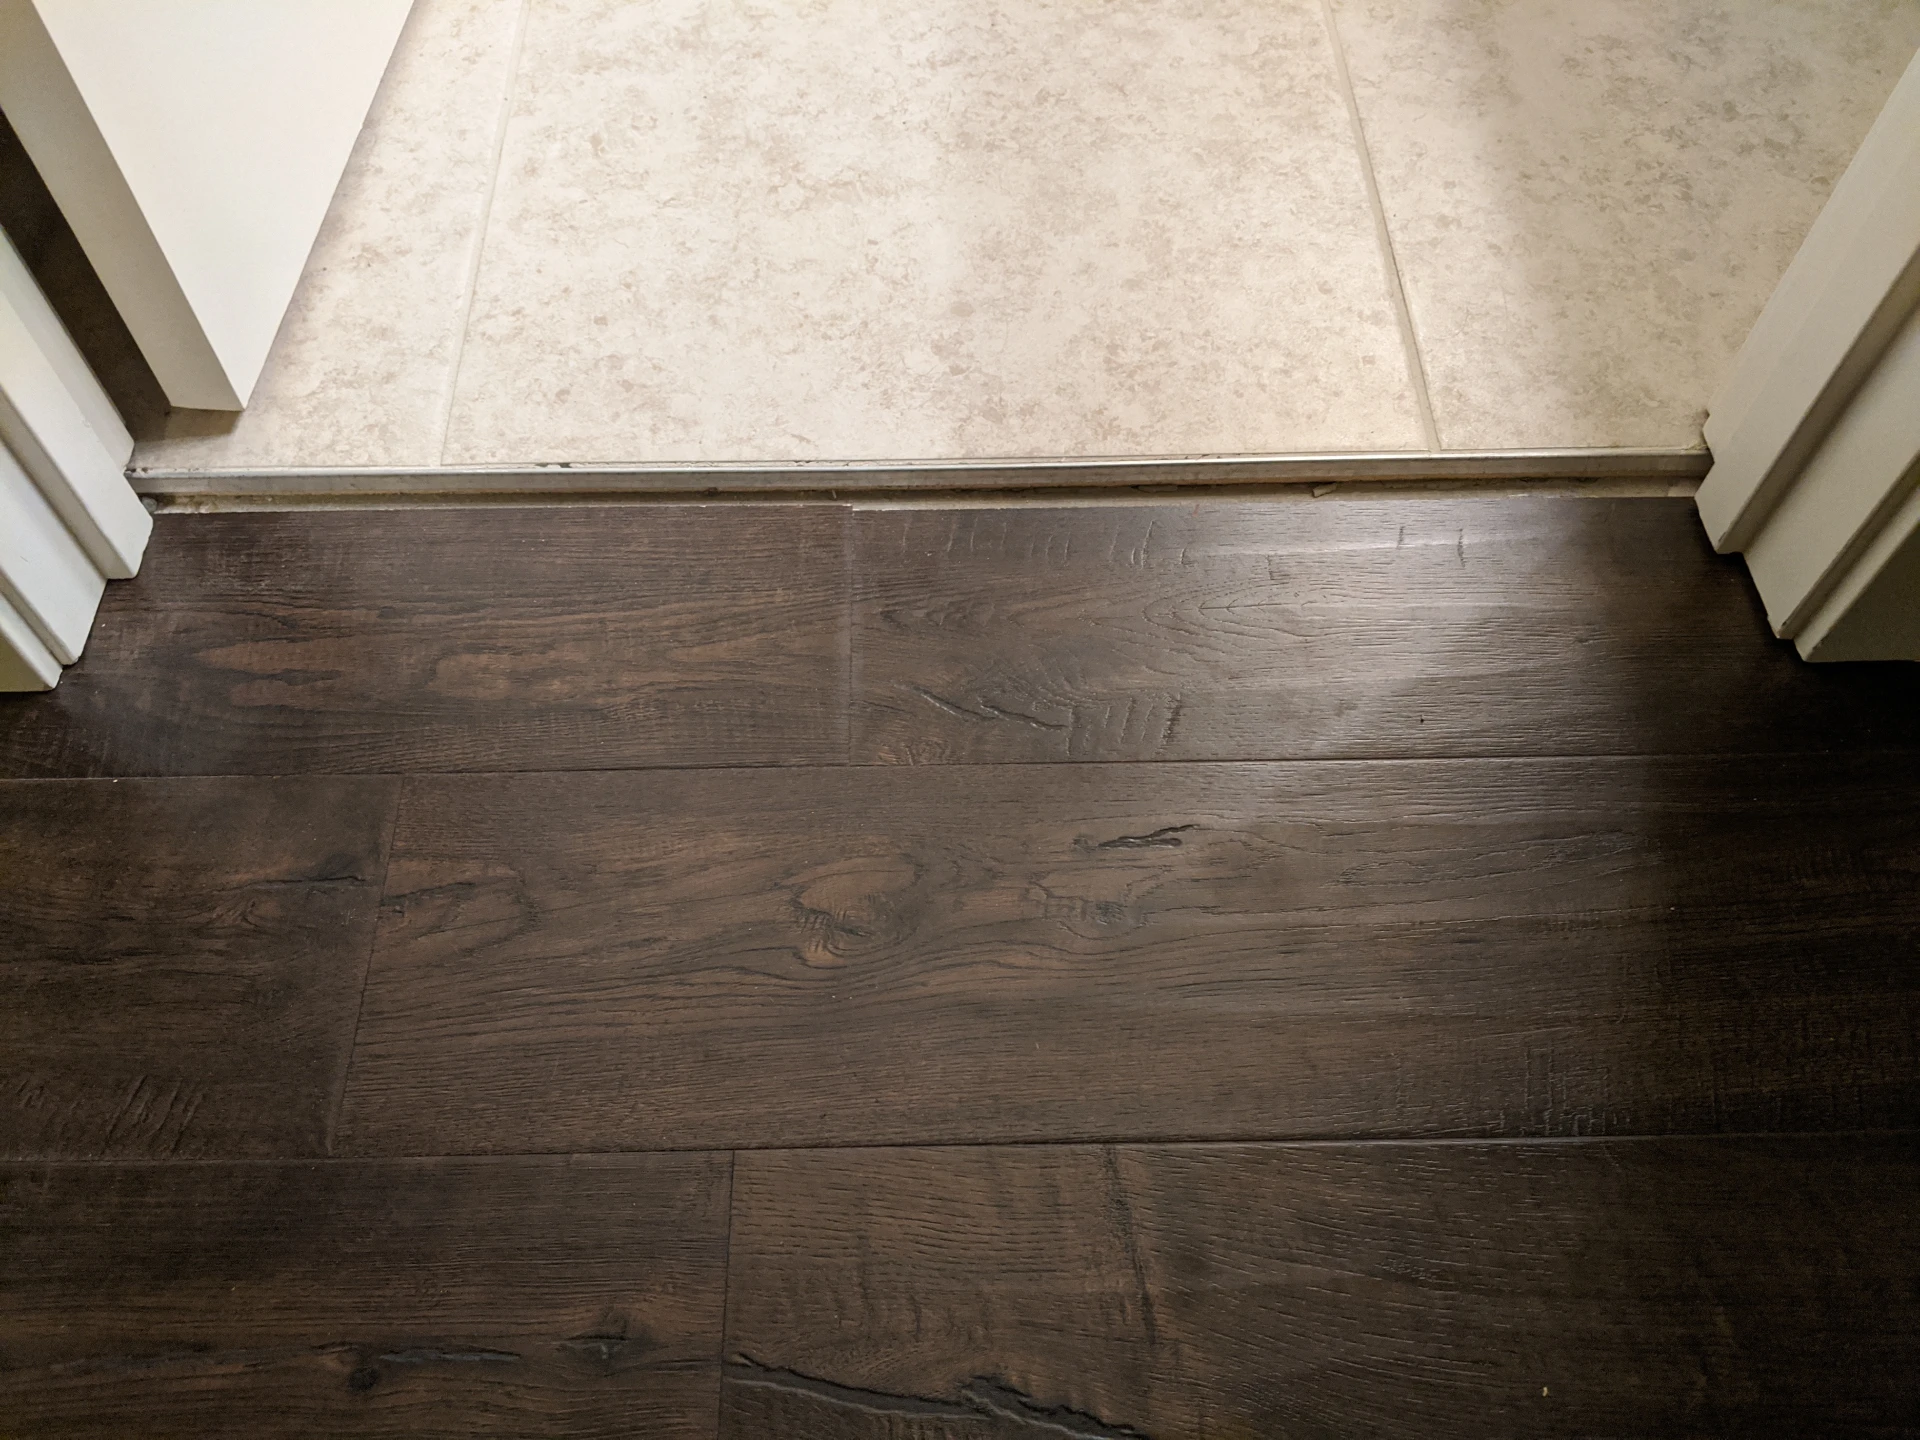
- We couldn’t get the same type of floor that came with our house. It is not made. We now have 3 types in our home and I hope no one really notices
- Of course they’re going to notice.
- I’ll probably do this again in a few years