ceph cluster
2015-05-22
One thing I have leared over the past few years: if you do not have a solid data management policy, at some point, there will be disasters.
At work, we currently have two different types of storage. One I call “Tier 1”, is a beefy ZFS file server with very fast 900GB SAS drives. While the amount of storage is relatively small (~9TB), it is not meant for long term storage. It is used to extract and move large compressed archives.
The second, is (obviously) “Tier 2”. This is our current indefinite storage for the extracted data. These are moderate ZFS file servers. They have larger 2TB drives so we get around 40TB of storage, but they sacrifice some speed for space.
Lets get back to my main point, which is data management. There is no clear retention policy for all of our accumulated data. We also have a manual data deletion process that is not currently automation friendly.
So lets talk about a “Tier 3”
We need a large, distributable filesystem that could grow well beyond a Petabyte. We had two GlusterFS systems in place, both are now retired with little love lossed. Gluster is good for what it does and the time we had it, but it was not perfect.
Steve and I decided to check out Ceph. On the surface it looked nice, and the benefit of using it as an object storage as well as a standard posix file system was nice.
Testing
We build a 4 node cluster, 1 dedicated monitor node (and metadata node), and 3 storaged nodes (each had 2 x 2TB drives, so 6 OSD’s in all).
Then, we did terrible things to it! It was fun. We would create 1 million files in a flat directory structure, let Samba export it as a CIFS share. Use Explorer.exe to search and index it, and then yank two of the 6 OSD drives out.
Then we could re-format a live OSD, or shut down 2 of the three storage nodes. We did as much as we could to create a catastrophe.
We got it to the point where there was a %0.01 loss of data, BUT, the rest of the file system was intact and usable. This was one of the best features to us. In a traditional RAID5 or 6, if you loose too many drives, thats it, its all over.
Not with Ceph!
Deployment
Hardware
- Monitor / Admin node:
- 1U iXsystems (Mercury) server
- Intel(R) Xeon(R) CPU E3-1275 v3 @ 3.50GHz
- 16GB RAM
- Chelsio T520-SO-CR 10G nic
- 2 x 250GB WD Drives (OS)
- Storage Nodes (3)
- 4U iXsystems (Jupiter) server
- Intel(R) Xeon(R) CPU E5-2609 v2 @ 2.50GHz
- 128GB RAM
- Chelsio T520-SO-CR 10G nic
- 34 x WD 4TB Enterprise Red drives
- HP 24 port 10Gb Switch (HPA5820)
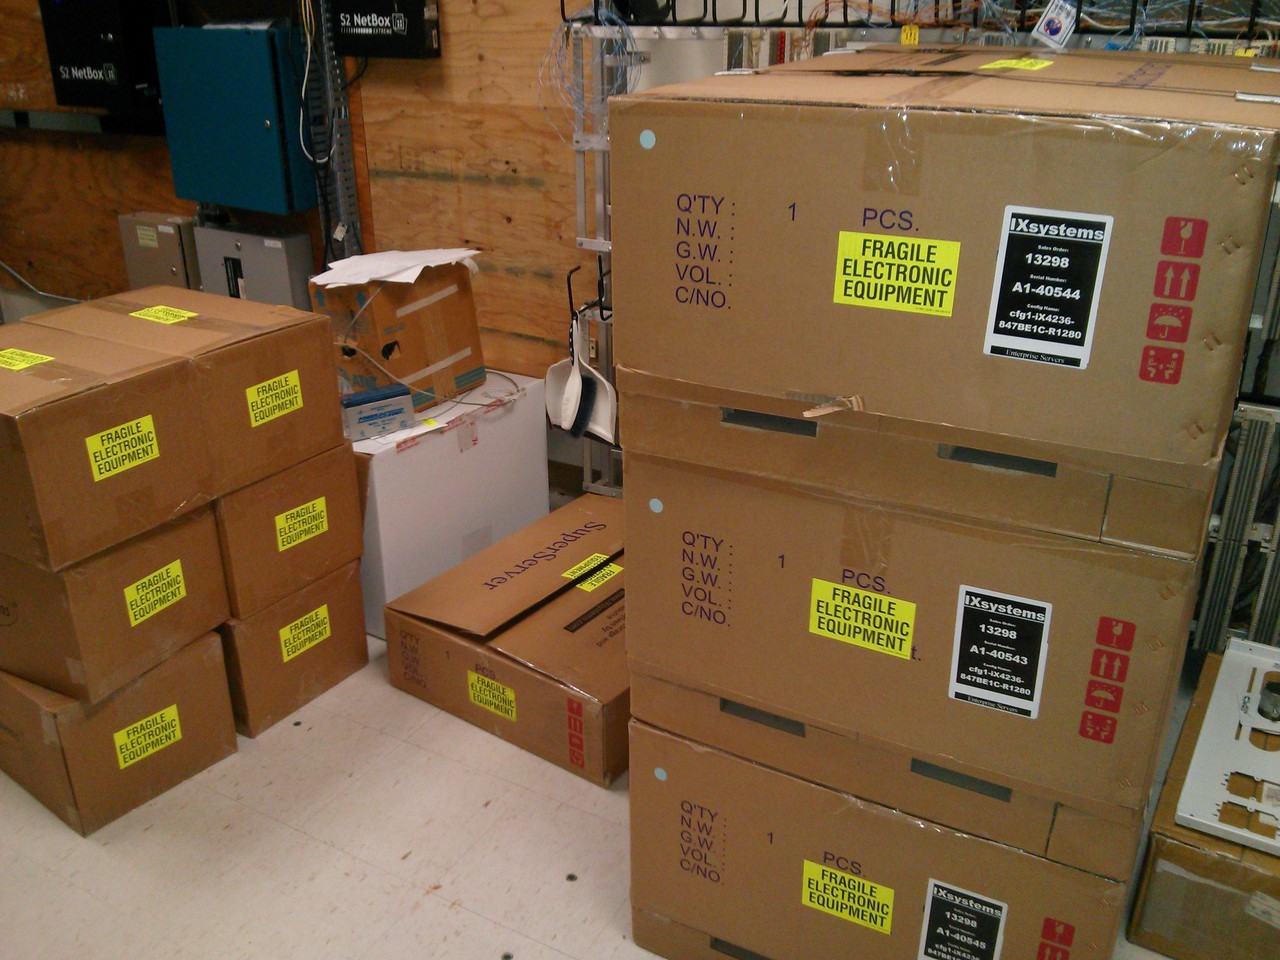
Here is what showed up
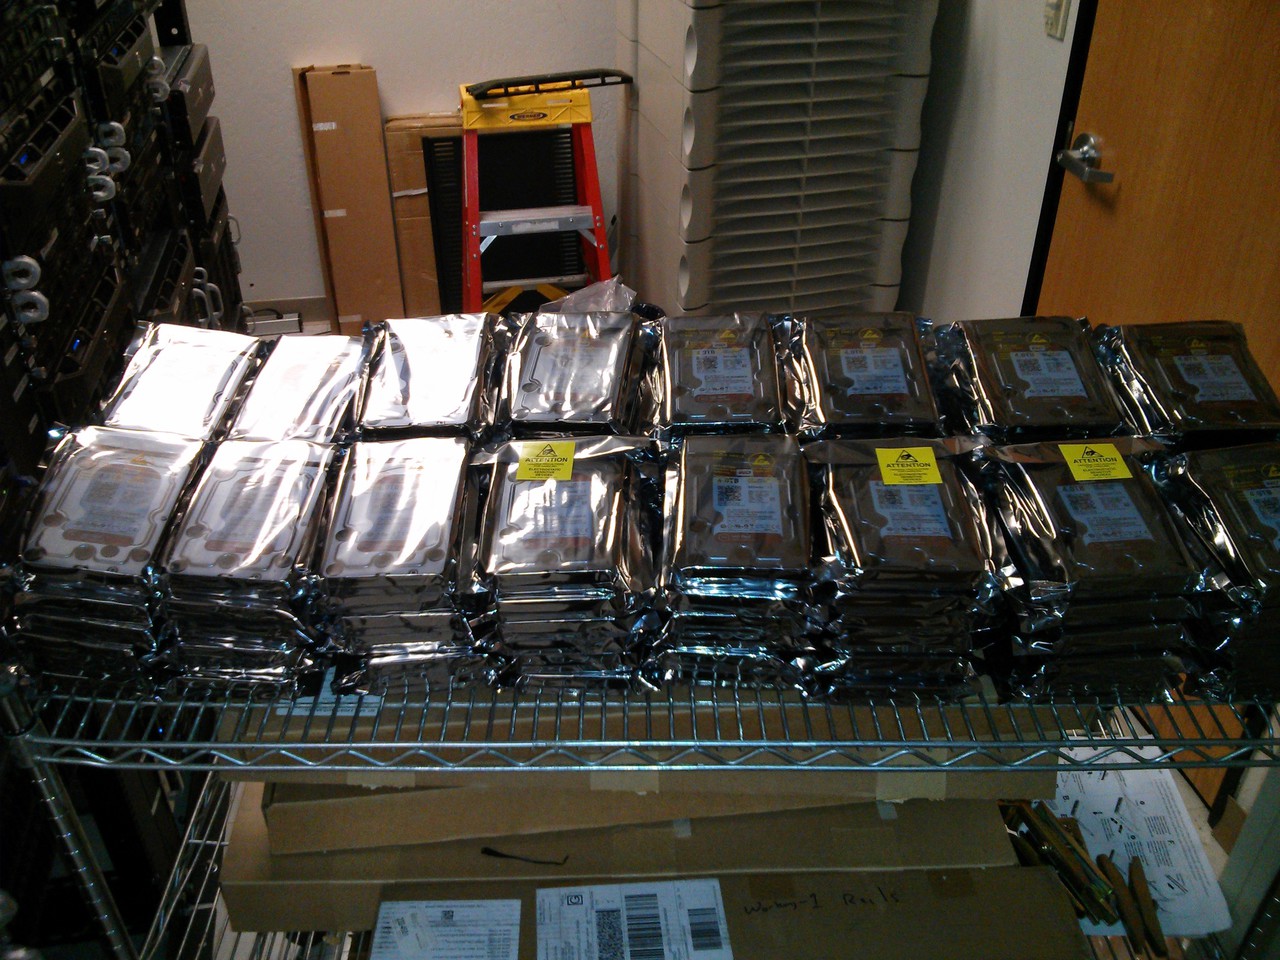
This is what 102 hard drives looks like (they were in trays and properly labled)
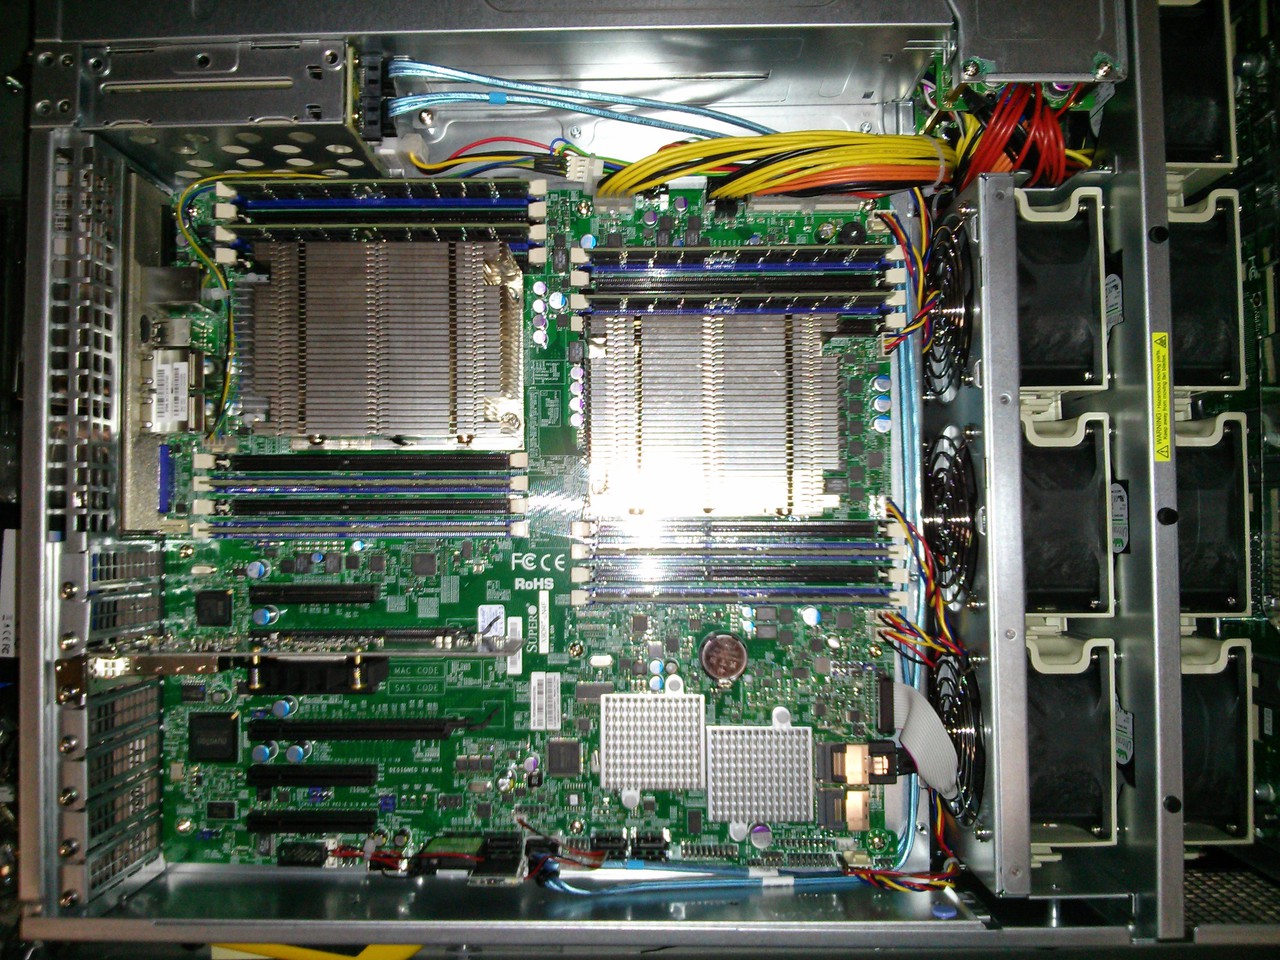
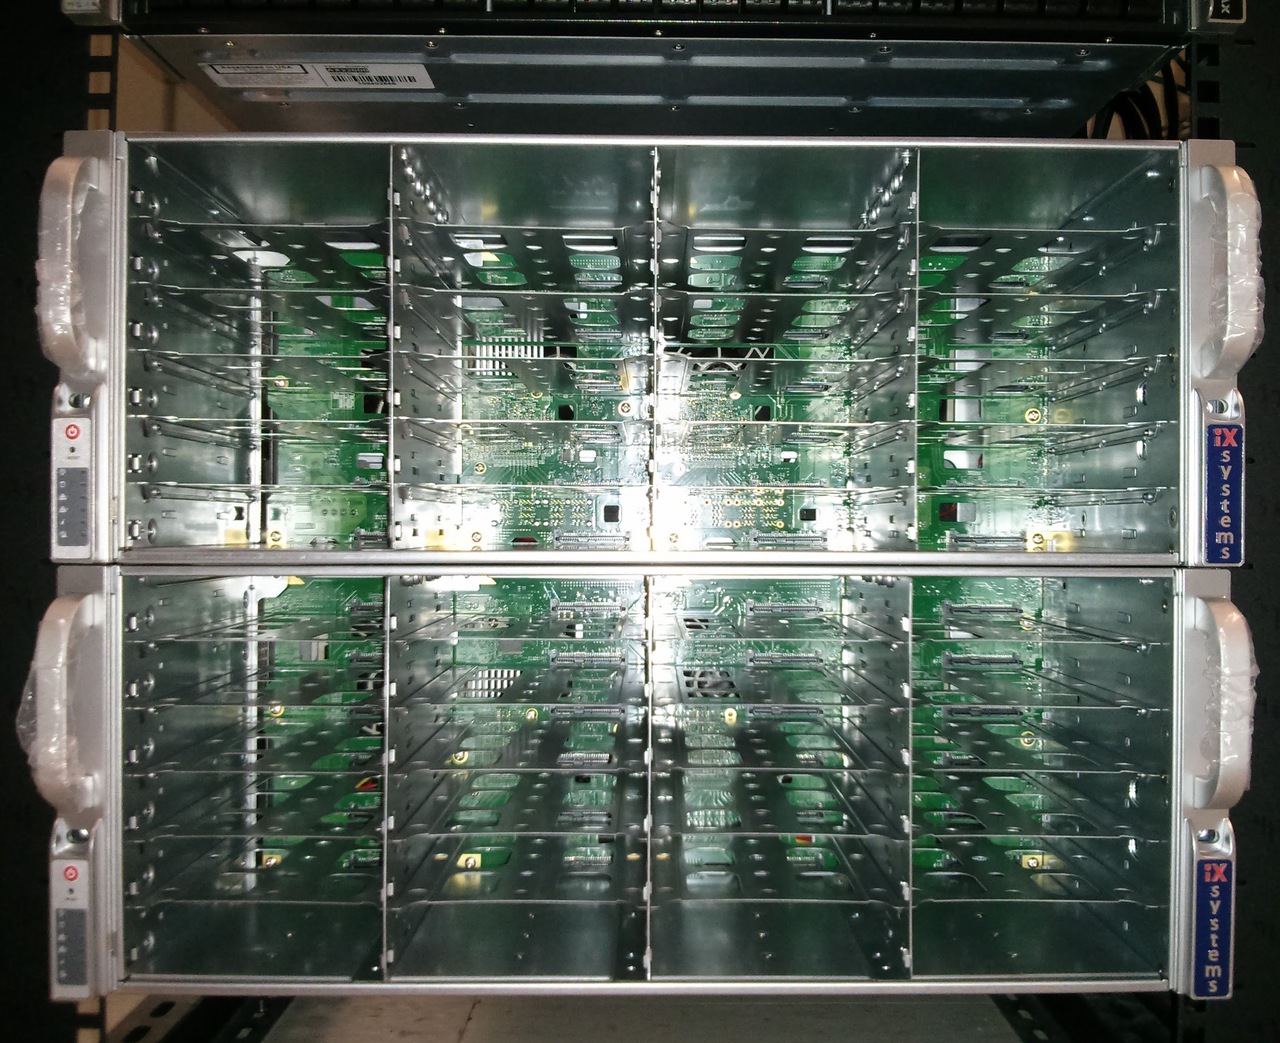
The inside of the 4U Jupiter server
Two of three servers, the third server is out of frame.
System Setup
I am not going to list everything we did to get ceph up and running. The guide is all we used.
I will share some of the bumps though.
When it comes to Operating Systems, I typically go with what the vendor recommends or atleast seems to support more. While Ceph/Inktank is now a RedHat project, their docs seemed to lean towards Ubuntu Server as their tested platform.
This however, was not trouble free.
It turns out, when you install Ubuntu Server on a server that has 34 4TB drives, initramfs cannot mount the root file system quick enough (it took about 55 seconds for all 34 drives to settle). There seemed to be two fixes for this problem:
- add rootdelay=90 to /etc/default/grub and re-run update-grub
- reduce the console to 640x480 (or add the quiet boot flag)
This took a while to figure out. Once I figured out I could resume the boot process at the initramfs> prompt by typing ‘return’, I figured it was a timing issue. Then, I pulled all drives out but the OS volume, and that worked without any issues.
I don’t know why the console is by default set like that. It is a server, it seems excessive to have that when the first thing I’m going to do is setup ssh and never look at the console again.
Here was my final grub config:
GRUB_DEFAULT=0
GRUB_HIDDEN_TIMEOUT_QUIET=true
GRUB_TIMEOUT=2
GRUB_DISTRIBUTOR=`lsb_release -i -s 2> /dev/null || echo Debian`
GRUB_CMDLINE_LINUX_DEFAULT=""
GRUB_CMDLINE_LINUX="rootdelay=300"
GRUB_TERMINAL=console
GRUB_GFXMODE=640x480
A separate boot-related hiccup was with the monitor node. It has the built-in Intel FakeRAID (I had not specifically asked for a real LSI RAID controller on this system), and getting it to boot post-install was challenging.
I made a RAID1 volume for the OS, and Ubuntu 14.04.1 LTS (Server) does not have an excellent mdadm environment. The RAID was initialized, packages installed, system rebooted… and it would not load the Grub menu.
After a few hours of rebooting into a rescue environment and fiddling with various grub and mdadm options, it turns out the fix was to install Grub on /dev/md/Volume0_0. The installer mistakenly installed Grub on /dev/md126.
Those hiccups aside, getting the cluster setup is very simple thanks to ceph-deploy. Ceph’s documentation is pretty solid as well, and this is the second ceph instance we’ve setup so it was all a lot easier.
I did find it tedious getting all of the drives setup, so I wrote two separate shell scripts to do the dirty work:
-
Scripting the OSD’s
#!/bin/bash j=0 drives=( sdb sdc sdd sde sdf sdg sdh sdi sdj sdk sdl sdm sdn sdo sdp sdq sdr sds sdt sdu sdv sdw sdx sdy sdz sdaa sdab sdac sdad sdae sdaf sdag sdah sdai ) for i in ${drives[*]} do dd if=/dev/zero of=/dev/${i} count=100 bs=1024k parted --script /dev/${i} mklabel gpt parted --script --align optimal /dev/${i} mkpart primary xfs 0% 100% mkdir -p /data/osd${j} mkfs.xfs /dev/${i}1 mount /dev/${i}1 /data/osd${j} echo "/dev/${i}1 /data/osd${j} xfs defaults 0 0" >> /etc/fstab ((j++)) done -
Similar one for preparing and activating the OSD’s:
#!/bin/bash

nodes=( lts-osd1 lts-osd2 lts-osd3 )

for i in ${nodes[*]}
do
	echo "${i}..."
	j=0
	while [ $j -lt 34 ]
	do
		ceph-deploy osd prepare ${i}:/data/osd${j}
		ceph-deploy osd activate ${i}:/data/osd${j}
		((j++))
	done
done
Network
Our public network is the standard server VLAN we use here, and with the 10Gb switch and nic’s, we created a simple cluster network using 10.1.1.0/24
ESNet has a nice tuning guide: (https://fasterdata.es.net/host-tuning/background/) which I heavily borrowed from
# The loopback network interface
auto lo
iface lo inet loopback

# The primary network interface
auto eth0
iface eth0 inet dhcp

auto eth4
iface eth4 inet static
address 10.1.1.130
netmask 255.255.255.0
mtu 9000
txqueuelen 10000
...
# allow testing with buffers up to 64MB
net.core.rmem_max = 67108864
net.core.wmem_max = 67108864
# increase Linux autotuning TCP buffer limit to 32MB
net.ipv4.tcp_rmem = 4096 87380 33554432
net.ipv4.tcp_wmem = 4096 65536 33554432
# increase the length of the processor input queue
net.core.netdev_max_backlog = 30000
# recommended default congestion control is htcp
net.ipv4.tcp_congestion_control=htcp
# recommended for hosts with jumbo frames enabled
net.ipv4.tcp_mtu_probing=1Quick iperf sanity test:
# iperf -c 10.1.1.130 -P 16 -l 64k -i 3
------------------------------------------------------------
Client connecting to 10.1.1.130, TCP port 5001
TCP window size:  325 KByte (default)
------------------------------------------------------------
[ 18] local 10.1.1.110 port 57149 connected with 10.1.1.130 port 5001
[  7] local 10.1.1.110 port 57140 connected with 10.1.1.130 port 5001
[  6] local 10.1.1.110 port 57137 connected with 10.1.1.130 port 5001
[  4] local 10.1.1.110 port 57135 connected with 10.1.1.130 port 5001
[  8] local 10.1.1.110 port 57138 connected with 10.1.1.130 port 5001
[  5] local 10.1.1.110 port 57136 connected with 10.1.1.130 port 5001
[  9] local 10.1.1.110 port 57139 connected with 10.1.1.130 port 5001
[ 10] local 10.1.1.110 port 57141 connected with 10.1.1.130 port 5001
[ 11] local 10.1.1.110 port 57142 connected with 10.1.1.130 port 5001
[  3] local 10.1.1.110 port 57134 connected with 10.1.1.130 port 5001
[ 12] local 10.1.1.110 port 57143 connected with 10.1.1.130 port 5001
[ 13] local 10.1.1.110 port 57144 connected with 10.1.1.130 port 5001
[ 16] local 10.1.1.110 port 57146 connected with 10.1.1.130 port 5001
[ 14] local 10.1.1.110 port 57145 connected with 10.1.1.130 port 5001
[ 15] local 10.1.1.110 port 57147 connected with 10.1.1.130 port 5001
[ 17] local 10.1.1.110 port 57148 connected with 10.1.1.130 port 5001
[ ID] Interval       Transfer     Bandwidth
[SUM]  0.0- 3.0 sec  3.59 GBytes  10.3 Gbits/sec
...
[SUM]  3.0- 6.0 sec  3.29 GBytes  9.41 Gbits/sec
...
[SUM]  6.0- 9.0 sec  3.30 GBytes  9.44 Gbits/sec
...
[SUM]  0.0-10.0 sec  10.8 GBytes  9.28 Gbits/sec
In Production
The final step was to create a Ceph Posix filesystem, and then share that via Samba:
# ceph -s
    cluster d0d9bd18-7c5c-4fc6-9aba-0583753efd0f
     health HEALTH_WARN
            too few PGs per OSD (1 < min 30)
     monmap e1: 4 mons at {lts-mon=10.5.68.236:6789/0,lts-osd1=10.5.68.229:6789/0,lts-osd2=10.5.68.230:6789/0,lts-osd3=10.5.68.203:6789/0}
            election epoch 10, quorum 0,1,2,3 lts-osd3,lts-osd1,lts-osd2,lts-mon
     mdsmap e5: 1/1/1 up {0=lts-mon=up:active}, 1 up:standby

     osdmap e463: 102 osds: 102 up, 102 in
      pgmap v1067: 64 pgs, 1 pools, 0 bytes data, 0 objects
            515 GB used, 370 TB / 370 TB avail
                  64 active+clean
# ceph osd pool create ltsfs_data 2048
pool 'ltsfs_data' created
# ceph osd pool create ltsfs_metadata 2048
pool 'ltsfs_metadata' created
# ceph fs new ltsfs ltsfs_metadata ltsfs_data
# mount -t ceph lts-mon:6789:/ /ceph -o name=admin,secretfile=/etc/ceph/admin.secret
# ceph -s
    cluster d0d9bd18-7c5c-4fc6-9aba-0583753efd0f
     health HEALTH_OK
     monmap e1: 4 mons at {lts-mon=10.5.68.236:6789/0,lts-osd1=10.5.68.229:6789/0,lts-osd2=10.5.68.230:6789/0,lts-osd3=10.5.68.203:6789/0}
            election epoch 10, quorum 0,1,2,3 lts-osd3,lts-osd1,lts-osd2,lts-mon
     mdsmap e5: 1/1/1 up {0=lts-mon=up:active}, 1 up:standby

     osdmap e472: 102 osds: 102 up, 102 in
      pgmap v1122: 4160 pgs, 3 pools, 2180 bytes data, 20 objects
            515 GB used, 370 TB / 370 TB avail
                4160 active+clean
I won’t go into the details of Samba, I’ve posted a few different articles on Samba with our AD environment. CephFS does not yet have proper ACL support, so this is only accessible through standard unix file permissions. That is okay for us.
Here is our current ‘df’ output after loading it up with some older production data:
# df -h
Filesystem                           Size  Used Avail Use% Mounted on
/dev/mapper/lts--mon--vg-root        420G  2.4G  396G   1% /
none                                 4.0K     0  4.0K   0% /sys/fs/cgroup
udev                                 7.9G  4.0K  7.9G   1% /dev
tmpfs                                1.6G   12M  1.6G   1% /run
none                                 5.0M     0  5.0M   0% /run/lock
none                                 7.9G  8.0K  7.9G   1% /run/shm
none                                 100M     0  100M   0% /run/user
/dev/md126p1                         236M   40M  185M  18% /boot
lts-mon:6789:/                       371T  1.7T  370T   1% /ceph
After 3 or 4 complete restarts and rebuilds of the ceph cluster, I am satisfied with there it is at.
I do with there was official FreeBSD support. Most of the weirdness we came across were OS specific, and I cannot stress how much deployment time I would have saved in both this production cluster and our initial test cluster, we would have saved if FreeBSD was an option.
Our test Cluster is now backing our VM disks, and we’re using the built in RADOS support that OpenStack has to pilot a new (you guessed it) OpenStack environment to replace Xen. Fun fun!